Category Archives: Gluten free

Homemade Corn Tortillas

img_3922

A lot of people are doing a no-spend January.  I think it’s a great idea, but am not participating at this time.  I had several low-spend months this year, and am re-stocking  on some things this month.  I plan to have a lower income during the summer, so that’s when I’m planning my low-spend time.

However, today, we ran out of tortillas.  One daughter assured me there were some in the fridge when I tried to buy them, and another assured me they were gone.  They are a)buried deeply in the fridge, or b)indeed gone.  I wanted to make enchilada bake for dinner.  So, I dug out a bag on masa flour from the stockpile and gave it a try.  I love finding ways to use up things I bought for one reason or another, but don’t use regularly.

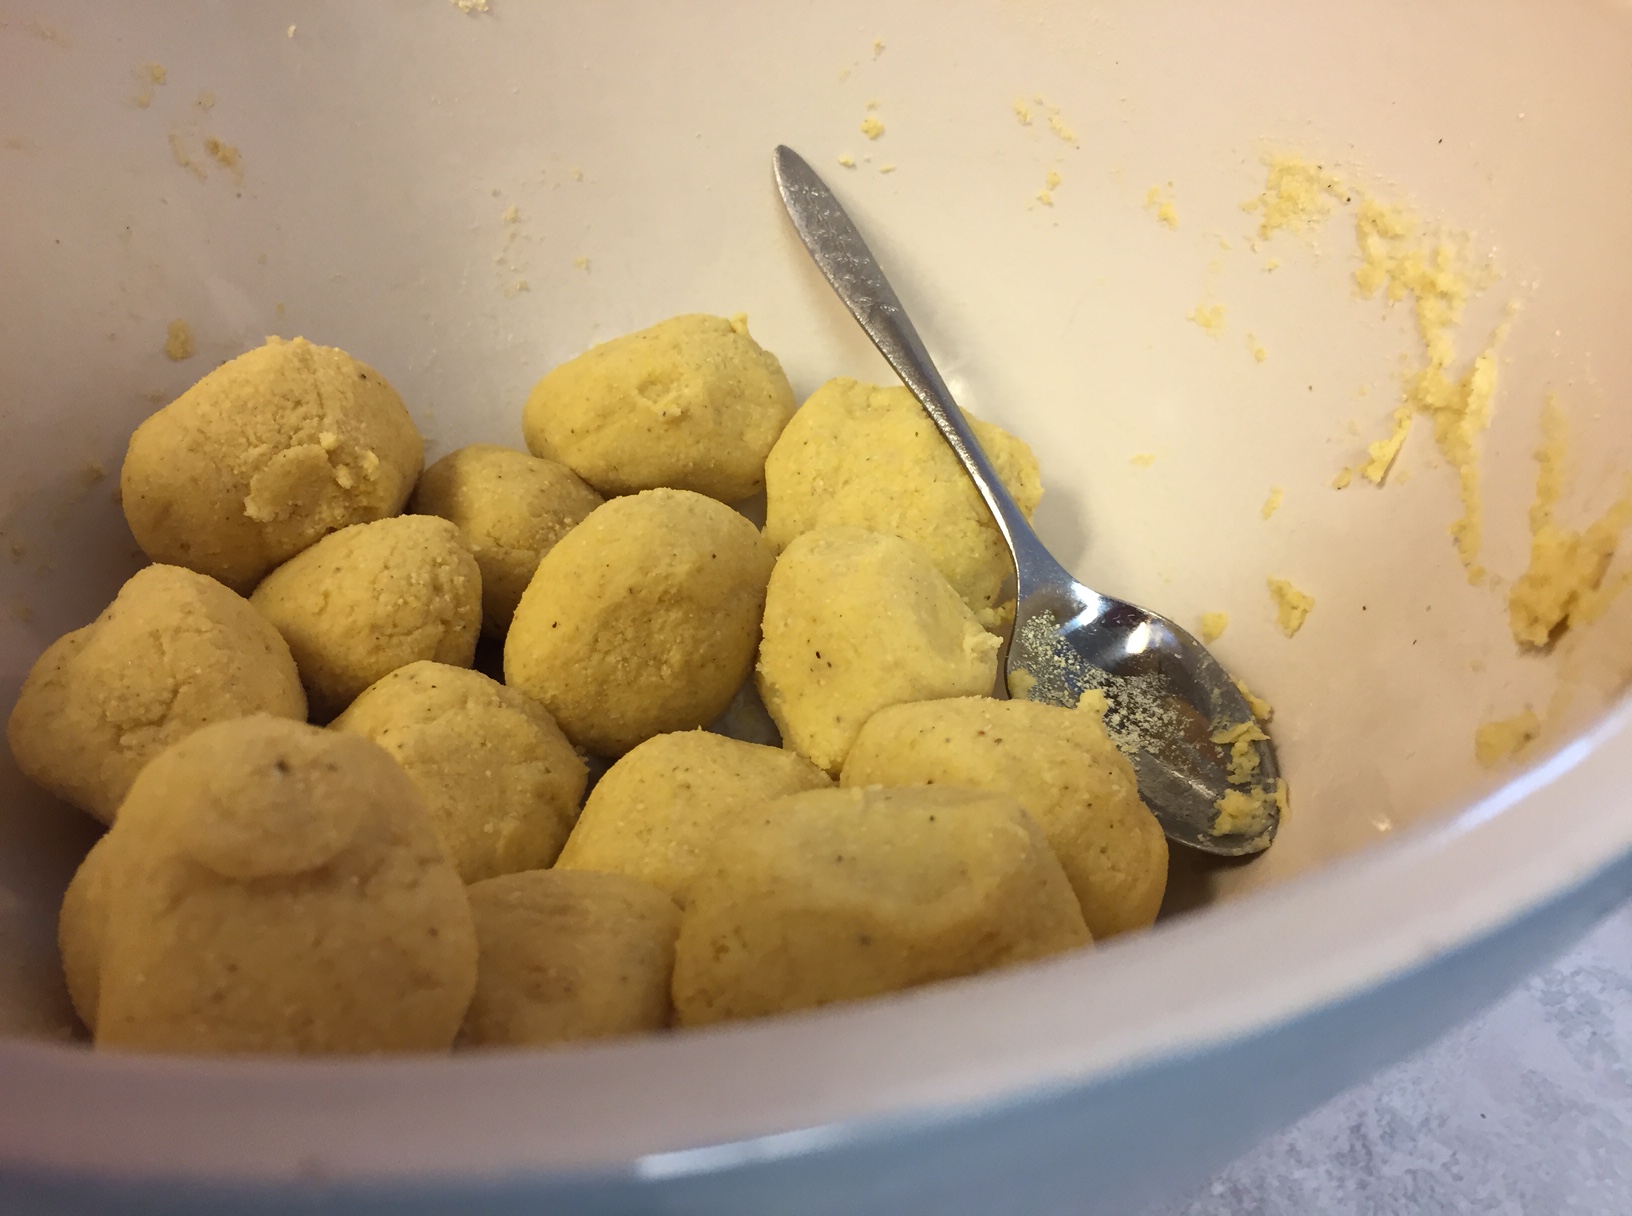
I looked up several recipes on the internet.  They were pretty much all the same, with extremely minor variations.  I mixed 2 cups masa (corn) flour with 1-1/2 cup very hot water and a 1/4 teaspoon salt.  I kneaded it until it was a ball, then pinched off balls to shape into tortillas.

img_3919

Then, I cut a gallon-sized ziplock bag up the sides and made my own “press.”

img_3918

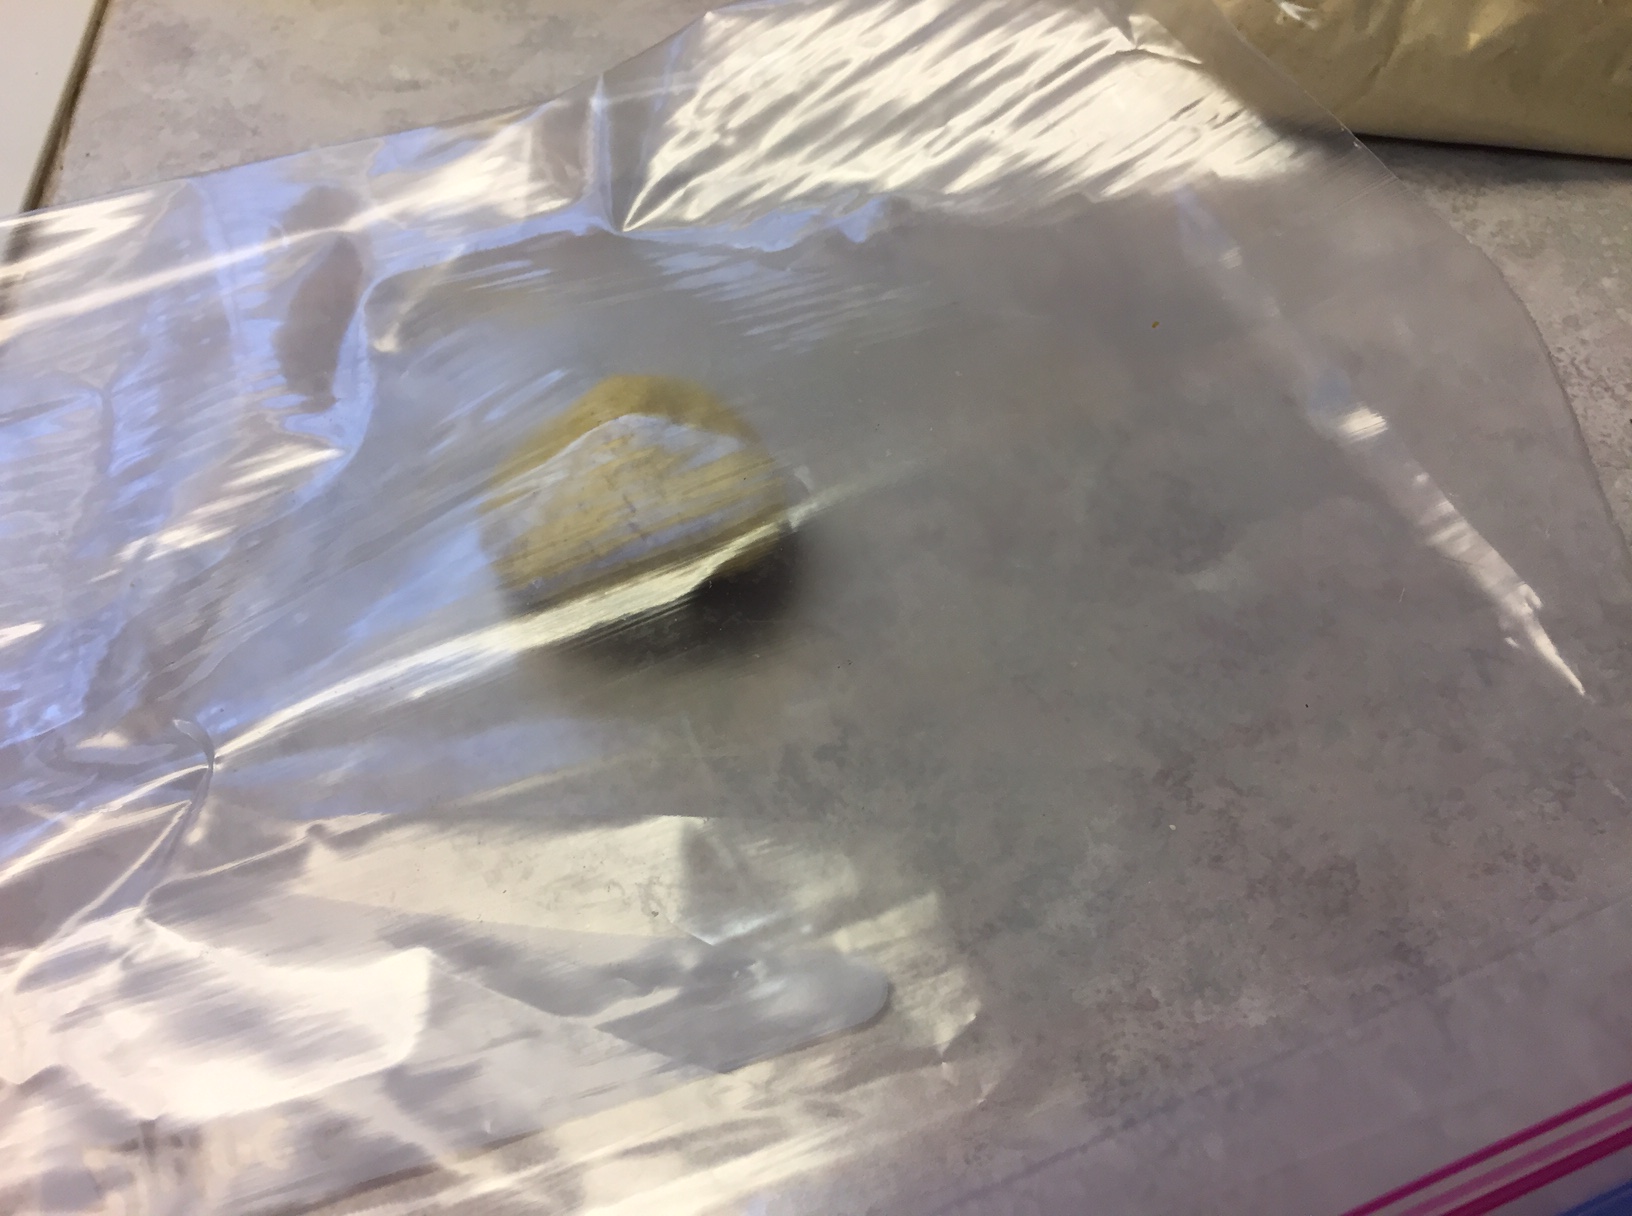
I squished the balls with a big pot and some elbow grease.

img_3920

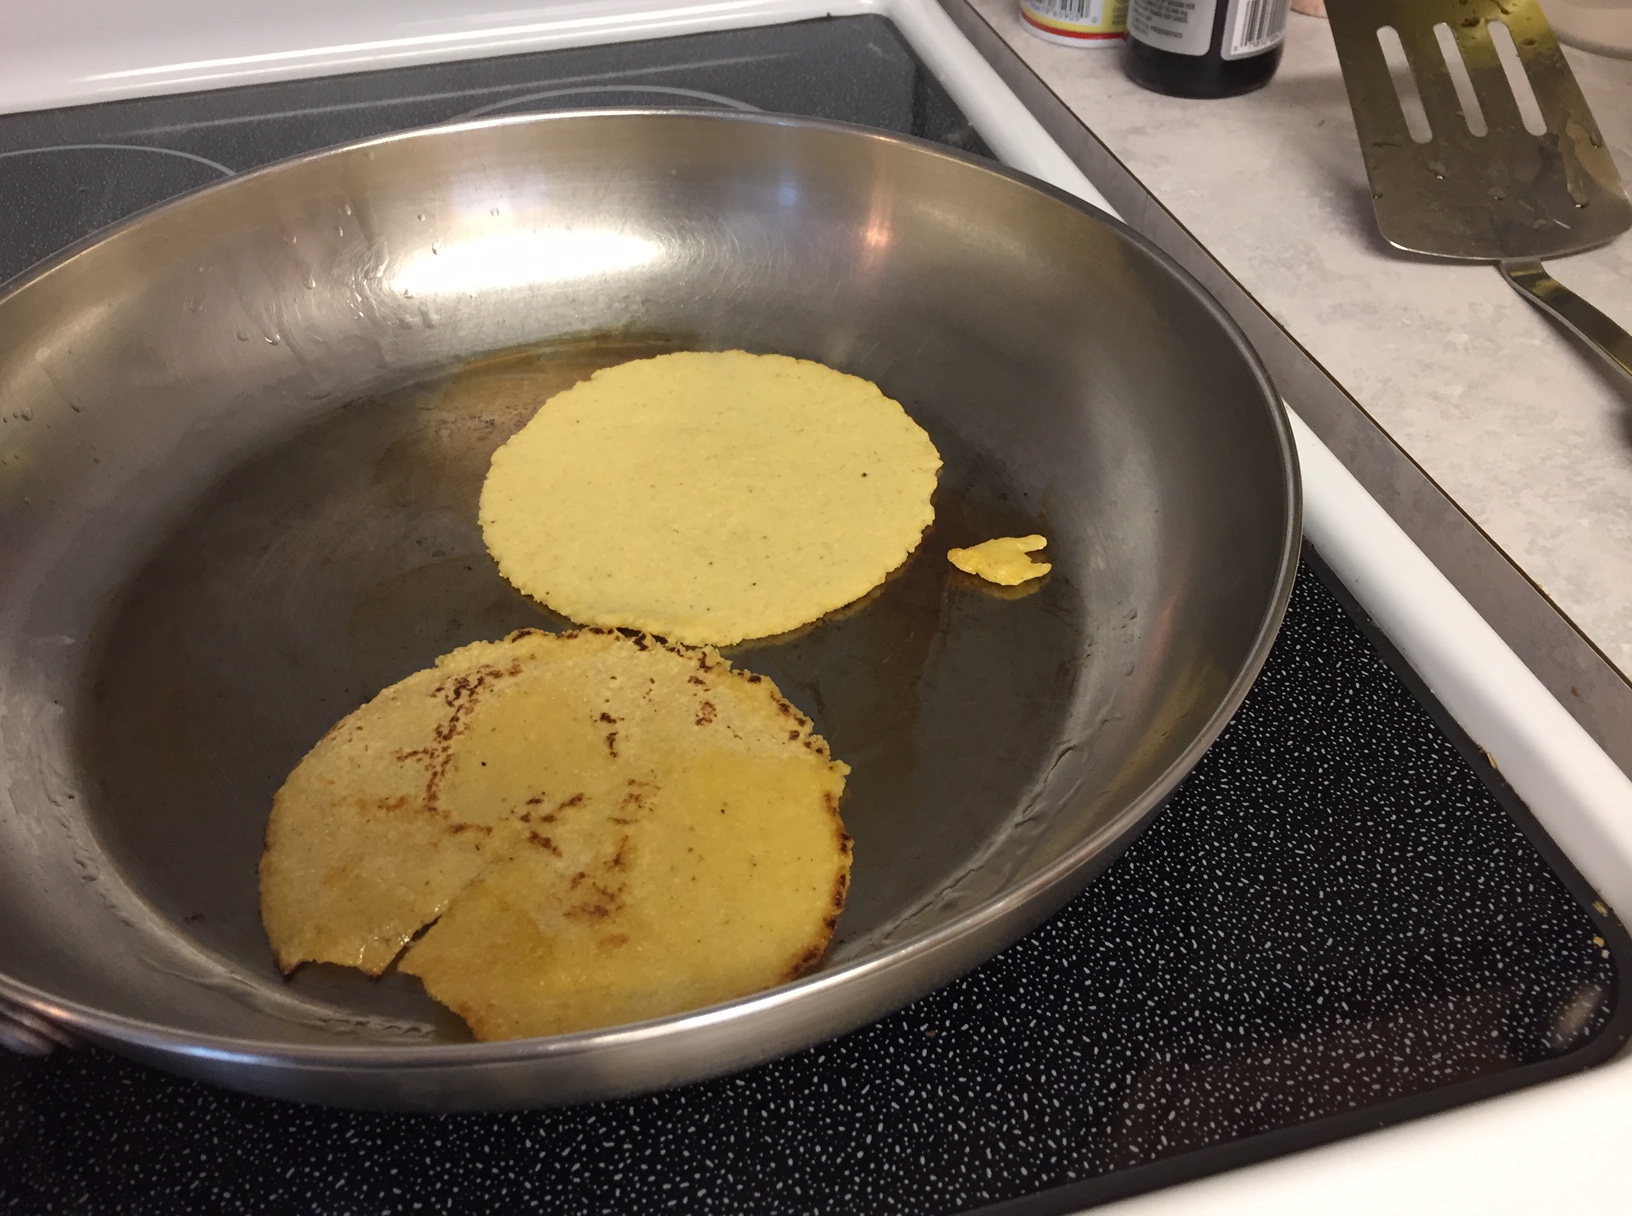
Then I fried them in a pan for about 2 minutes on each side.  I used a little oil in the pan.

img_3921

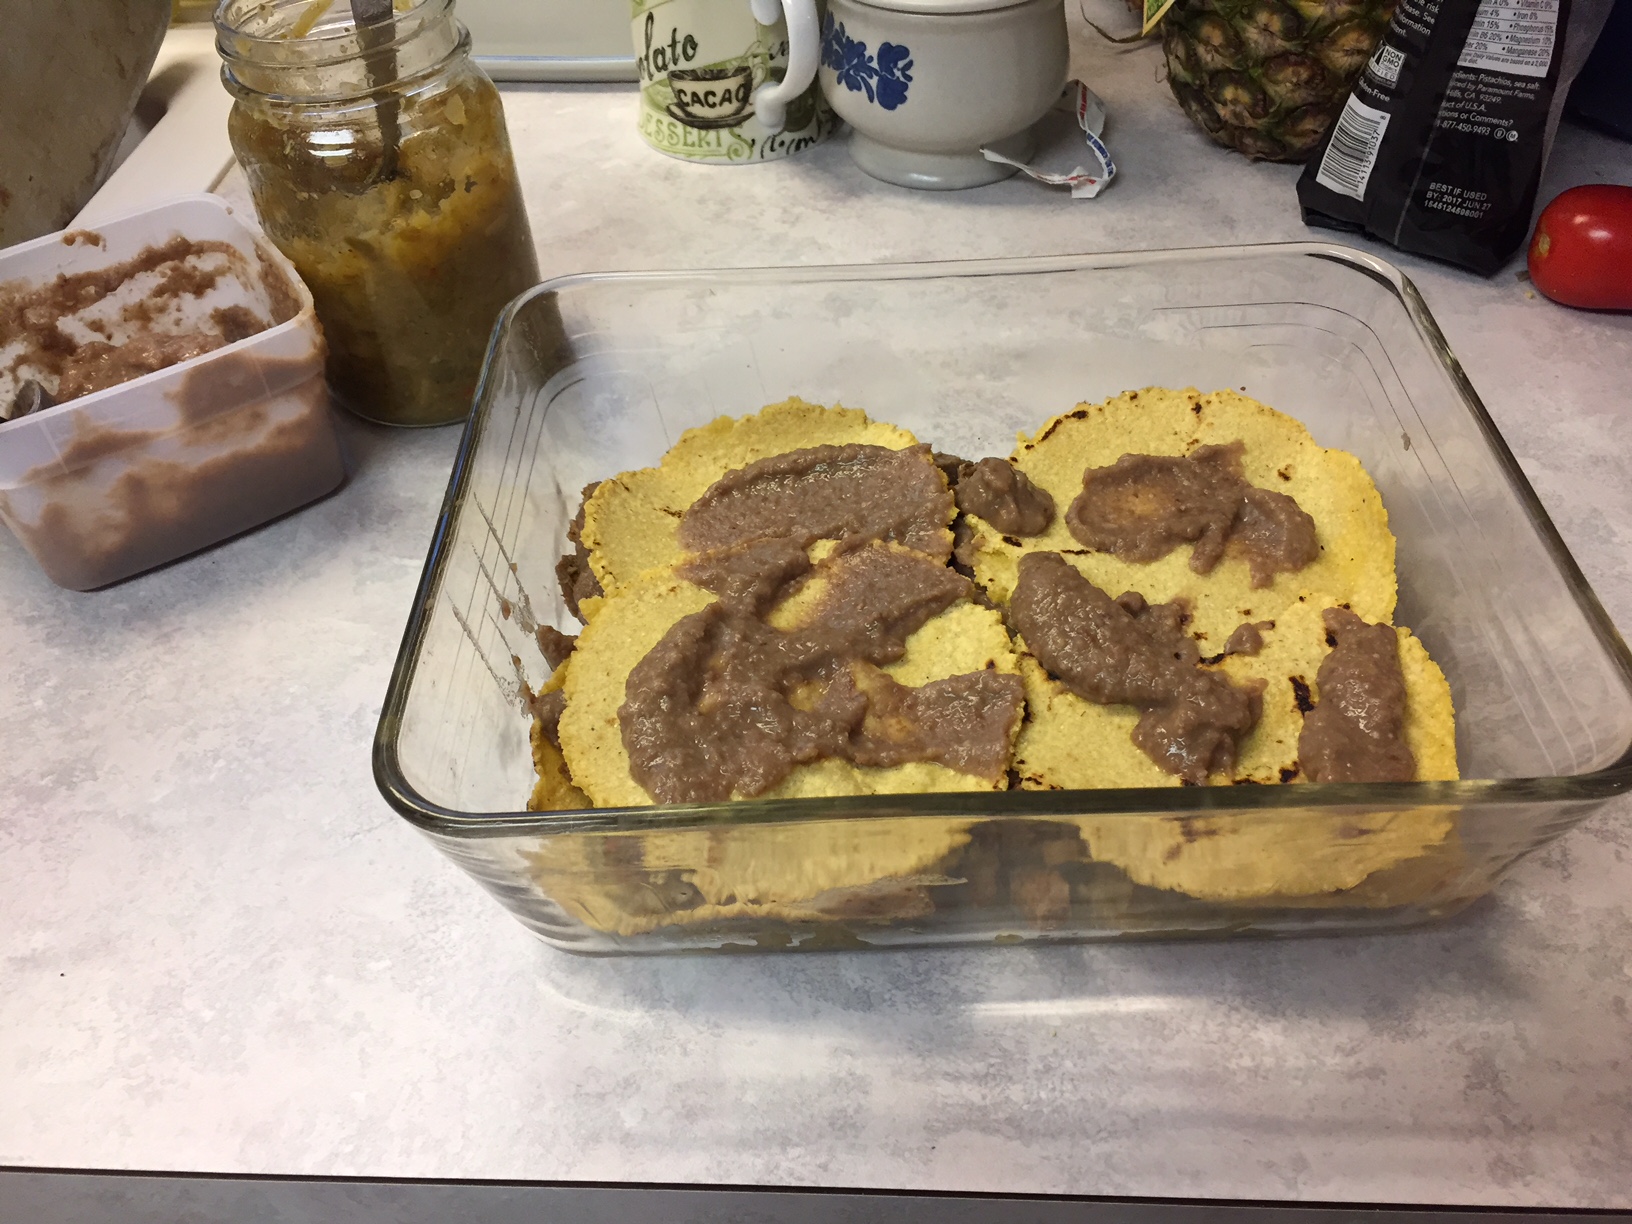
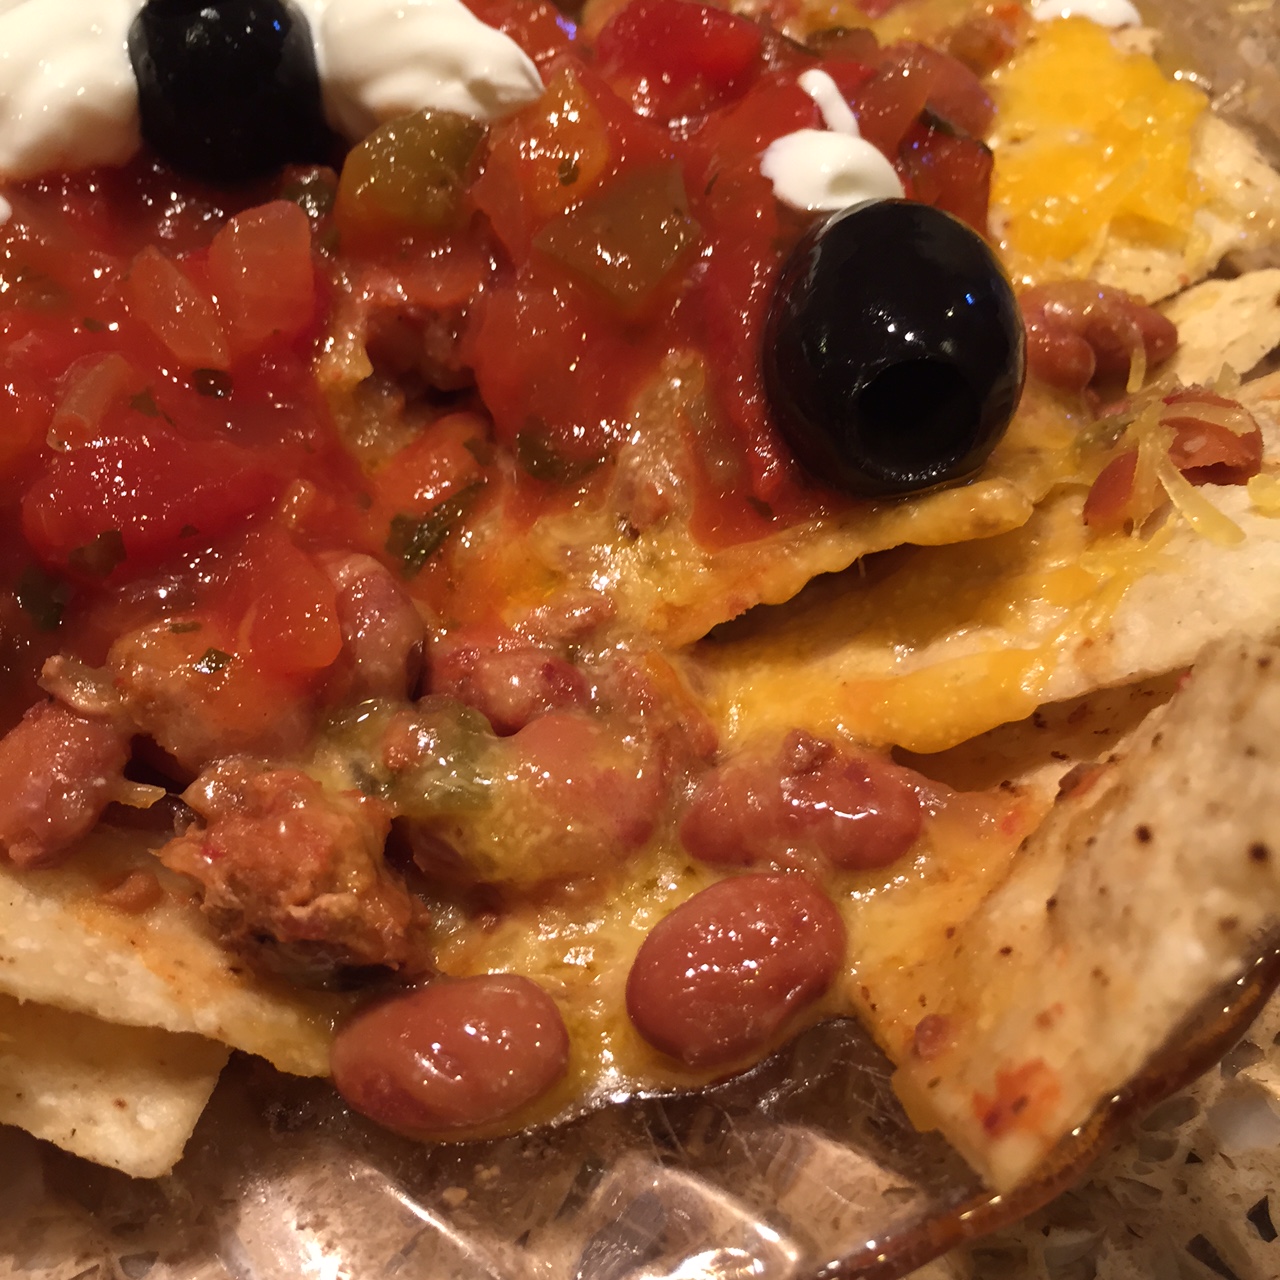
Then, I just layered the tortillas with home-canned chile verde, refried beans, and some leftover beef pieces I chopped finely.  After 3 layers, I covered the casserole with cheese and some olive slices.  Now, dinner’s in the freezer for Rob to warm up while I am at work! He has a headache today, and I did not want him to have to cook when he gets home.

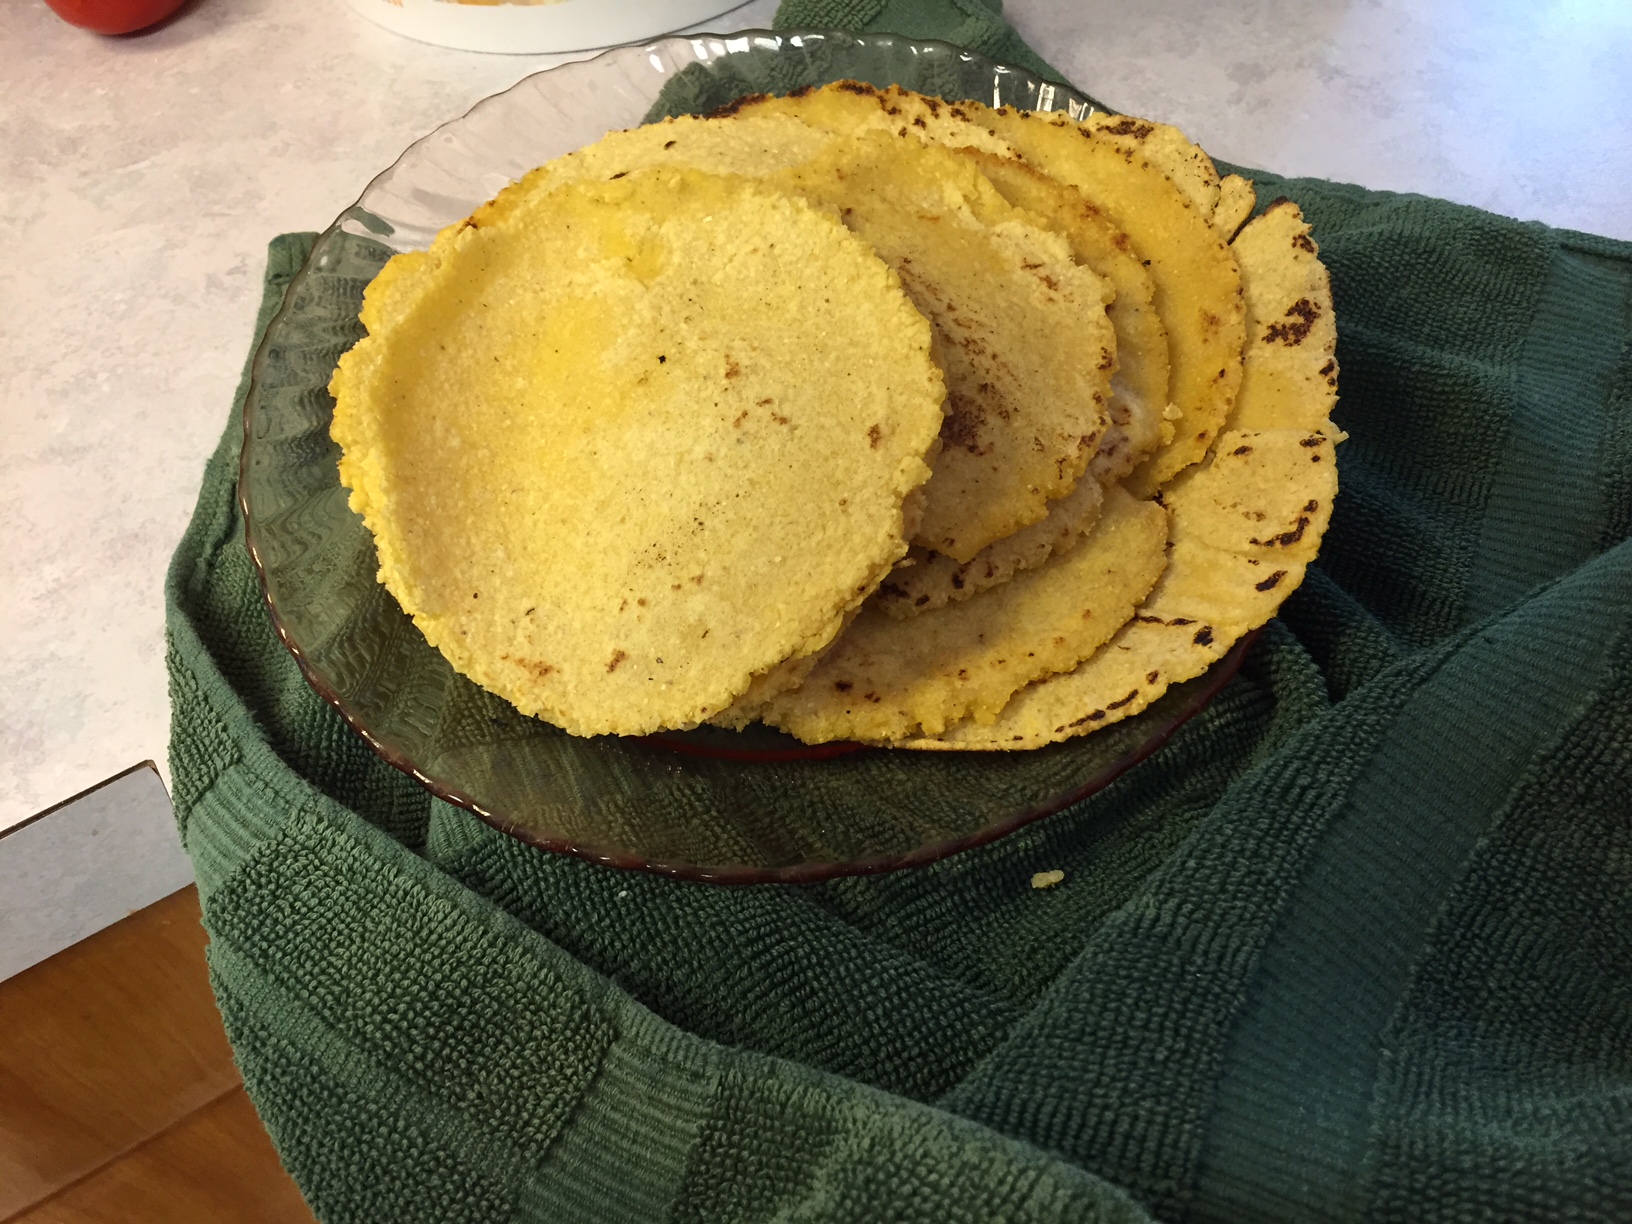
These tortillas are thicker than the ones from the store, and have a slightly different flavor.  Still, I ate one for lunch, and they are certainly edible.  I’m pretty happy with how my experiment turned out.

No Bake Mountain Bars

FullSizeRender

These are so easy to make.  Patsy and I whipped out a batch early Friday morning.  When I packaged them up for gift giving, I put a layer of waxed paper in-between the layers.

1-1/2 cups sugar

1/4 cups cocoa

1/2 cup milk

1/2 cup butter

3 cups quick oats

1/4 cup chunky peanut butter

1 teaspoon vanilla

Boil sugar, cocoa, milk and butter in a large pan for 1 minute.  Add remaining ingredients.  Drop by teaspoon onto a cookie sheet that has been lined with waxed paper. Decorate with sprinkles or mini M and M’s according to the holiday it is, or the color scheme you want to match.  We often leave them plain if it is not a holiday.  Refrigerate until set.  Makes 1 cookie sheet full of cookies, if you put them pretty close together.

The amount you get actually varies according to how big you make them.  I’ve had the recipe for years.  It came from a home-school math book a long time ago.  They are gluten-free as long as you are sure to use gluten-free oats.  Some people cannot handle oats, anyway, no matter what, but I can, so enjoy these occasionally.  I’d check with the recipient if you are unsure if they tolerate oats.


Slow Cooker Taco Soup

IMG_1782.JPG

Yesterday, I decided to make taco soup in the slow cooker.  It is heavy on the pinto beans, as my husband got a 50 pound bag last summer for only $22.

I spent quite a bit of time trying to burn a slash pile with the family, and we were all glad for a hot meal at the end of a long afternoon.  Sadly, it did not burn all the way up.  We got some of it burned, but not all.  Bummer.  The soup was still excellent.  This turned out quite thick and some family members chose to fish out the beans and turn it into nachos instead.

Taco Soup

2 quart-sized bags of cooked pinto beans (soaked, cooked and frozen previously)  Probably 4-15 ounce cans would work

1 onion, chopped

2 Anaheim peppers, diced

1 Jalepeno pepper, diced

1 quart home-canned tomatoes (a 32 ounce can would work)

2 cups beef broth (I had frozen I had made, but you could use 1 15-oz. can)

1/2 pound cooked, leftover turkey taco meat, seasoned with taco seasoning

salt and pepper to taste

Extra taco seasoning, or cumin, if desired

Sour cream, cheese, and olives to garnish (optional)

Put all ingredients in crock pot.  Turn on “low” and leave for 6-8 hours. My slow cooker will automatically turn to “keep warm” when the time is up, and I left this on all day long, probably about 10 hours, until we were ready to eat.  Since everything is cooked, except the vegetables, there would be no danger if you needed to eat it sooner.  It also holds a long time  if your dinner time gets pushed off.  Makes 10-12 servings.  (Actually the 5 of us didn’t have much left last night, but we had been outside working hard for several hours and ate more than 1 serving each, I’m pretty sure!)

IMG_1787

This is what it looked like as a nacho.  They did drain out the liquid from the beans before they dumped it on the chips.  We get the mega-bag of chips from Costco, divide into zip-topped bags, and can enjoy corn chips for a reasonable price, without them getting stale, for several weeks.

Gluten-Free Stuffing With Apples and Water Chestnuts

IMG_1751

I wanted to make stuffing for Thanksgiving.  I needed it to be gluten-free, but I didn’t want to pay the price for packages of gluten-free stuffing mix (I would have needed several boxes at around $5/package) and I didn’t want it to be either too dry or gummy.

I decided to take a loaf of gluten-free bread I had in the freezer.  My daughter made multiple loaves during the summer because she was practicing for the fair, and we just froze them all.  It was unsliced, so I sliced and cubed it.  I divided the cubes between 2 cookie trays, drizzled a little butter over them and sprinkled on some seasoning.  I used poultry seasoning on one tray and Bragg’s mixed seasoning on the other.  My plan was to use one batch for croutons if it made more than I needed, but I ended up using it all.  Then, I baked those trays at 350 degrees for 45 minutes, stirring every 15 minutes.

The bread cubes were definitely dried out and crisp, but a little chewy in the middle.  I had 1/2 pan left of the gluten-free cornbread my mom had brought over.  I had some frozen broth from a time when Rob had cooked a chicken with apples and onions, so it was apple-flavored chicken broth.  Regular chicken broth would work well, also.

Thursday morning, I made the stuffing.

2 quarts homemade stuffing cubes

1/2 of a 9″ x 13″ pan of gluten free cornbread, crumbled

2 onions, diced

4 stalks celery, diced

1 can sliced water chestnuts

2 large apples, cubed

2 cups broth

2 Tablespoons poultry seasoning

1/4 cup melted butter

salt and pepper to taste

Salute the celery and onions until soft in a little vegetable oil.  Pour bread cubes, cornbread, the vegetables, apples and water chestnuts into a very large bowl.  Sprinkle with poultry seasoning, salt and pepper.  Mix thoroughly.  Drizzle with the melted butter.  Pour  1/2 of the broth over the mixture and stir.  Check to see how moist it is.  If it is still very dry, add the rest of the broth.  Check again.  Add more broth if needed.  Mine took about 2 cups of broth.  The cornbread I had was quite moist but the cubes were quite dry.  I did not want the cornbread to be gummy so I stopped adding broth when there was still some definition to the cubes–the stuffing was not all stuck together into 1 big ball when I mounded it on a spoon, but it did not just fall apart, either.    The cornbread broke down into little bits that kind of held the cubes together.  I poured it into a flat pan–mine is larger than 9″ x 13″ and baked it for about 1 hour at 350 degrees.  IMG_1755.JPG

It turned out amazing!  It had wonderful flavor from the apples, onions and celery and a nice crunch from the water chestnuts.  It was not gooey or too dry.  It was economical, too, when I used the homemade croutons.  I was very pleased with the results.

Lemon Loaf

663

For the last couple of days, I have been drooling over the Simple Lemon Cake on the blog, Debt Free, Cashed Up and Laughing.  It looks so good.  I wanted to make it.  But, silly me, I did not know what SR flour was.  I am gluten-free, so maybe it was sweet rice flour?  I just didn’t know, but that loaf looked yummy!  After waiting patiently, I got the reply that it was self-rising flour.  That made sense.  Well, sweet rice flour would have fit into my gluten-free diet better, but that loaf still looked really, really good.  I still didn’t know what another ingredient was:  jelly crystals.  I wondered–pectin?  Who knew?  So, I asked again and it was…….Jello.  Sounded interesting, but I didn’t have any lemon jello on hand and I wanted to eat that cake tonight!!

Once that answer was received, Patsy and I set to work changing the recipe entirely to make it fit the ingredients in our pantry, and to make it gluten free.    If you want to make the original recipe, go to her blog.  Or, try this version.  It’s really good, too.  I save money every time I make my own gluten-free baked goods.  To buy one gluten-free muffin can cost a couple of dollars, minimum.   Even though gluten-free flour is expensive, it’s way less to make my own.  I also had a lemon languishing in the refrigerator drawer that needed to be used.

Mini Lemon Loaves

2 Cups 1-to-1 Flour (from Bob’s Red Mill)

3/4 cup sugar

1-1/2 teaspoon baking powder

1/2 teaspoon salt

zest of 1 lemon

1/2 cup melted butter

4 eggs

3 Tablespoons lemon juice

1/2 cup milk

Glaze:  1 cup powdered sugar

2-4 Tablespoons lemon juice (start with the 2 Tablespoons, and add more as needed to make a glaze)

Mix the dry ingredients together in a bowl, including the lemon zest.  Mix the butter, eggs, lemon juice and milk in another bowl.  Pour the wet ingredients into the dry mixture and stir until well blended.  Spray 3 mini loaf pans (4″ x 2″) with non-stick spray.  Divide the batter evenly between the pans.  Bake in a 350 degree oven for 30-35 minutes, or until cooked through and slightly browned on top.     When the loaves are removed from the oven, set them on a cooling rack.  Pour the glaze onto the hot loaves, still in their pans.  Let set for 10 minutes.  Remove the loaves from the pans, and finish cooling on a wire rack.  The glaze will be cooled enough to stay on the loaves.  Makes 3 mini loaves.  Keep leftovers in freezer.

image