Category Archives: Sewing

Sewing– Pajama pants for Jake

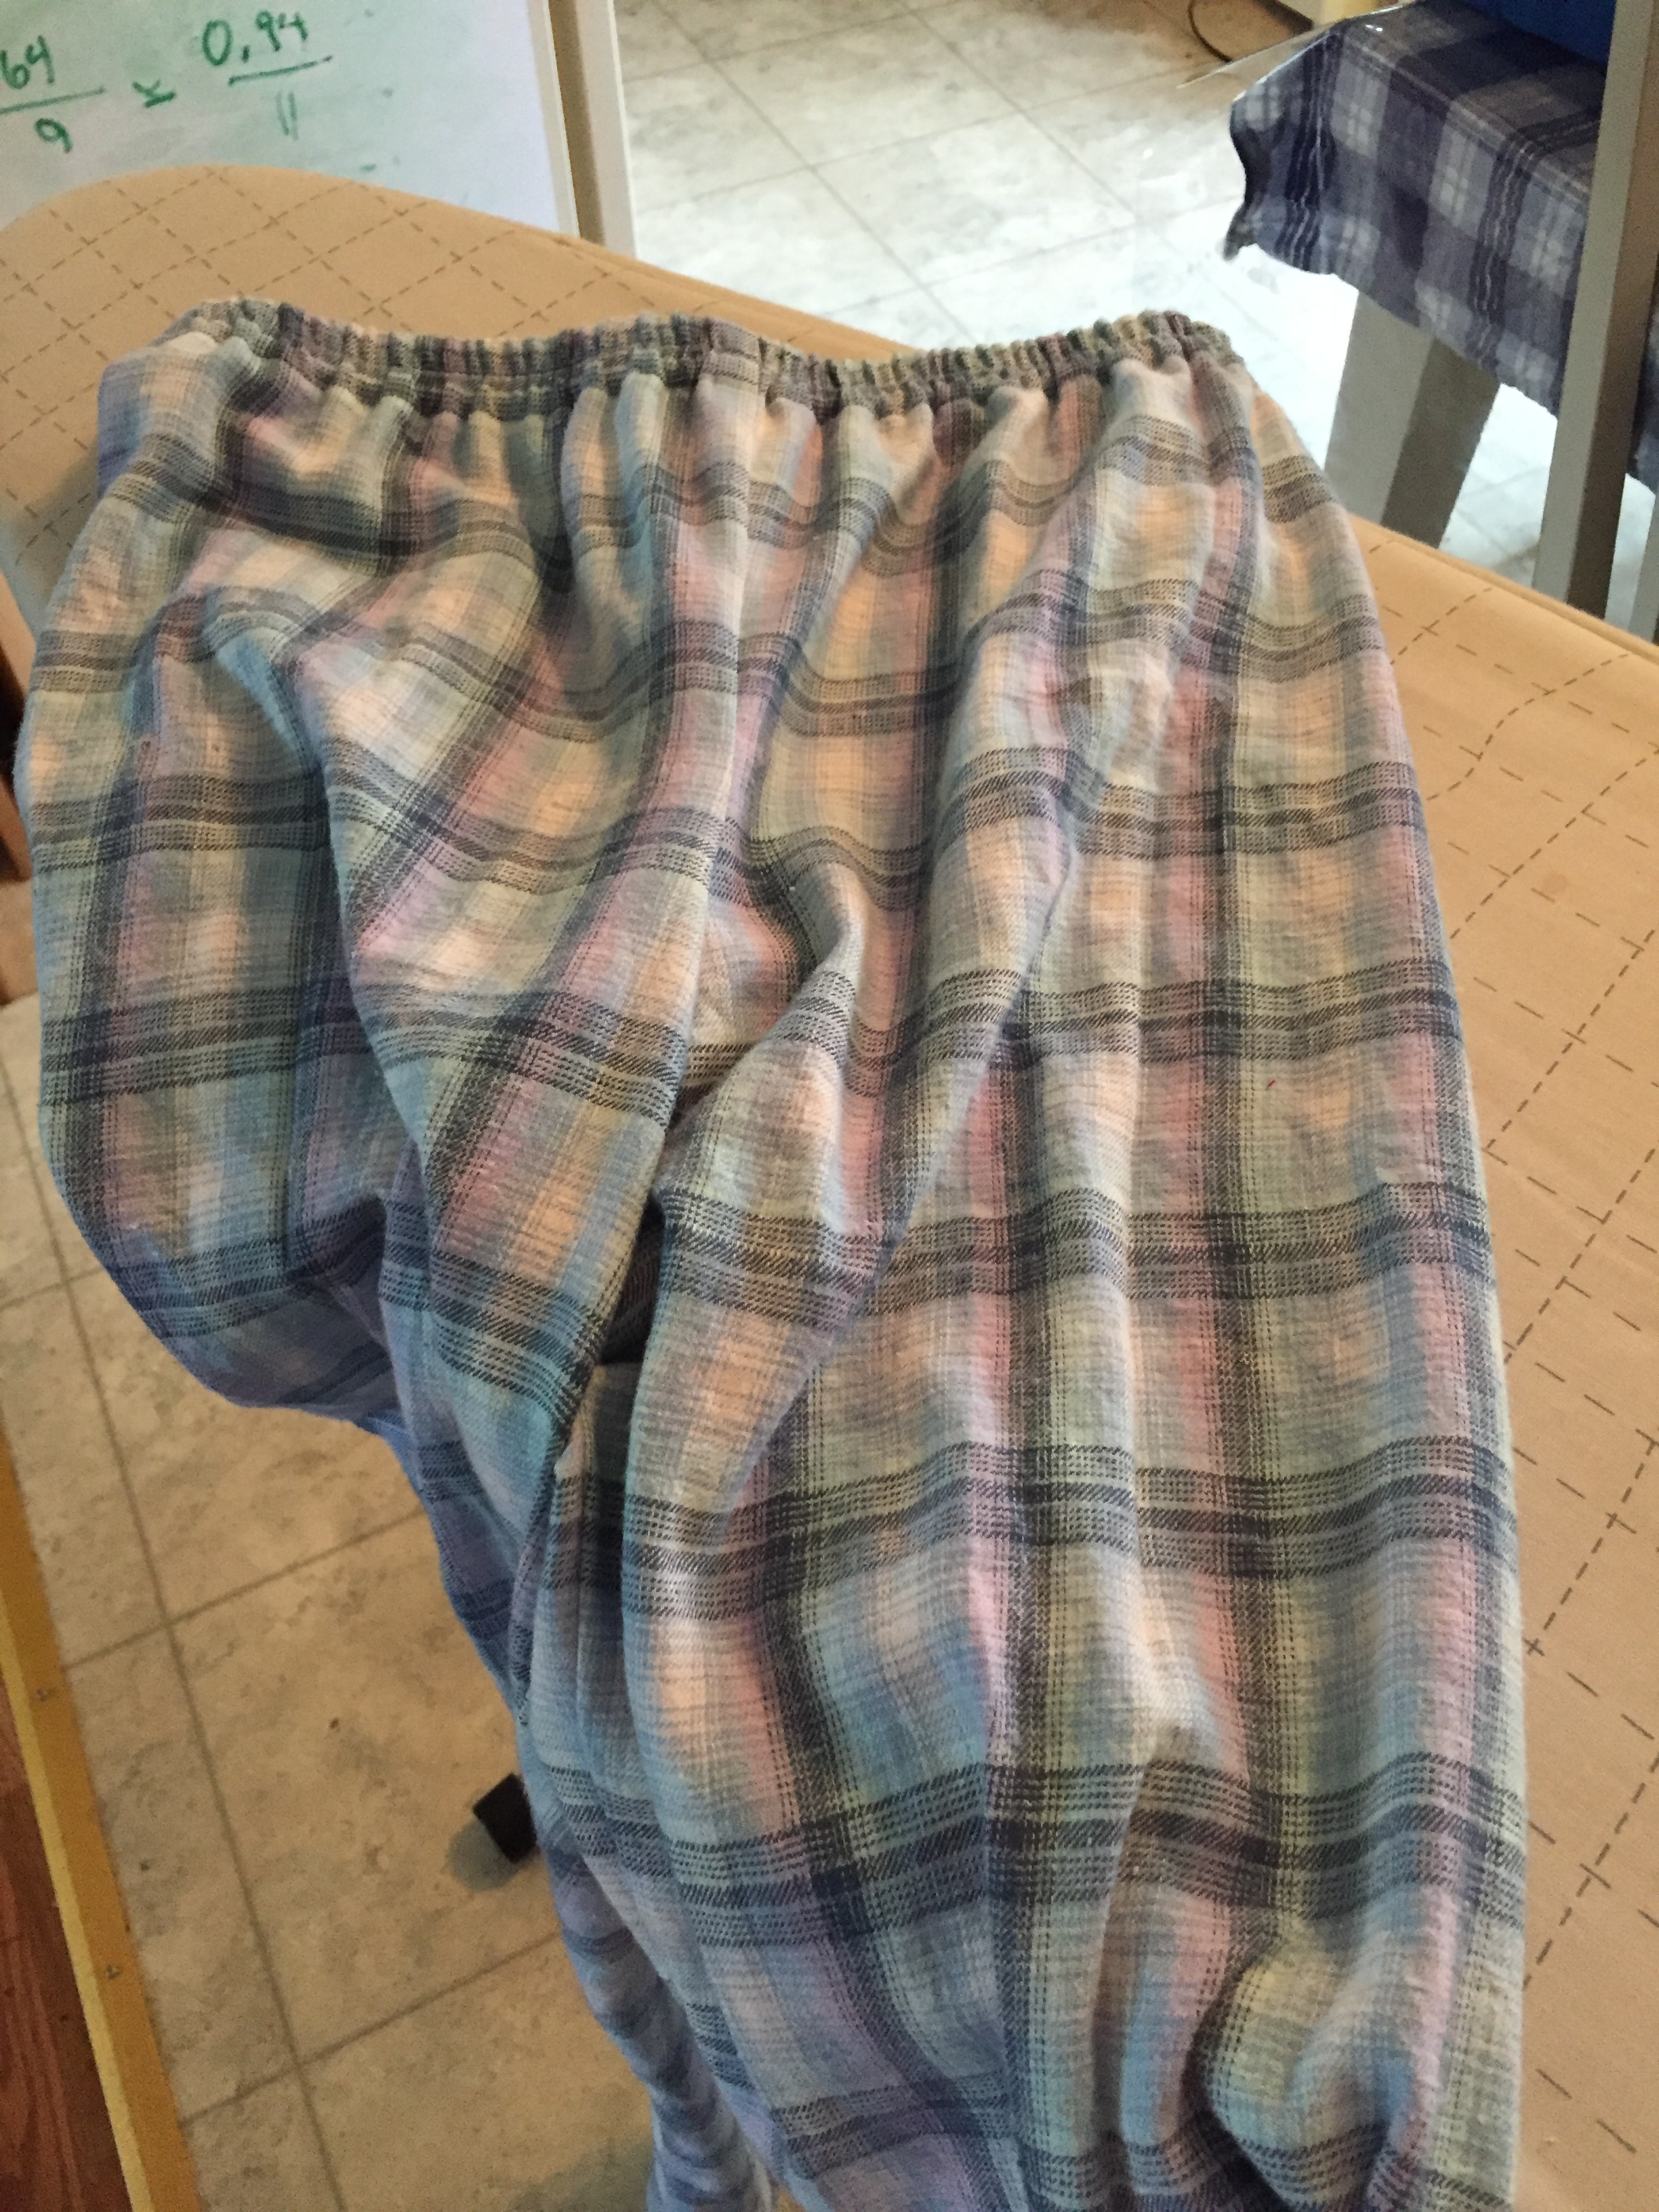
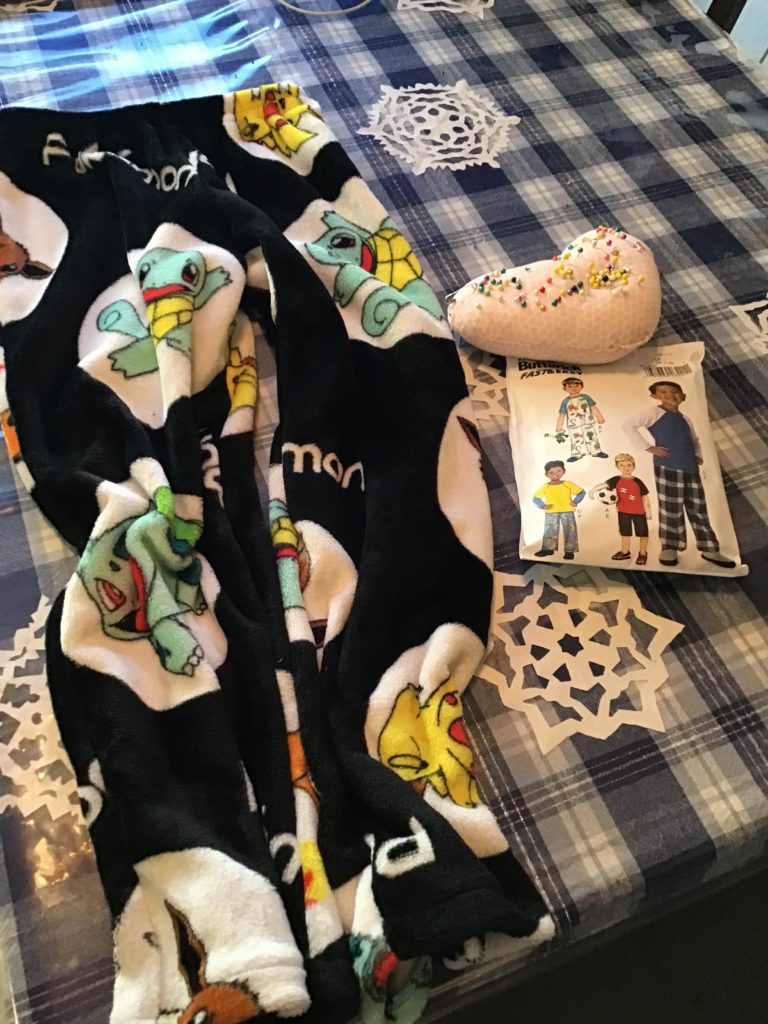
I spent some time today making up these Pokemon pajama pants for Jake. As soon as I found this remnant at JoAnn’s, I knew it would be perfect for him, if there was only enough! He and his much-older sister love to play the Pokemon game on her phone, and they watch tv shows about Pokemon as well. It’s kind of their special thing, and so he loves the characters. This fabric is normally quite expensive per yard, but the bolt was on sale, and then the remnant price was 1/2 the sale price. It ended up being a good price after all those reductions, so I took a chance and bought it.

This piece was either a yard, or within an inch or two of being a yard. I used it down to the last inch, but it was the length I needed to make him a pair of pants. They are actually pretty big on him, so should last a while. The fabric is very fuzzy and soft and he loves how cuddly it is. It was a bit of a pain to sew, as it wanted to squiggle out from under the needle, but thankfully, I was able to get it to behave for the most part. I think the fabric was probably intended for a blanket, but this worked, too.

These p.j. pants were part of his birthday present, but I waited until he was over here so I could measure the elastic around his waist, and make sure the length was good. That all happened today, and we were both pleased with the result. It took a bit for me to convince him it was pajamas and he couldn’t wear the pants all day. I’m not sure why I bothered. When we went to the store, there was a big boy wearing a full zip-up Pokemon sleeper…….hmmmmm. I think I’ll still let p.j.’s stay home for nighttime at my house:). I guess I’m a little old-fashioned!

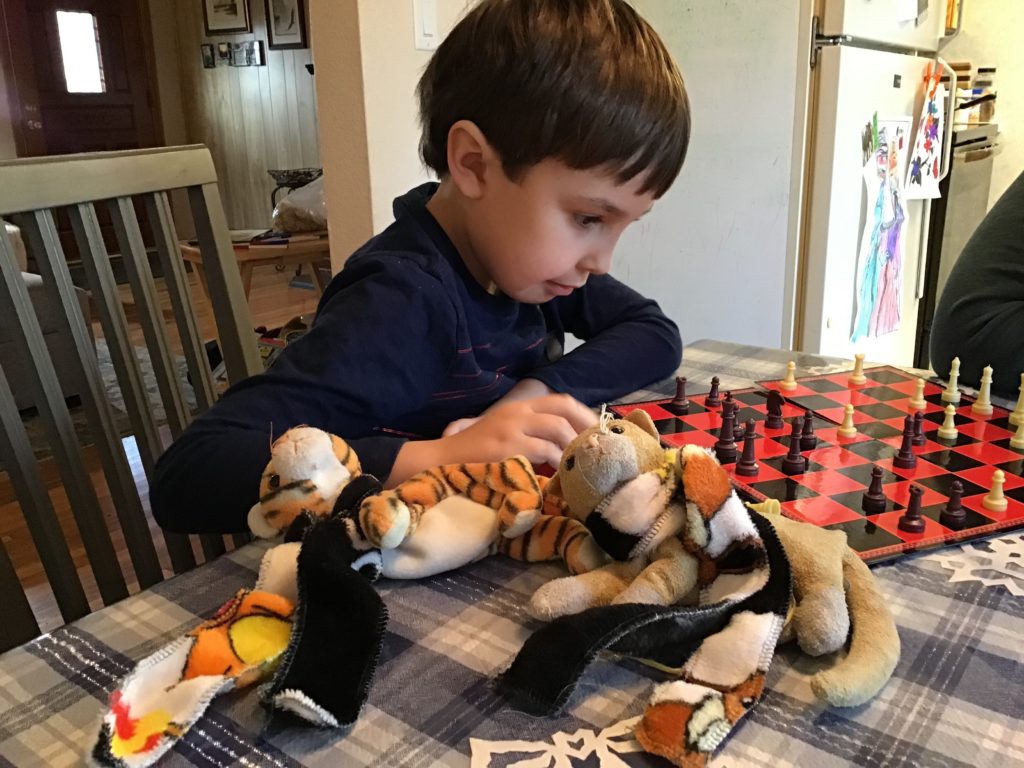
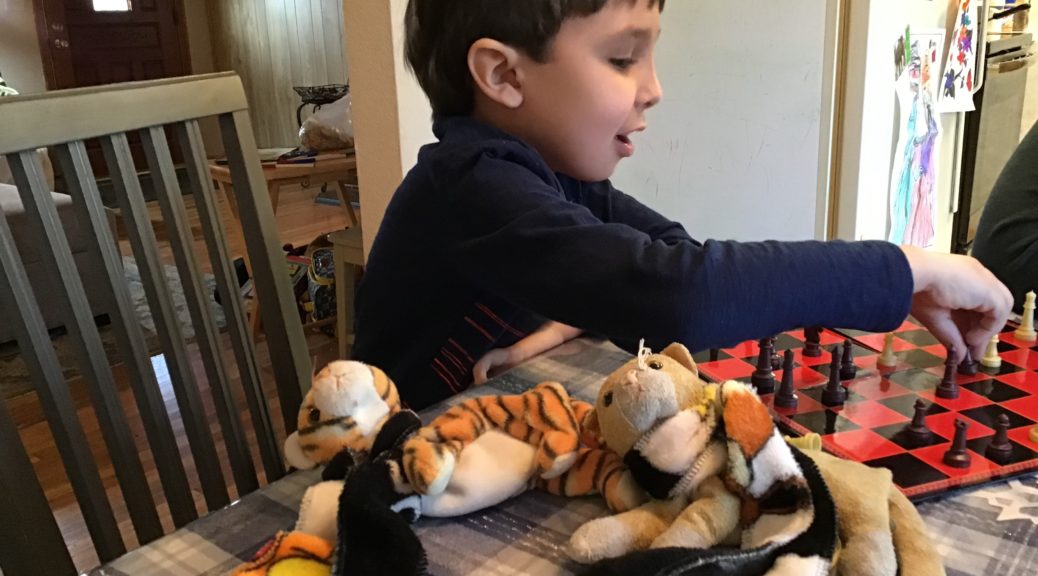
There were just two skinny scraps left. So, 2 kitties got scarves. They watched, along with the kitty who didn’t get a scarf, as Patsy tried to teach Jake how to play chess. I’m not sure he’s got chess down, yet, but he seems to enjoy games quite a bit right now and is happy to have someone who will play with him. And, I was glad to get another project checked off my list!

A Little Sewing–New Look–HO182–Nov. 29, 2018

IMG_9782

I was very happy to complete a fun sewing project yesterday.  I had a bit of trouble gathering the needed notions, though.  When I got this fabric 1/2 price last Saturday, I didn’t buy thread.  Why would I buy thread?  I have a small bin absolutely full of spools of thread from projects in the past.  But, not this color except for a teeny, tiny bit on a small spool.  Or anything else that was close.  I used the little bit and I sent poor Rob off to JoAnn’s on Monday, but he was unable to get any.  They were still decimated from Black Friday weekend, and most of the blue thread was gone.  The clerks were super busy, and couldn’t help, and since Rob is color blind…..he didn’t feel confident to choose another color instead of the exact color I sent him to get.  (He took a picture of the old spool to get the number from it.).  I got some at Walmart the next day.  Whew.  Then, I went to my bin of zippers to get one–after all, with a small bin of zippers, I never need to buy one, right?  Wrong!  There were no blue ones.  On Tuesday night, I got my zipper.  I bought an extra blue one for the bin:).

In the meanwhile, between running around for these bits and pieces, I sewed the white parts, and what I could with the small amount of thread I had on that little spool.  Yesterday, with the proper notions, I finished the little dress.

IMG_9783

I had thought to put the upper layer of white ruffle (view C) on the bottom, but I lost the piece.  Yes.  I did!  Completely.  I pinned it to the white and cut it out, and it’s gone.  Pattern piece, pins, and fabric.  We have all looked for it.  I’m sure it was either accidentally thrown away, or I will find it in a cupboard someday, stuck to a tablecloth or folded towel, or something.  But, for now, our little frozen princess will have to survive without a white ruffle.  After looking for quite a while,  I decided it was time to “Let it Go, !” as the song says. I finished the dress, and am very pleased with how it looks.  I know my little friend will be delighted with it, and I had a good time sewing once I got over the frustration of gathering the parts and pieces.  I’m ready to move on to the next project.  I have several planned for the next few weeks.  After all, it’s almost Christmas:)

Patsy’s Dress

IMG_9564

In anticipation of the Homecoming dance, I have been working hard, making Patsy a dress to wear.  It was pretty thought-provoking, as there were lots of alterations to be done.  I finished last week, much to my delight, after several late nights/early morning sessions.  Patsy got to wear her dress last night to the Homecoming Dance at her school.  I got some great pictures of her, and so did Rob.  I know several of you have been asking to see photos of the dress, and I am happy to say I now have some.

IMG_1217

I started with Simplicity 1415.  I did not have the correct size and there were no pattern sales for $1.99, etc. so I altered the pattern I did have.  I purchased some fabric at JoAnn’s, and it was all on sale.

First, I taped the bodice pieces onto some butcher paper.  Then, I did a lot of measurements to both the girl and the pattern, drew the new lines where I wanted them, and then cut out a bodice from some muslin I had in the shop.  I basted this together, made more adjustments for correct fit, and then moved on to cutting out the lace overlay.

IMG_1236

As you can see, the lace back dips down to meet the under bodice piece (blue).  To make that match with all the alterations was a bit difficult, but I just kept trying it on her, and making adjustments.  When the lace overlay was fitted correctly, I decided to make a binding from scraps of the lace fabric.  It looked much better than the bias tape that was called for.  The bias tape would have been way too bulky and would have shown through the sheer fabric.  I just cut scraps on the bias, sewed them together, ironed them in half, then sewed the binding on.  I then made the underlay and put the facing on.  This also needed many try-ons to make it fit and to make the seams of the lace on top line up with the seams of the blue underneath.  I also raised the neckline a bit on the blue in front and down a bit in the back to match the lace.  I sewed the skirt on, adjusting the pleats so that the skirt would fit to the bodice.  I also needed to adjust the length of the bodice, taking off a lot of excess fabric in the back, and none in the front….but it finally sat at the waistline as is should.  Then, I got to put in my first ever invisible zipper.  I have to admit, I put it in nicely, got the waist seams to line up after a couple of tries, but ended up having trouble at the very bottom.  So, I just finished the very bottom by hand, and you cannot tell from the outside at all.   I didn’t want to rip any more than I had to, as the dress fabric was so delicate, and I had tried a couple of times before I just changed my method.

IMG_1243

To sum the project up:  Cost:  Around $25.

Time Spent:  At least 15 hours, probably more

Times tried on:  At least 20.  She was very patient.

Patsy was very happy with the dress, which makes it all worth it.  We had spent an evening shopping for dresses and could not find one that fit her, we liked, and was affordable.  She will be able to wear this dress again for Christmas Eve church.  Our family always dresses up for that service, a tradition we started years and years ago.  So, while people come in every conceivable outfit to that service, my girls usually wear fancy dresses.  It’s kind of fun for them to have an occasion to wear the fancy ones, I think.  We will try to find a shawl for that occasion, as it will likely be very cold.

I like to sew, and have not make a big project for quite some time.  I am glad to be done, though, as it was very hard for me to find enough mental energy for all that altering–I have to really think to change a pattern as much as I did. It also took quite a bit of time during an already-busy canning season.  I’m hoping to find a little more time to sew her a few more things this fall.  I have fabric in the shop, and she could use some more skirts.  Thankfully, they are easier than this dress was!

How to Make Jeans Shorts From Yard-Sale Jeans

IMG_6980

Patsy had no shorts left that fit from last year.  It has suddenly turned warm, and the situation was getting desperate.  I do have some money set aside for clothes for her, as she has grown, but want to stretch it as far as possible.  So, as I usually do, I started praying that God would lead me to the right bargains.

I’ve had it in my mind that I wanted to try some garage sales, but have not had time during the past few weeks to go to any.  In fact, I have been to only 4-5 in the past year, because I’ve been  too busy to spare the time.  On Friday morning, when I drove up to  Walgreens to get Ja’Ana’s finished graduation invitations, I saw a sign and stopped.  And, what do you know?  I hit the jackpot.  I got 4 pairs of jeans and 1 pair of sweat pants, all in sizes I was hoping would fit, for $1 a pair.  Here’s the “God thing.”  Every single pair fit her, even though they said different sizes on the tags.  I would have been happy with 1 or 2 that fit for that price, but to have all 5 fit?  Definitely a blessing. (I would have donated any that did not fit, and still felt like it was a bargain for $5.)

She decided to keep one pair long, as they fit and were short length like she is, removing the need to hem them or walk on the bottoms of them.

The sweat pants will be for when we go to the beach this summer or for after swimming. There is no picture of them, but they are basic.

The other 3 were turned into shorts.  Rob saw some in a store with eyelet lace on the bottom, so we decided to try that for 2 pairs.  The other pair was just cut off and rolled up.

IMG_6979

IMG_6985

The lace was free.  I have a bin with lace from the past from either yard sales or leftover from sewing projects.  I feel very happy and blessed to have made such a great start on her summer wardrobe.  It was a pretty satisfying way to spend $5.

Here’s how I turned them into shorts.

  1.  Cut the jeans off.  I cut the first pair off a little long, tried them on her, then cut it off some more.  The roll-up ones ended up at about 9″ and then they were rolled.  That’s all I did.  That took 5 minutes.  The others took longer.  They started at around 5 or 6 inches, then the lace was put on.  Patsy is very short, so if you are making some for a taller person, cut them longer. You can always cut them off more or roll them up farther after you try them on.  You can never put fabric back after you cut it off:)IMG_6982
  2. I placed the lace right side down onto the right side of the shorts.  I folded the end over, so that a raw edge would not show when I was finished.  I lined that fold up with the inner crotch seam so it would not be obvious.  I then serged around the entire leg, attaching the lace, overlapping when I got back around to where I started.  The serger cut off the excess lace and finished the edge.  If you don’t have a serger, just sew around, then cut the edges even.  (My lace was too wide, so I cut some off while I serged).IMG_6983
  3. When I got back around to where I started, I angled the lace off when I overlapped it.  This keeps it from showing from the front, and the folded-over lace from the previous picture is what shows.  Then I sewed lace to the other leg and turned it right side around.IMG_6981
  4. Then I topstitched the right side down to hold it all neatly in place.  I used thread that matched the jeans, and a long stitch.  When I got to the parts where I needed to sew over the seam, I pulled gently to get the machine to go over those lumps, because by this time, I was sewing over a double seam and it was bulky.  (It was double because it was folded over.  I was pleased with how they turned out, and now she is ready for some upcoming warm days:)

Sewing Day–President’s Day, 2018


I decided to use my days off for sewing.  It’s quite a process around here, as everything has to be taken out of the garage, and all parts and pieces have to be found.  So, I took over the table, told people to eat elsewhere, and got busy.  I got started on Saturday afternoon.IMG_6398

I finished up this skirt for Patsy I had started quite some time ago.  Thank goodness it still fits.

IMG_6400

I moved on to a pair of pajama pants for Ja’Ana.  This was a piece of fabric I’ve had for years, and I went out to the shop and dug it out since I knew it would be perfect.  I spent quite a bit of time Sunday afternoon cutting it out so the plaid would match.  I haven’t matched plaids for a long time, so it took me a long time.  Success comes from careful cutting with plaids.  I sewed the pants on Monday, and was delighted with how well the plaids matched.   It actually took around the same amount of time to cut them out as it did to sew them!

IMG_6403

A nightie for Patsy was the next project.  It went together quickly.

I got another skirt cut out as well, and even got started, but I’ll show that one when I get it done.  It will be a while before I get another chance to sew.

You may notice that I chose projects that were very simple and quick.  I feel great about getting them done, and using some fabric I’ve had for a while.  The girls will really benefit from some new nightwear.  I’m also very happy to have finished the skirt, at long last.

I cleaned up the entire mess, but hopefully put the machines and all parts and pieces in handy places so I can pick them up easily if I do get a chance to sew again before long.  We did a few other fun things on our days off, as well, so I feel pretty good about this weekend.  Good thing….it all starts up as usual tomorrow, bright and early!