
Patsy learned how to make this zippered pouch at a recent 4H workshop. Here’s how you can make one, too.
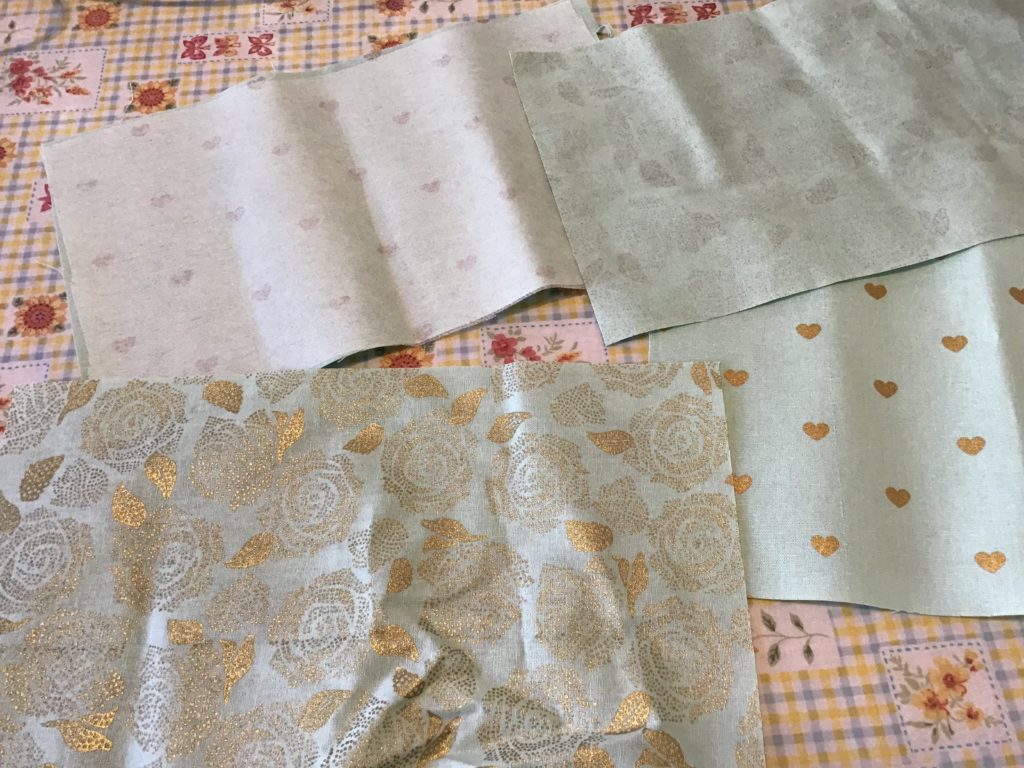
Cut 2 rectangles for the outside, and 2 for the lining. These can be any size you want. We chose to interface our outside fabric with iron-on interfacing, to give it more body. For the class, we laid our zipper out and just cut the rectangle the length of the zipper. This time, we had a longer zipper, so we just cut the fabric the size Patsy wanted and cut off the extra at the end of the project.
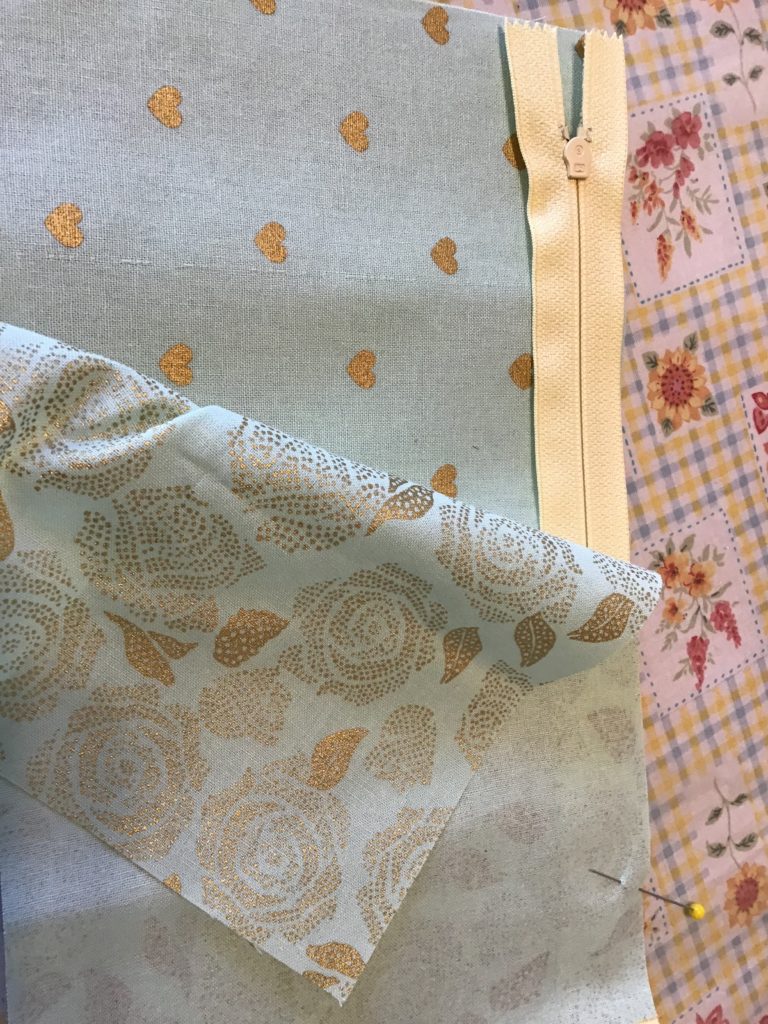
Put your outside fabric face up on the table. Lay the zipper face down on the edge of it. Put the lining fabric face down on top of the zipper and pin. If your zipper is longer than your pouch, leave the extra alone for now, just let it hang off out the end. Sew along the long edge, using a zipper foot. Press both pieces away from the zipper.
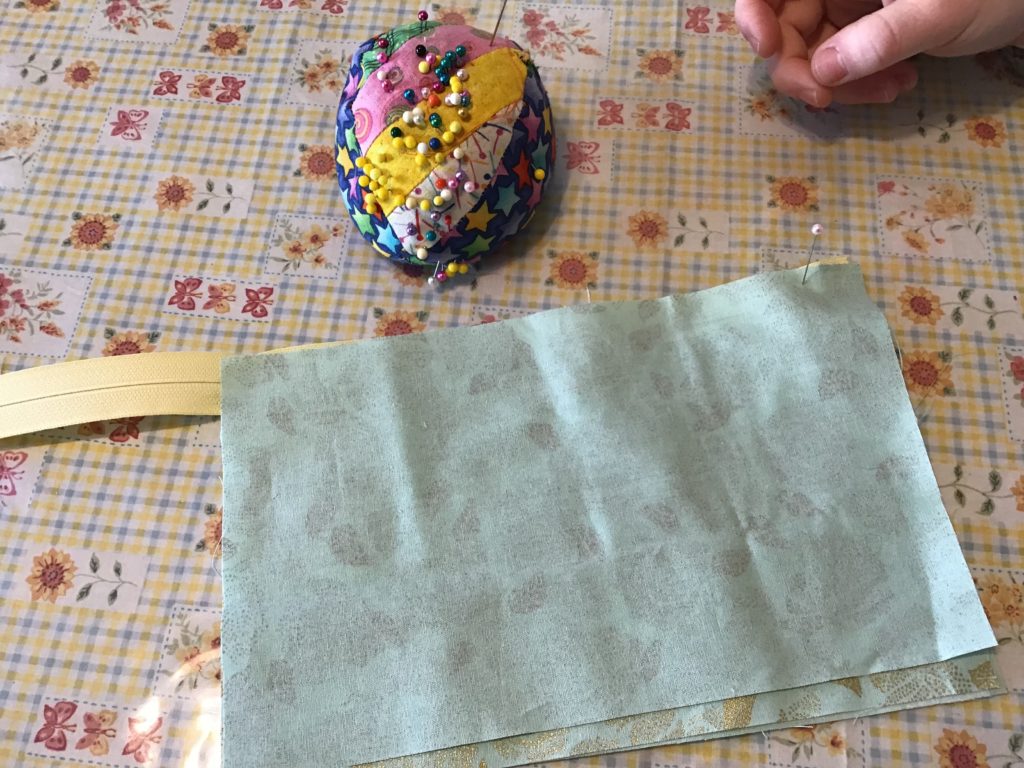
Lay your second outside fabric down on the table. Lay your zipper, which is now connected to your first set of fabric, face down onto it and sandwich with the second lining fabric. Sew, using a zipper foot.
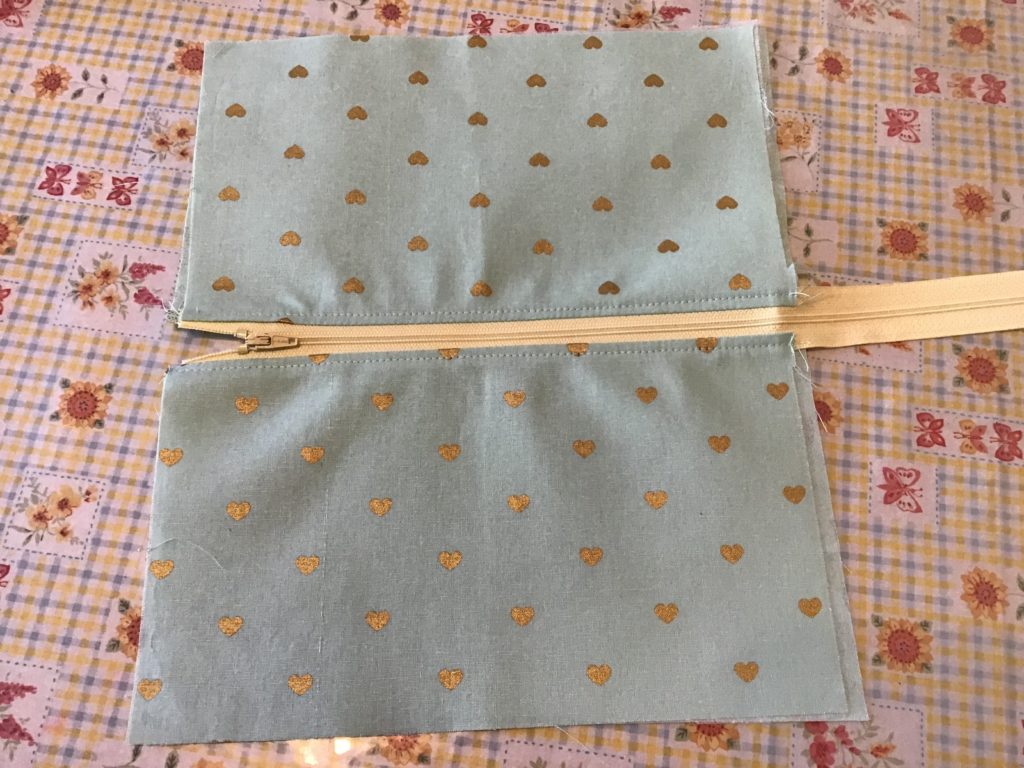
Press the cloth outward from the zipper and topstitch along the outside, near the zipper.
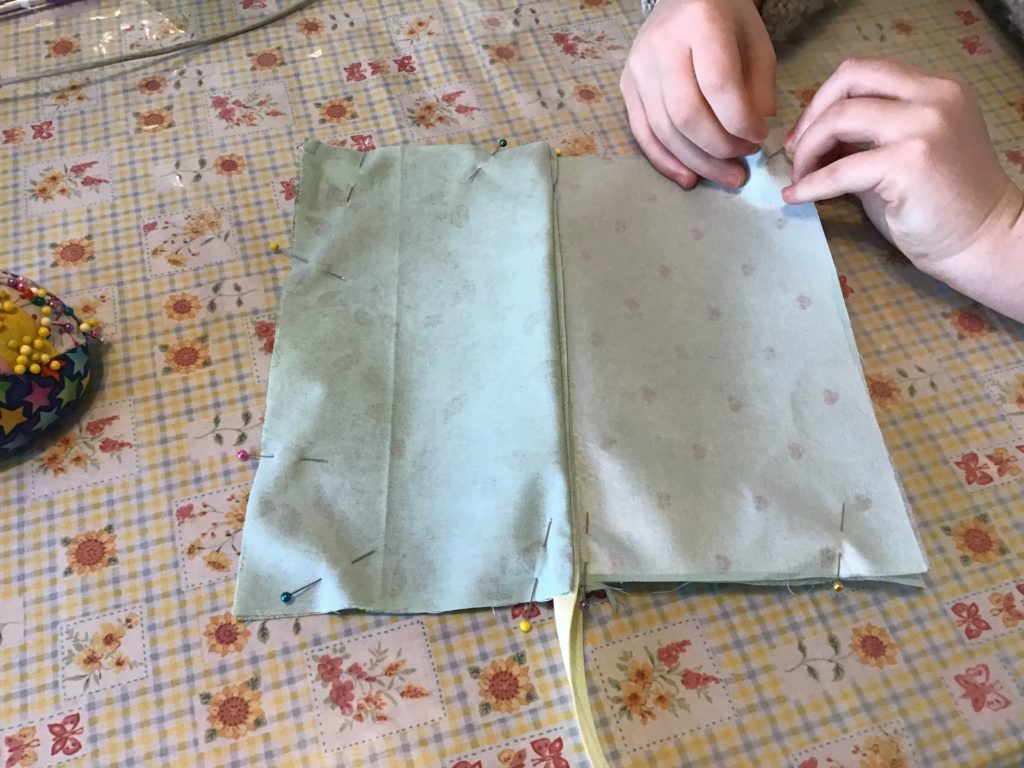
Now, take the 2 outside pieces and put them right sides together. Do the same with the 2 lining pieces. The 2 pins on the long edge of the lining are marking the space that you will leave open to turn it around after sewing.
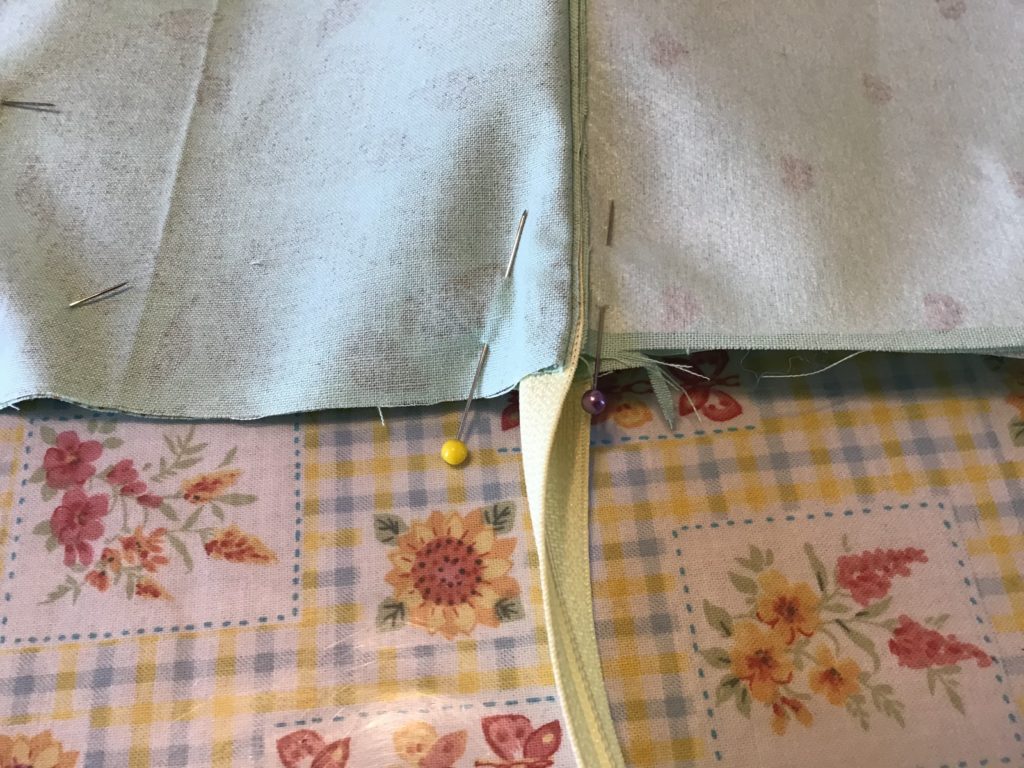
Fold the zipper, and put it towards the lining side. Pin well.
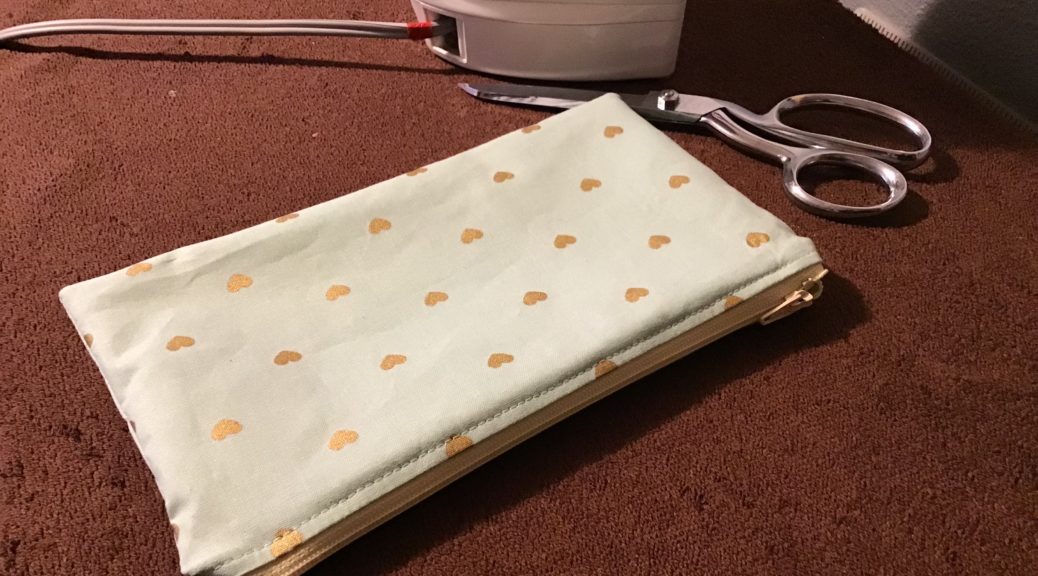
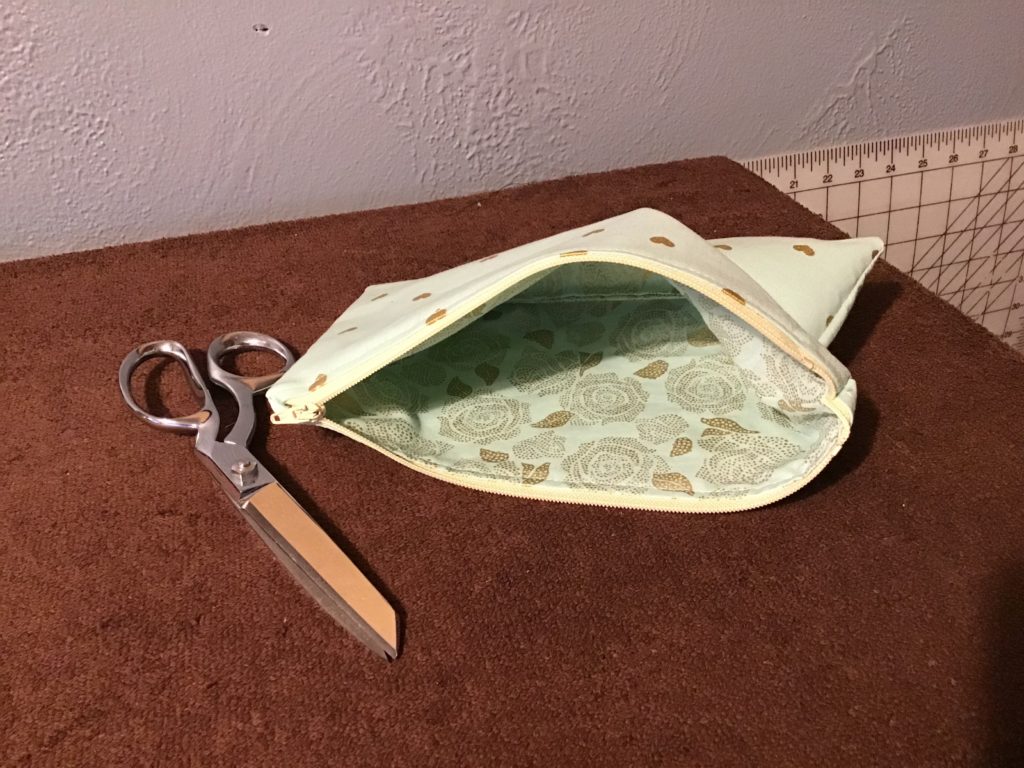
Sew around the pouch, remembering to leave the opening on the lining side. When you sew over the zipper, go slow so you don’t break a needle. Go over that part again, if you feel the stitches got too long when you were sewing over that part. Clip the corners. Cut off the extra length of zipper. Turn around. Press. When it looks the way you want it to, sew the turning hole shut, either by hand or by machine. (At the class, we were encouraged to just use the machine, since it is on the inside and no one will see it, but that’s up to you.)
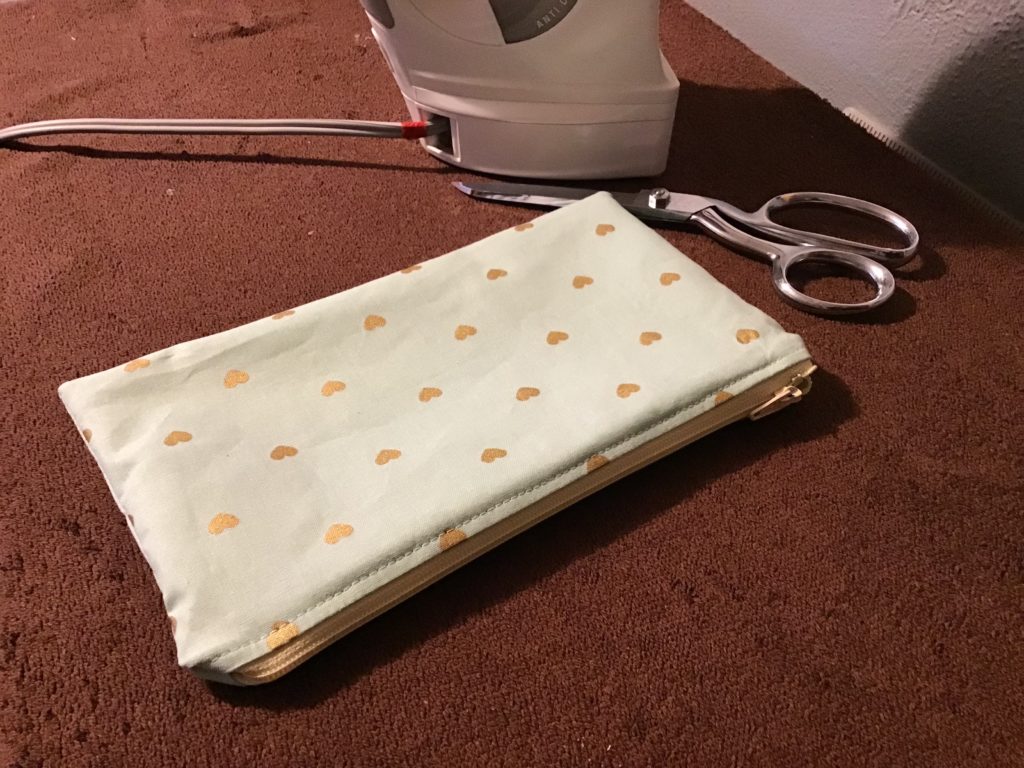
You are done! Patsy gave away the pouch she made the other day as a birthday gift. This one is quite a bit smaller, and would be perfect for colored pencils.
I’m going to send my husband on a garage sale hunt for zippers this summer, as I plan to make a bunch of these for gifts in the future. I think they would be a great idea for the Operation Shoebox project in the fall, filled with colored pencils and a sharpener purchased at the back-to-school sales. Regular pencils or pens would go in nicely, as well. A larger one would be good for markers, and different sizes could be used to put in purses with personal items a young lady may need and not want everyone to see. You could fill one with hair bands, a brush and a bow for a gift for a girl, or little cars for a boy.
Checkers or other game pieces would fit in one well. They also would work for a supply of medical items such as bandaids, diabetic supplies….anything you would want contained, to look nice, and to keep in one easy place.
I’ll look and see if I have zippers for you.
Awesome!
Awesome tutorial! I would check thrift stores for zippers. Where I live, you can find stuff like that almost always. I do live in an area where there are a lot of retirees, so it may be different here than where you live.
That’s a great idea. Rob is the thrift shopper/garage sale attendee in our family. It will give him a good project!
When I discard a dress or skirt, I save any buttons or the zipper. Since the zipper still works, it should be fine to use for these. Maybe yard sales or thrift store might have something that would be less expensive than buying new ones. Just a thought.
I’m totally planning on getting a bunch of zippers from yard sales or thrift stores. I have some in a bin here, from years gone by, and a friend is going to give me some extras. Rob goes to garage sales and thrift shops and says he sees them there at times. He has specific instructions as to what I want….there’s nothing that man loves more than a bargain. Why I still have lots and lots of buttons left from the time he bought an apple box FULL of buttons for some ridiculously low price from a yard sale, and lace from another time. It doesn’t mean that I never buy any, if nothing matches, I do purchase something that does. But lots of times, his bargain shopping has saved me a great deal of money.
One of my goals for this year is to make some gifts up all along for birthdays, and the next holiday season. I made a lot of things last fall, but I will say it was pretty time-consuming, so I want to spread it out a bit.
I love this! I have not been brave enough to try a zipper yet, but I think I may try making a pouch. Love the Operation Shoebox idea too. I see zippers while thrifting, so will keep an eye out for them now. Little pouches are so useful. Thank you for sharing this!
You can do it! This was a very easy way to put a zipper in–probably the easiest one ever!