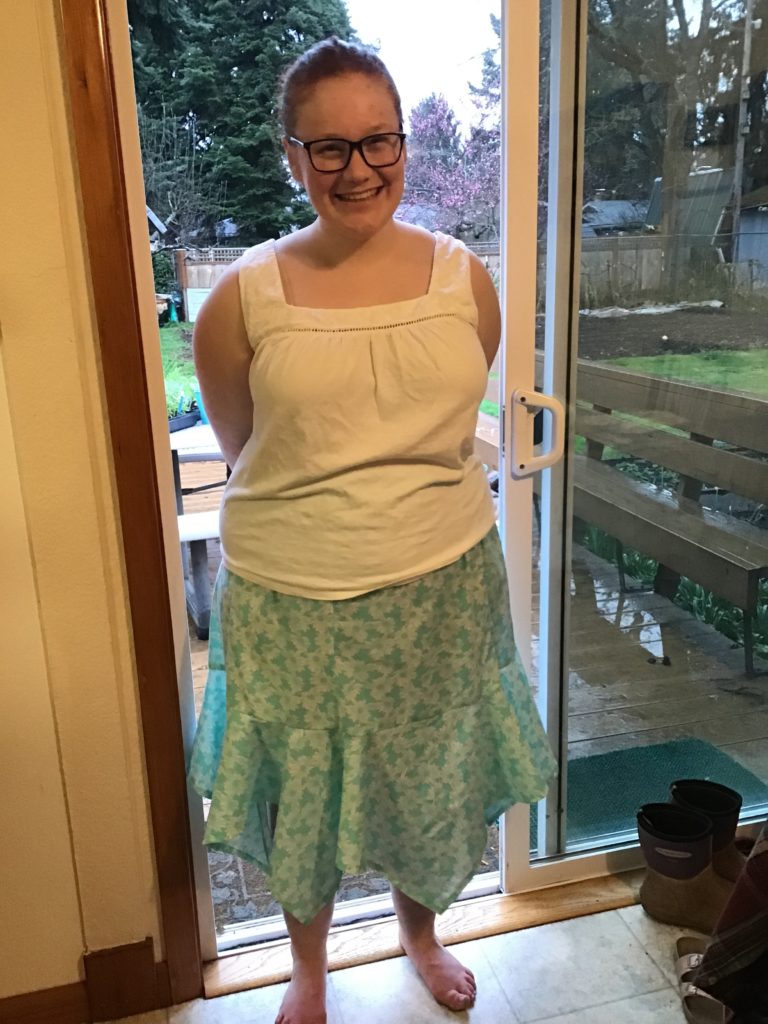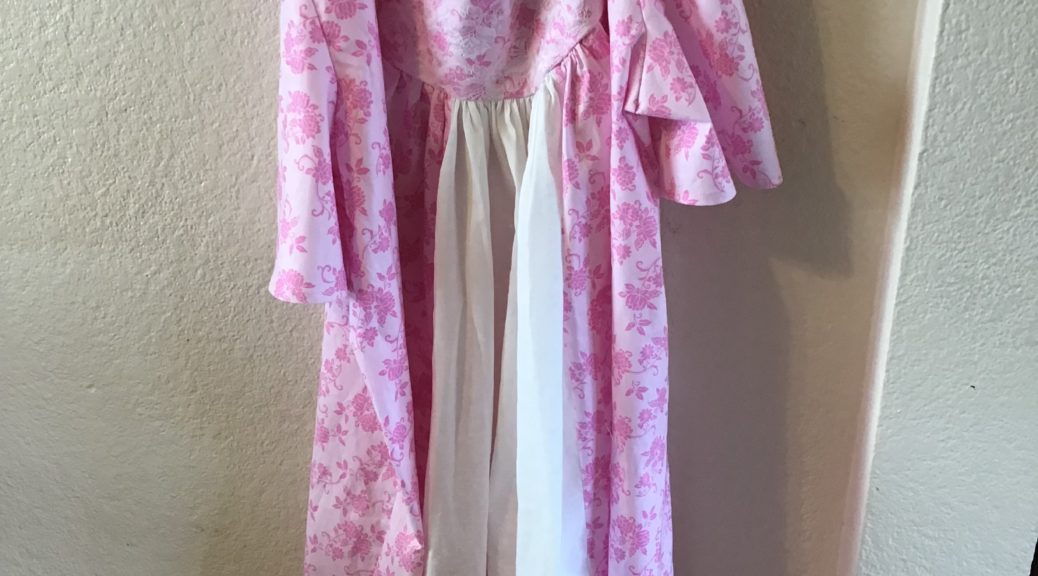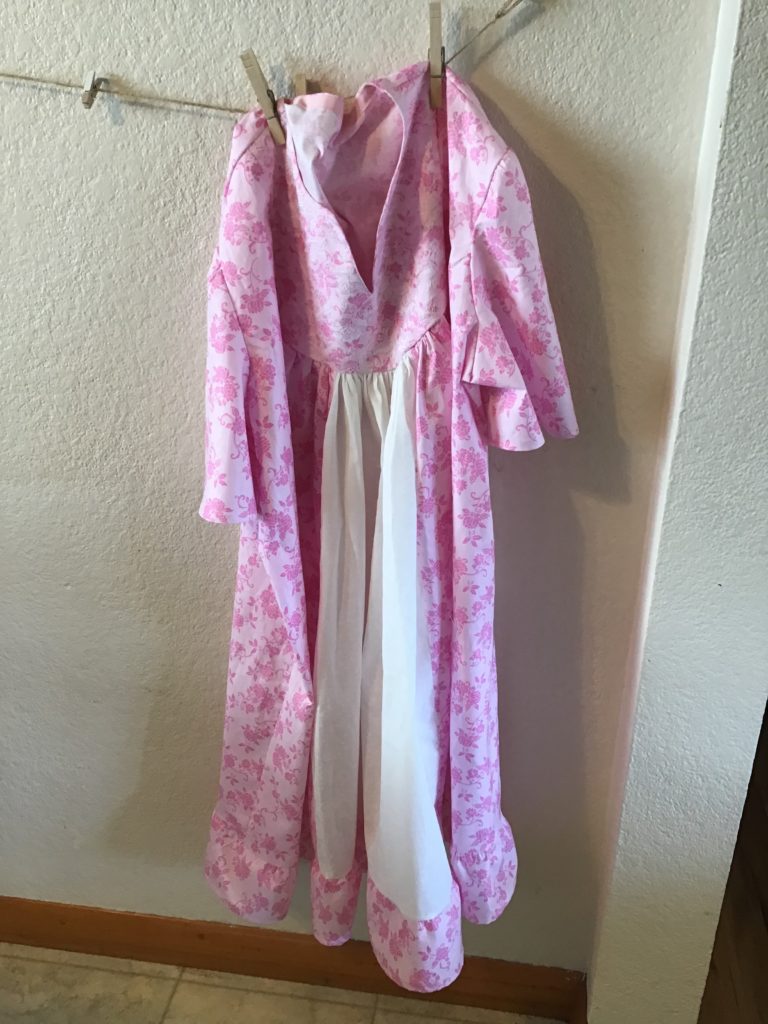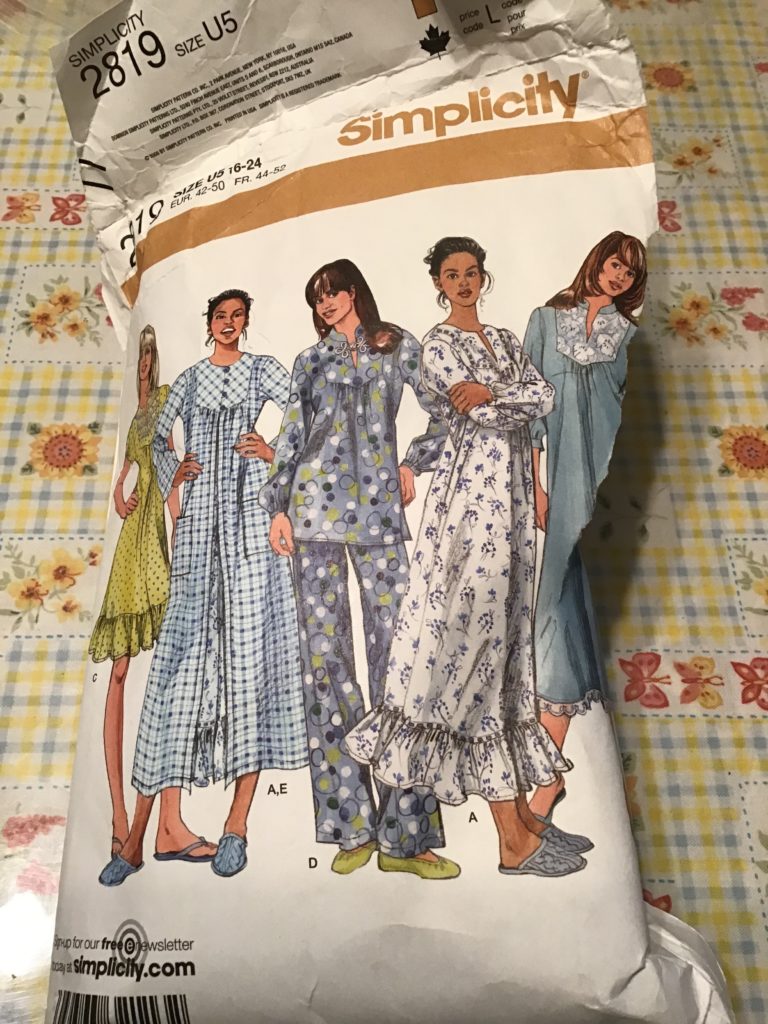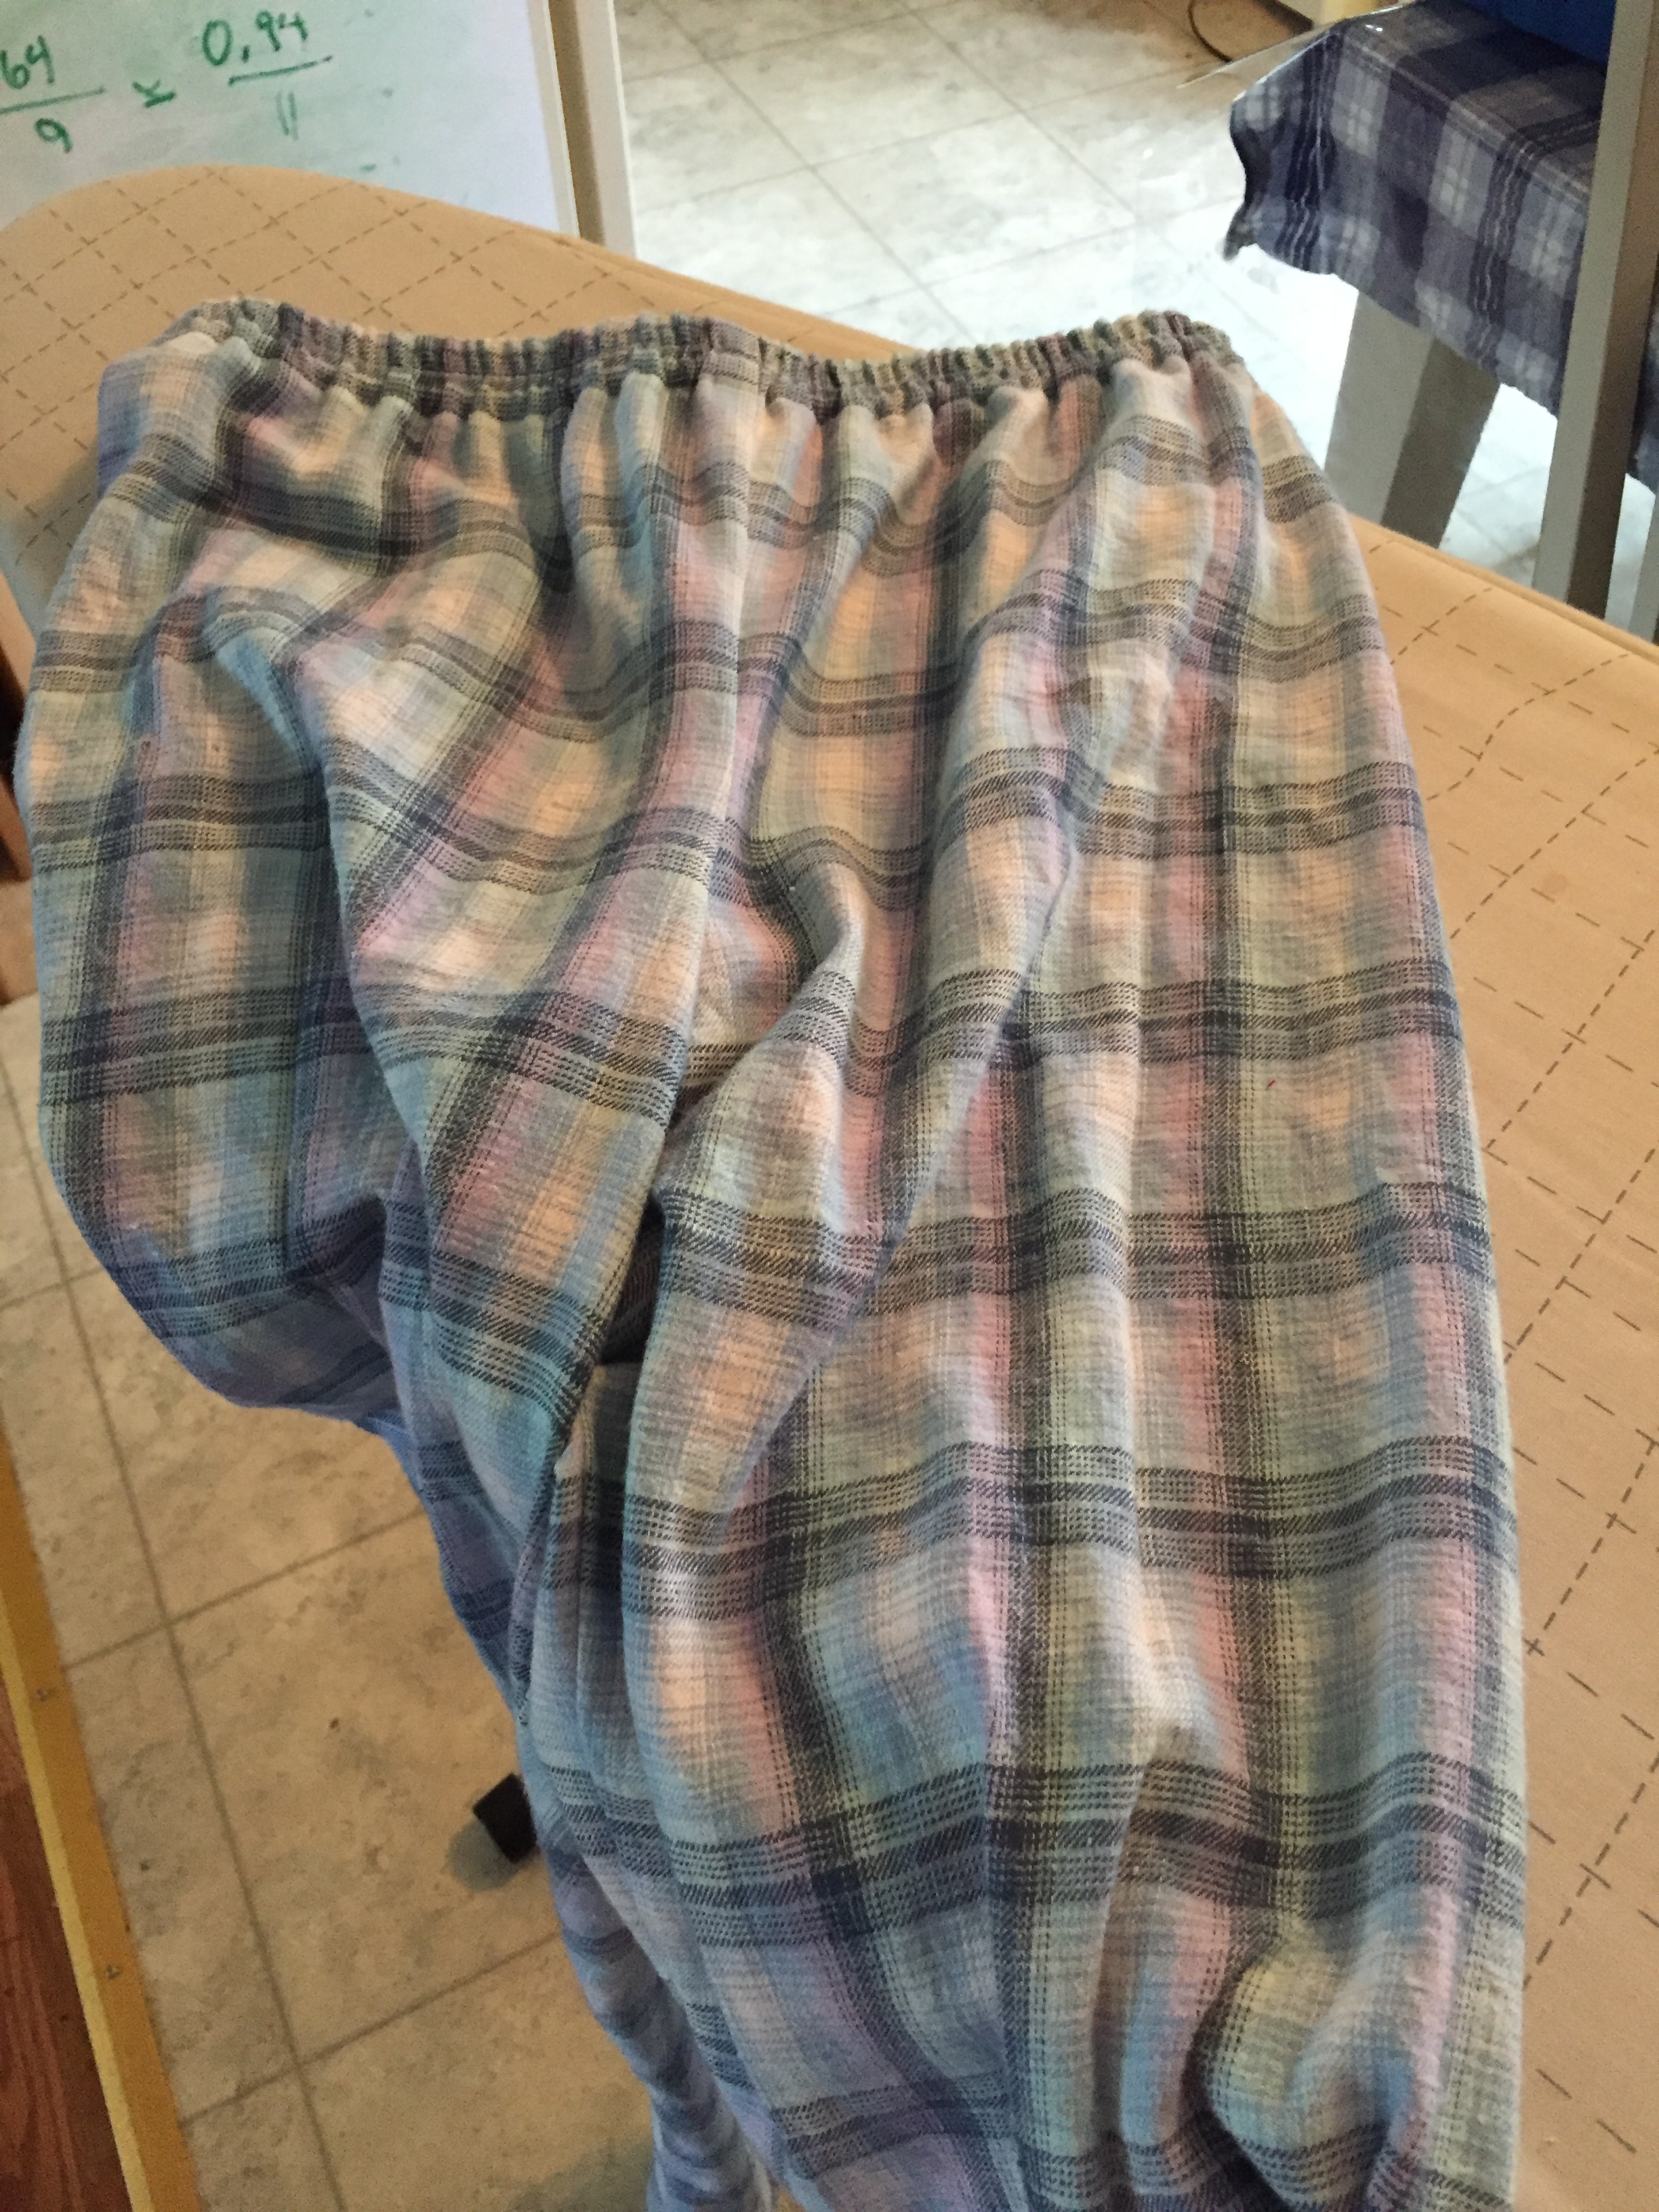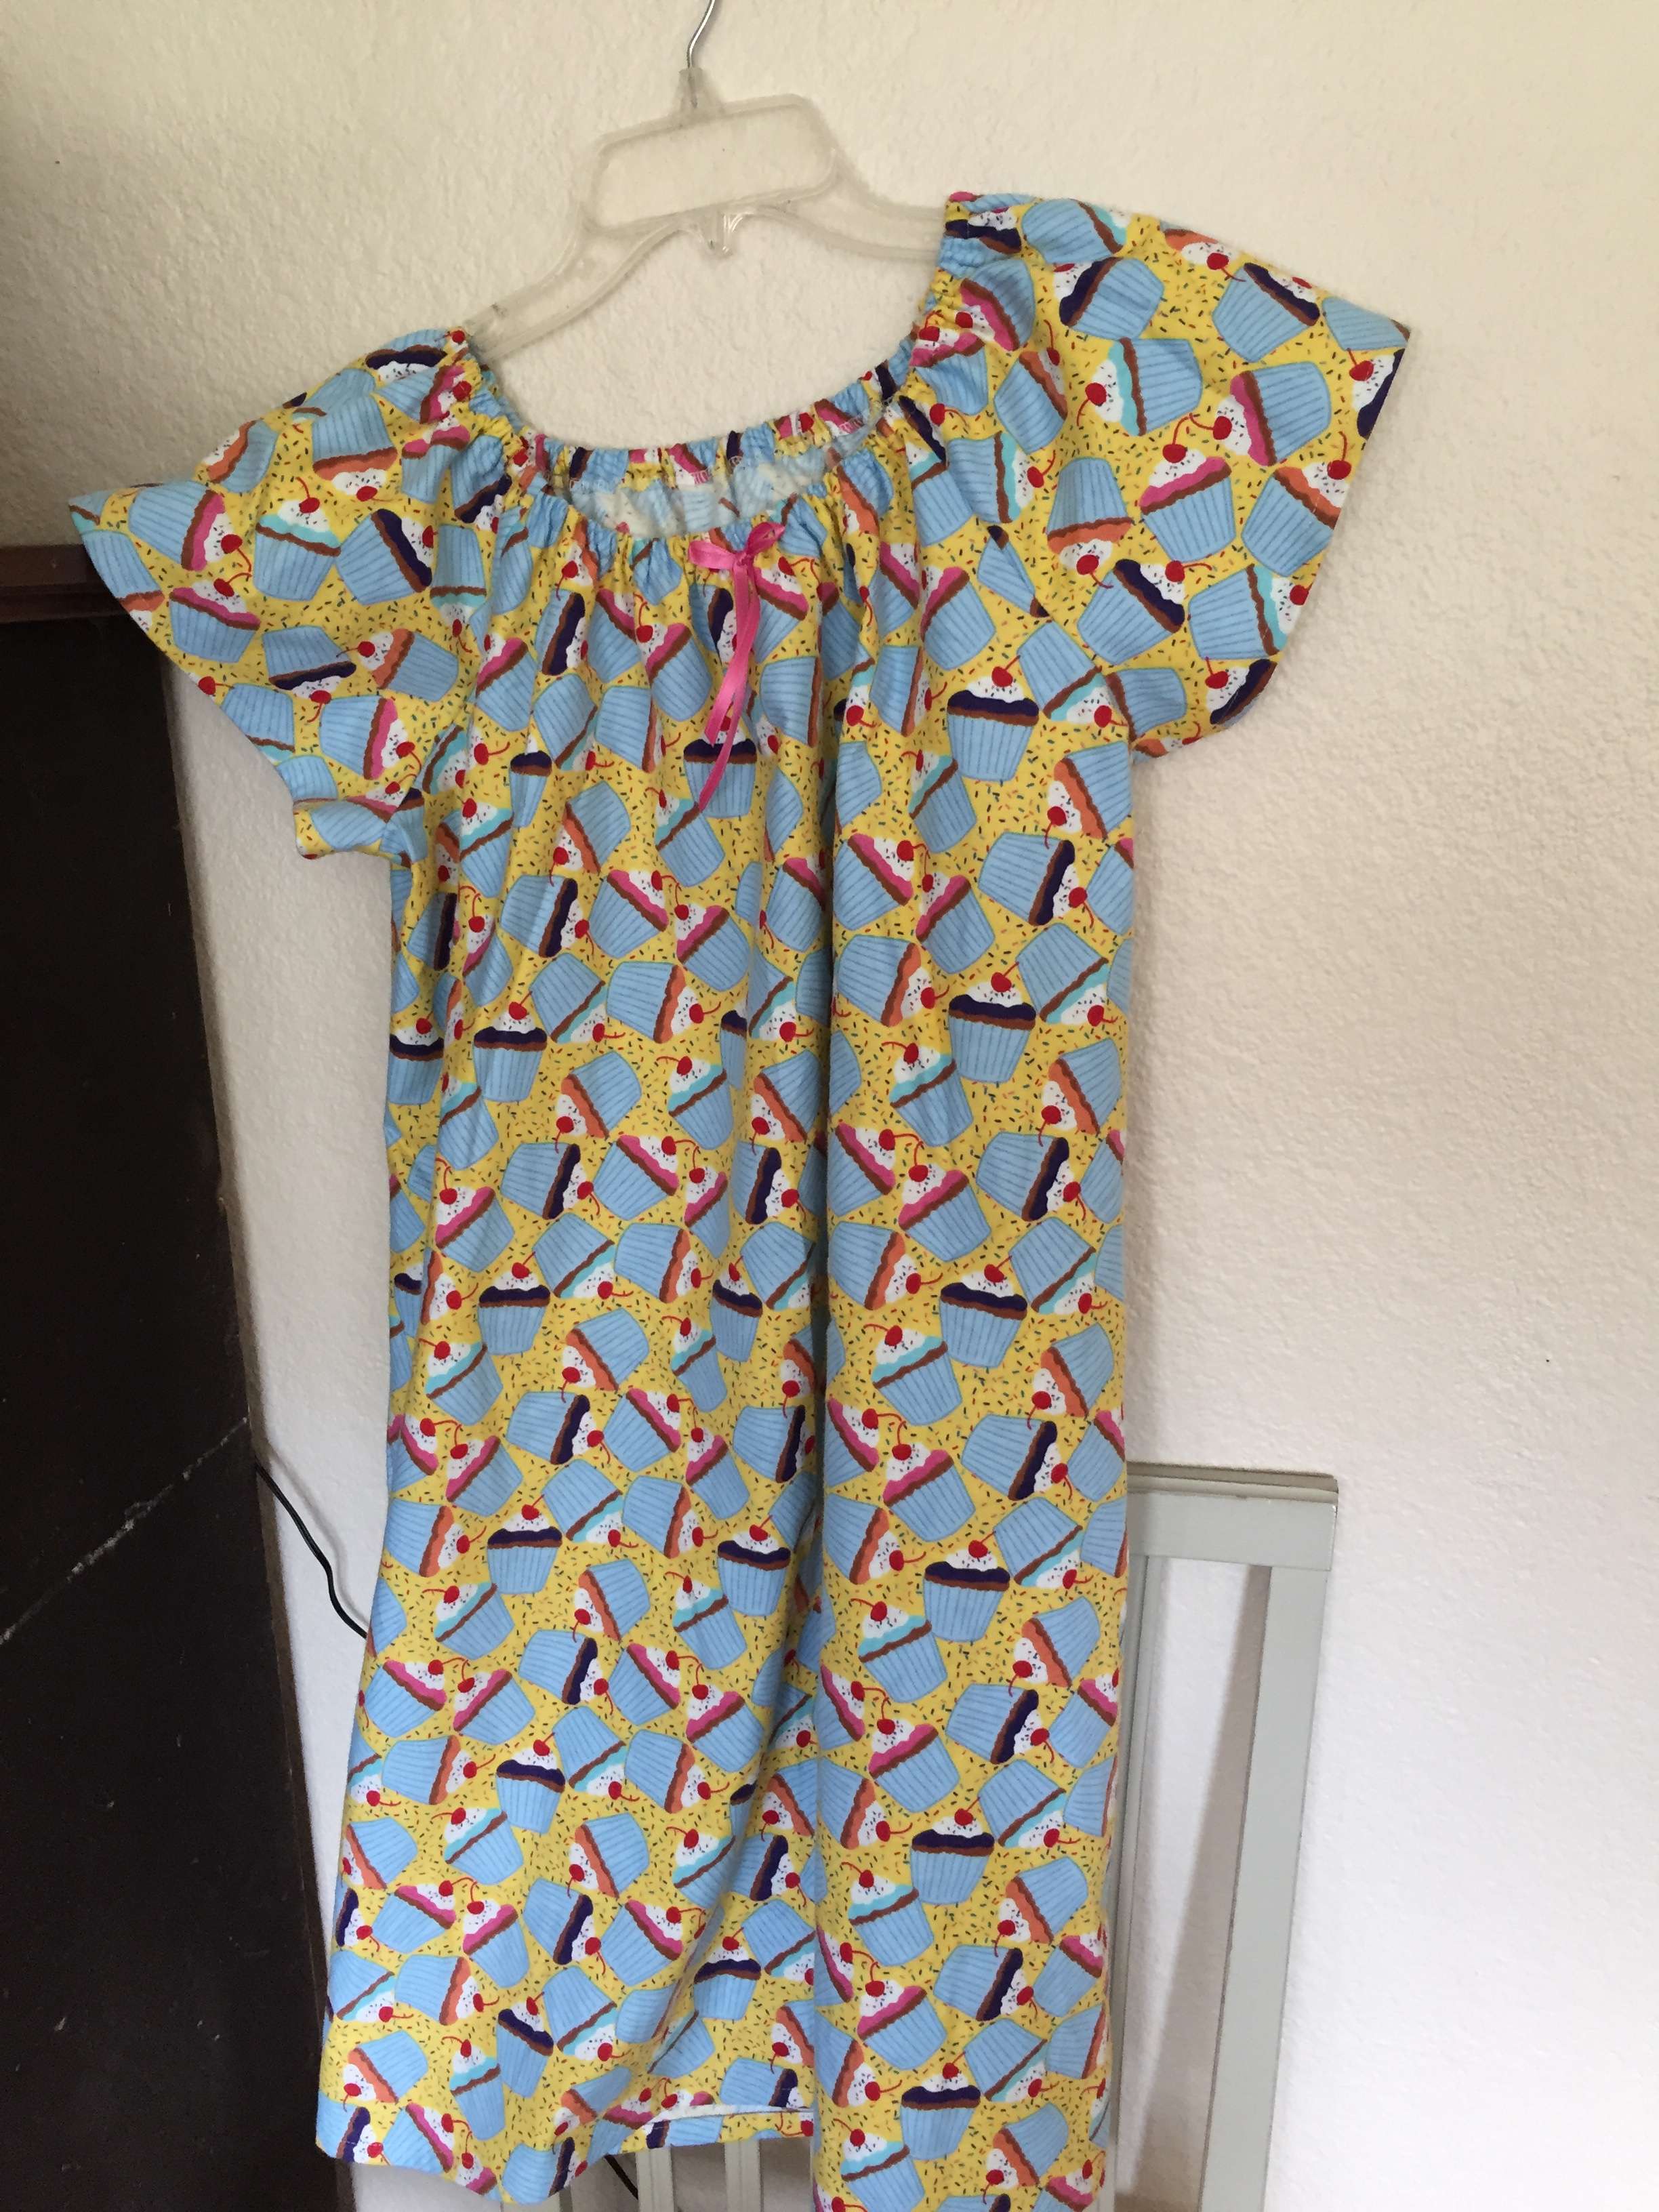
In anticipation of the Homecoming dance, I have been working hard, making Patsy a dress to wear. It was pretty thought-provoking, as there were lots of alterations to be done. I finished last week, much to my delight, after several late nights/early morning sessions. Patsy got to wear her dress last night to the Homecoming Dance at her school. I got some great pictures of her, and so did Rob. I know several of you have been asking to see photos of the dress, and I am happy to say I now have some.
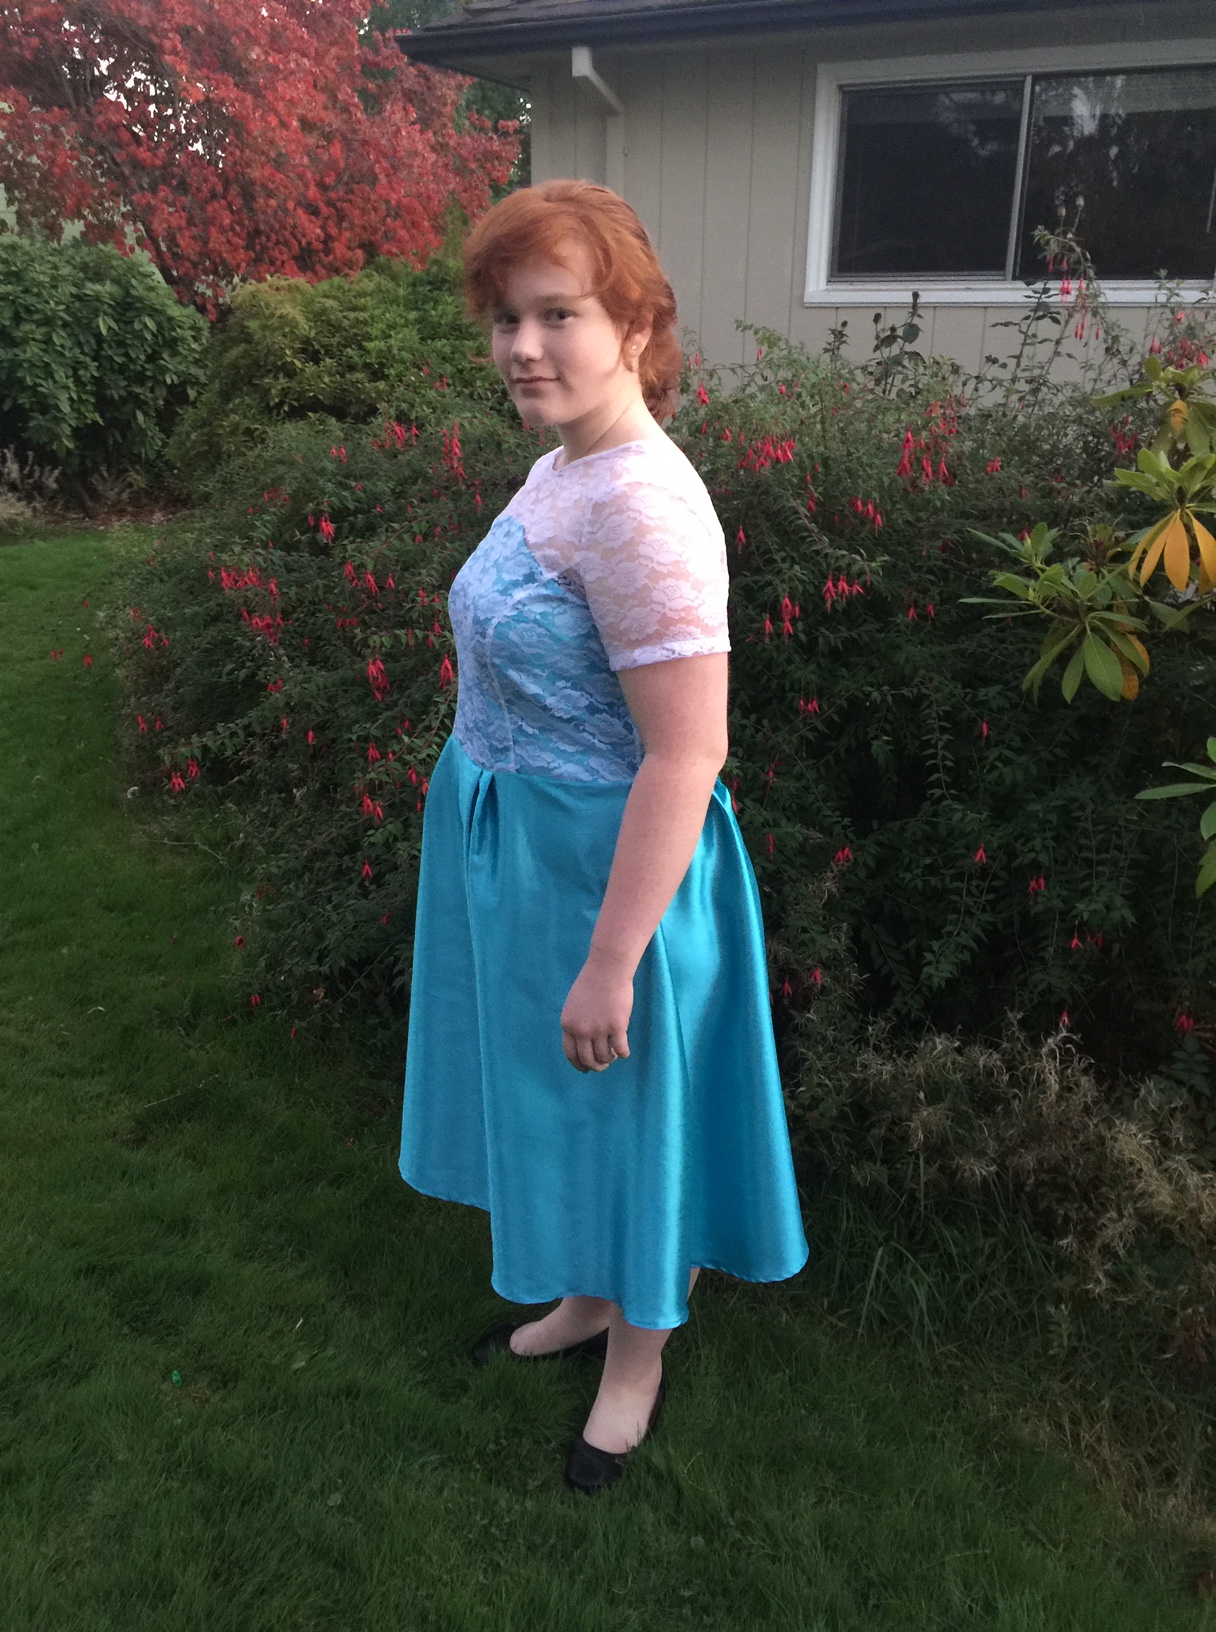
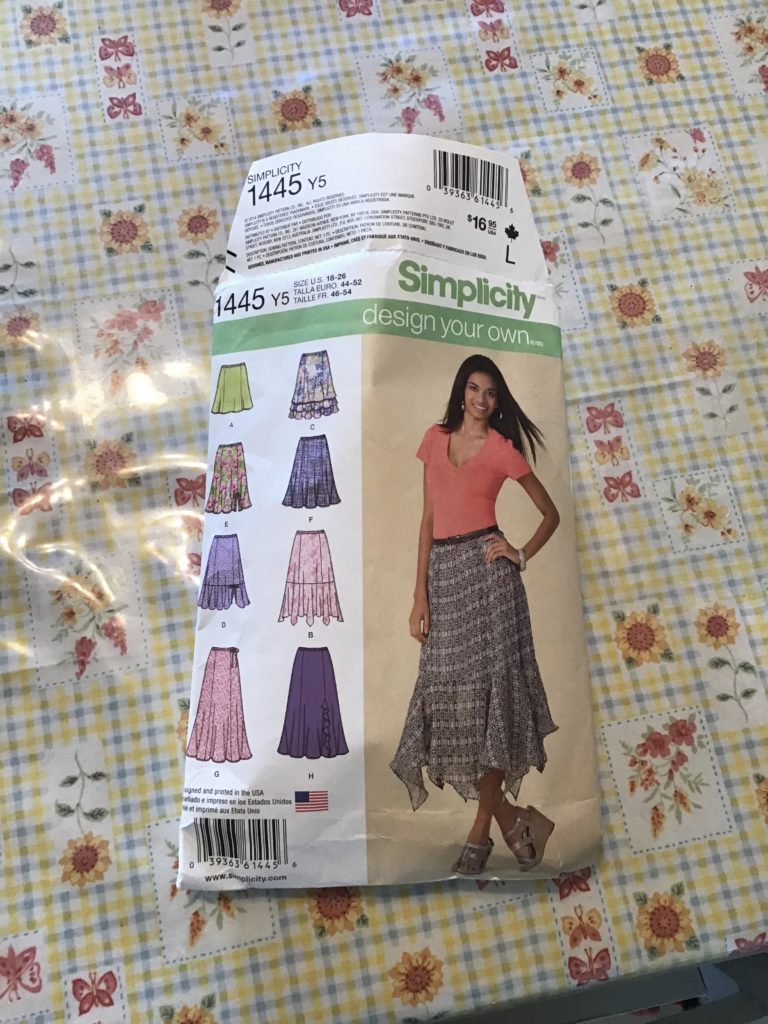
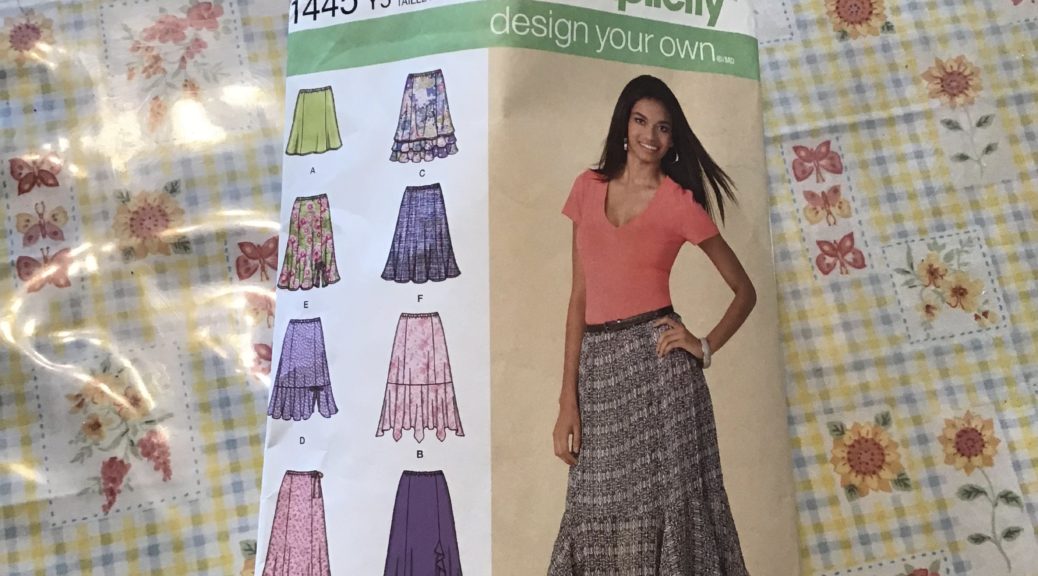
I started with Simplicity 1415. I did not have the correct size and there were no pattern sales for $1.99, etc. so I altered the pattern I did have. I purchased some fabric at JoAnn’s, and it was all on sale.
First, I taped the bodice pieces onto some butcher paper. Then, I did a lot of measurements to both the girl and the pattern, drew the new lines where I wanted them, and then cut out a bodice from some muslin I had in the shop. I basted this together, made more adjustments for correct fit, and then moved on to cutting out the lace overlay.
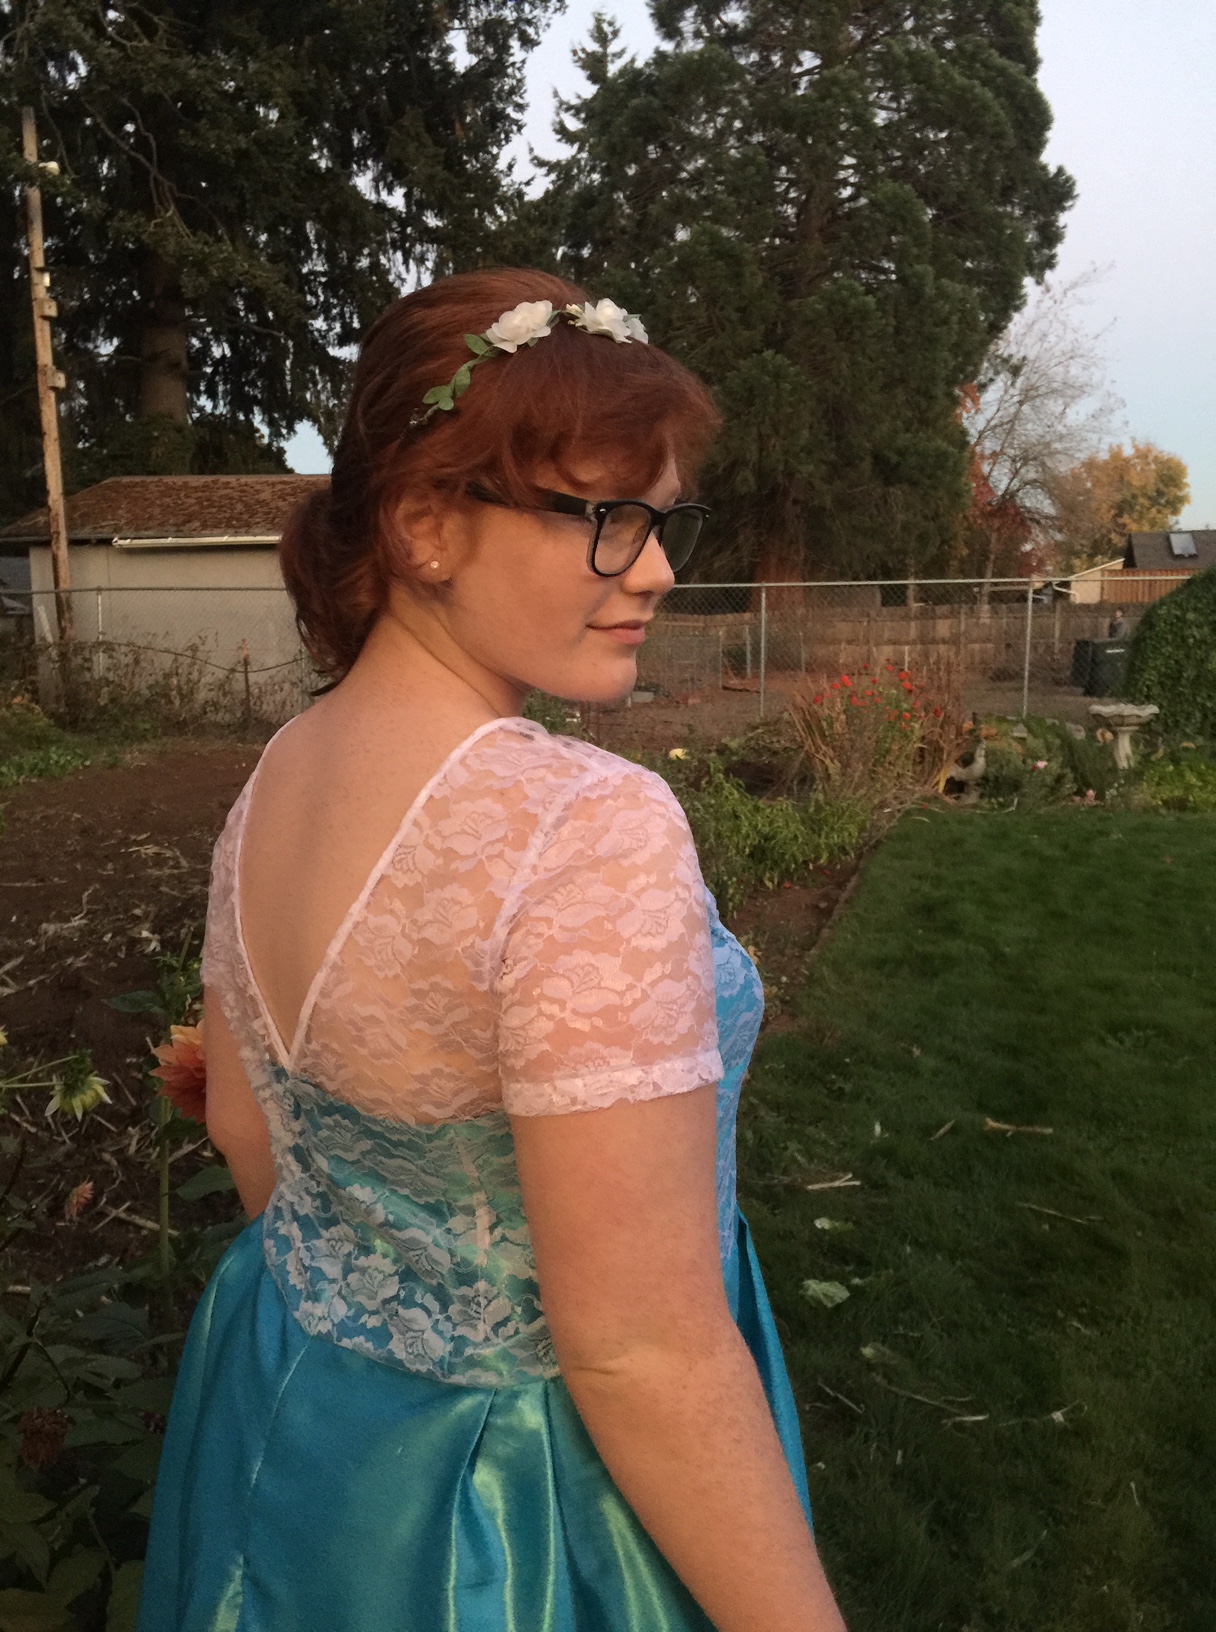
As you can see, the lace back dips down to meet the under bodice piece (blue). To make that match with all the alterations was a bit difficult, but I just kept trying it on her, and making adjustments. When the lace overlay was fitted correctly, I decided to make a binding from scraps of the lace fabric. It looked much better than the bias tape that was called for. The bias tape would have been way too bulky and would have shown through the sheer fabric. I just cut scraps on the bias, sewed them together, ironed them in half, then sewed the binding on. I then made the underlay and put the facing on. This also needed many try-ons to make it fit and to make the seams of the lace on top line up with the seams of the blue underneath. I also raised the neckline a bit on the blue in front and down a bit in the back to match the lace. I sewed the skirt on, adjusting the pleats so that the skirt would fit to the bodice. I also needed to adjust the length of the bodice, taking off a lot of excess fabric in the back, and none in the front….but it finally sat at the waistline as is should. Then, I got to put in my first ever invisible zipper. I have to admit, I put it in nicely, got the waist seams to line up after a couple of tries, but ended up having trouble at the very bottom. So, I just finished the very bottom by hand, and you cannot tell from the outside at all. I didn’t want to rip any more than I had to, as the dress fabric was so delicate, and I had tried a couple of times before I just changed my method.
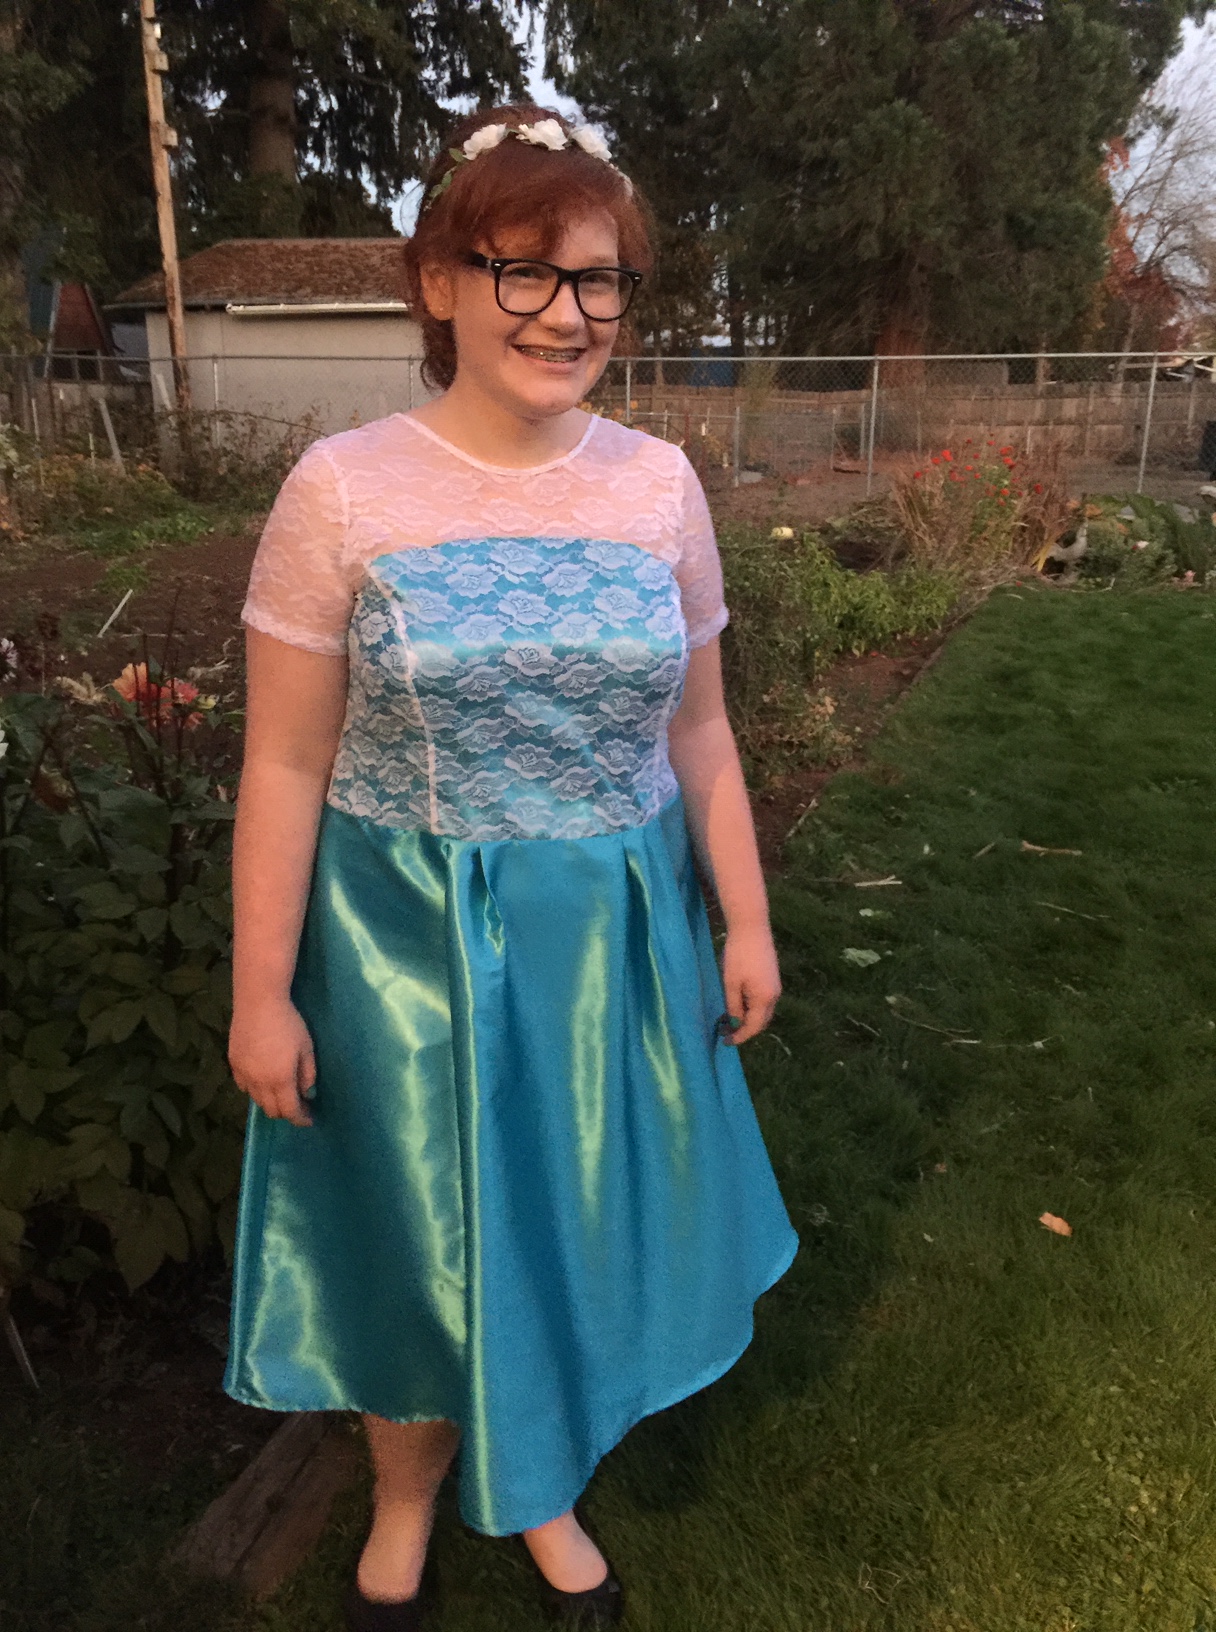
To sum the project up: Cost: Around $25.
Time Spent: At least 15 hours, probably more
Times tried on: At least 20. She was very patient.
Patsy was very happy with the dress, which makes it all worth it. We had spent an evening shopping for dresses and could not find one that fit her, we liked, and was affordable. She will be able to wear this dress again for Christmas Eve church. Our family always dresses up for that service, a tradition we started years and years ago. So, while people come in every conceivable outfit to that service, my girls usually wear fancy dresses. It’s kind of fun for them to have an occasion to wear the fancy ones, I think. We will try to find a shawl for that occasion, as it will likely be very cold.
I like to sew, and have not make a big project for quite some time. I am glad to be done, though, as it was very hard for me to find enough mental energy for all that altering–I have to really think to change a pattern as much as I did. It also took quite a bit of time during an already-busy canning season. I’m hoping to find a little more time to sew her a few more things this fall. I have fabric in the shop, and she could use some more skirts. Thankfully, they are easier than this dress was!
Like this:
Like Loading...
