Tag Archives: cooking

My January Use-It-Up Project–Update on Jan. 10

IMG_2023

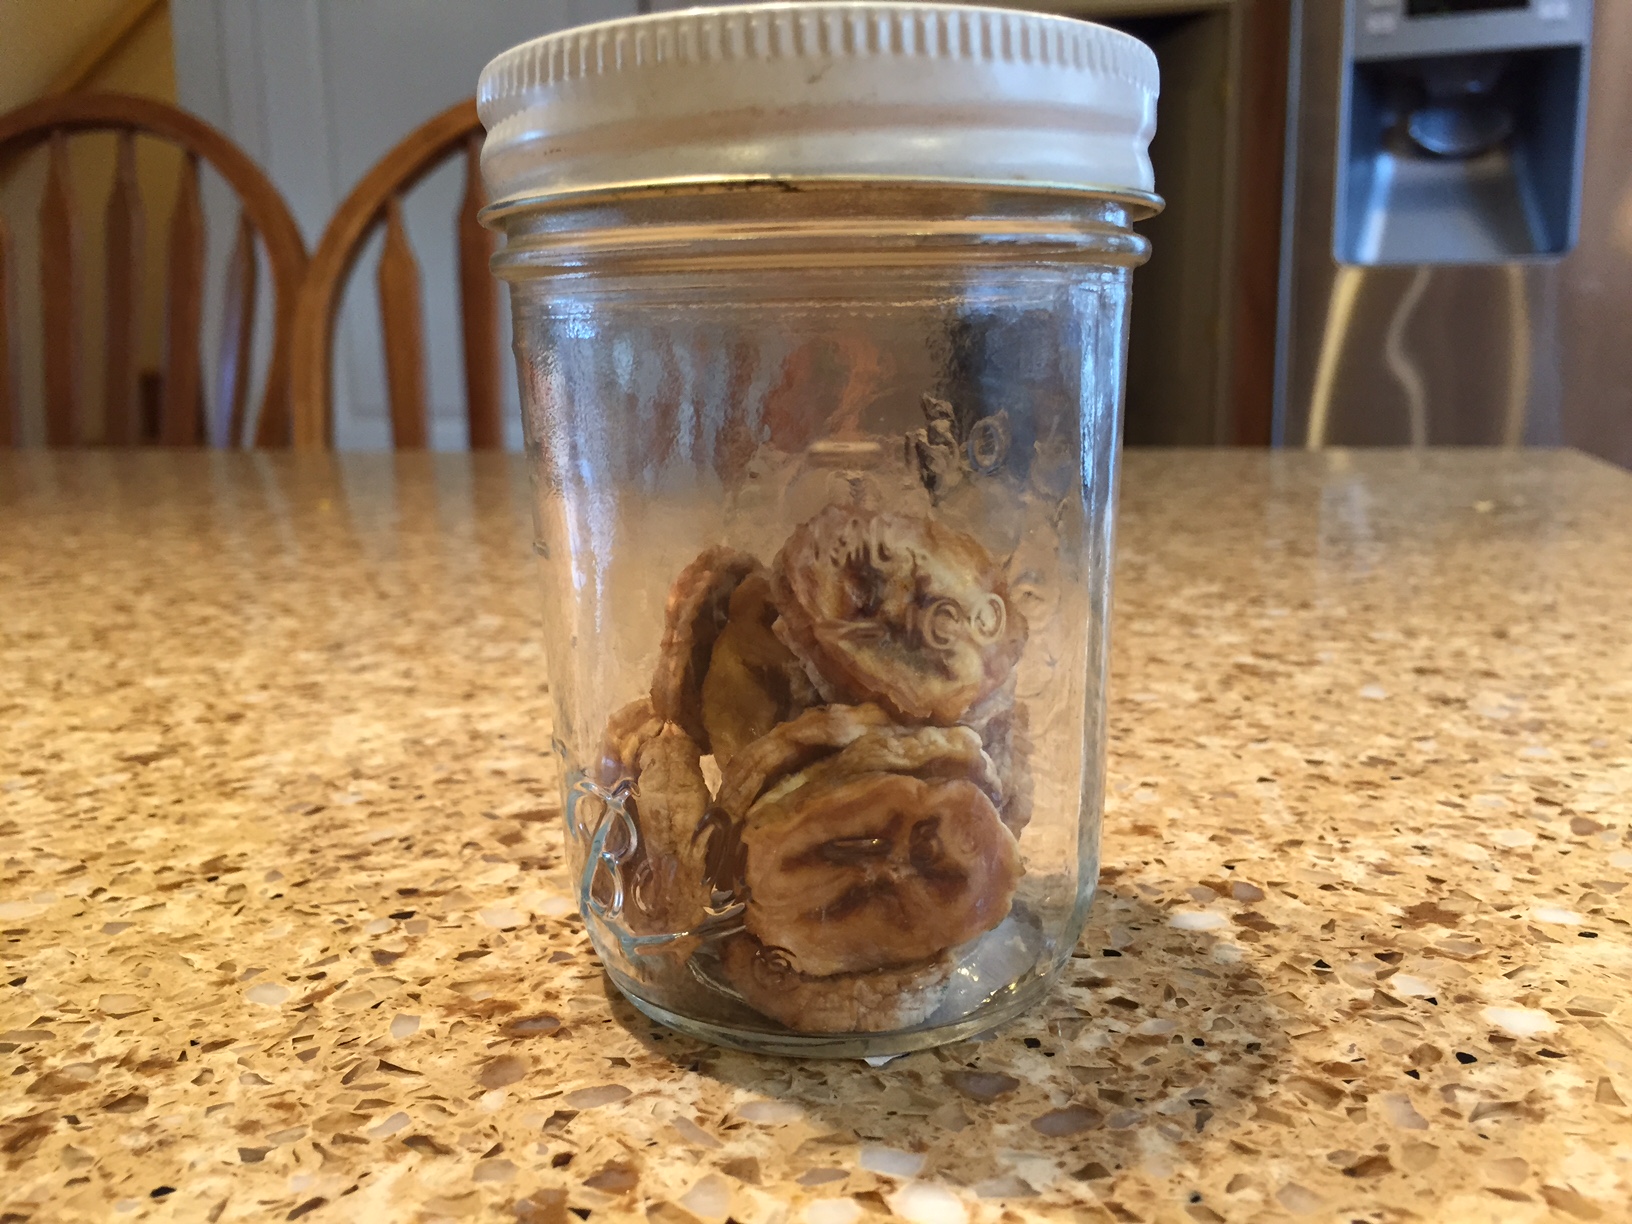
I’m still on a mission to use up things that need to be used up, instead of buying more.  These dried bananas have been in the cupboard since 2014.  They were still great.  I put them out for the kids to try at 4H and then showed them how to make more.

I used some quinoa that expired last summer–finished up the package.  I made a salad with it, using the leftover dressing Patsy tried out for me the other day.  I also used some feta that had been languishing in the fridge for a couple of months in that salad.

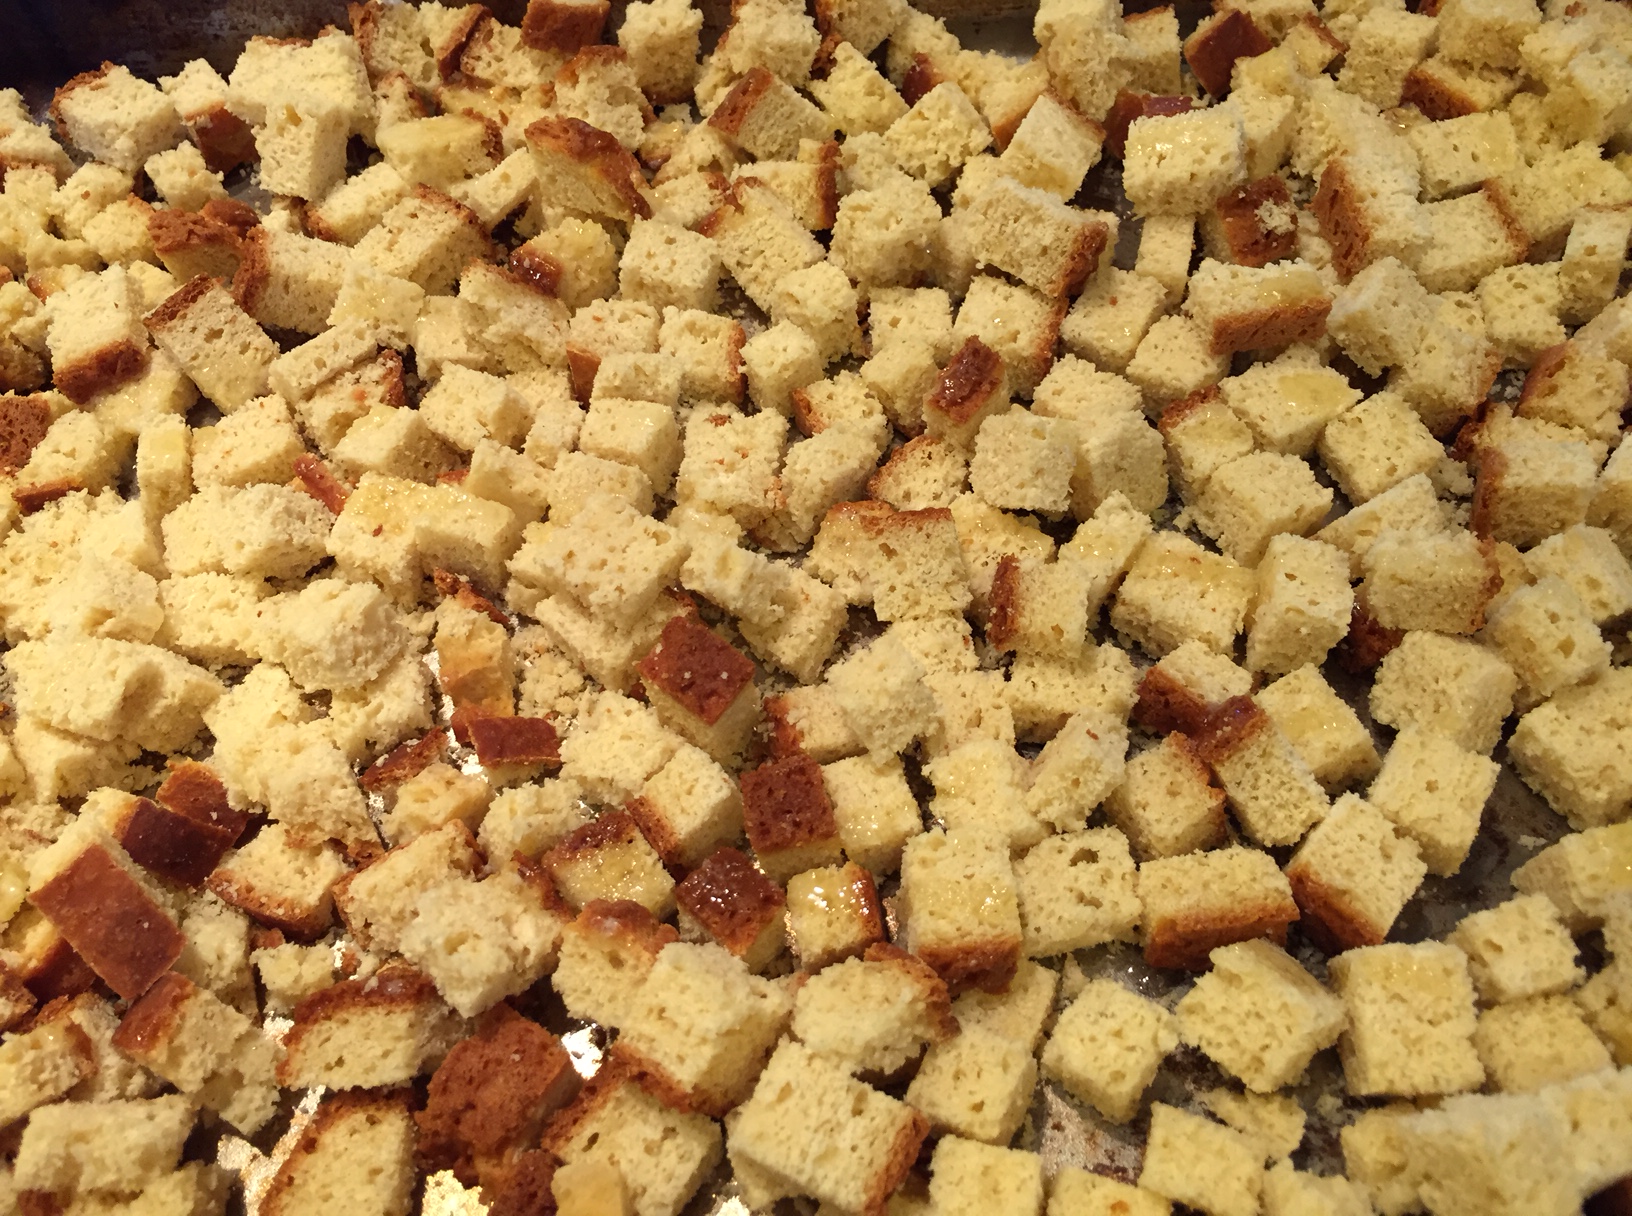
I used some crusts of gluten-free bread to make croutons.  I will probably grind them into crumbs for cooking.

I used some millet flour, sorghum flour, and cornmeal and had the 4H to make some gluten-free waffles.  This was in addition to the batch I made earlier in the week when I was testing the recipe.  I also finished up a very old package of flax meal from the fridge.  I was able to remove another package from the freezer and start using it.  It had been in there for at least 3 years.

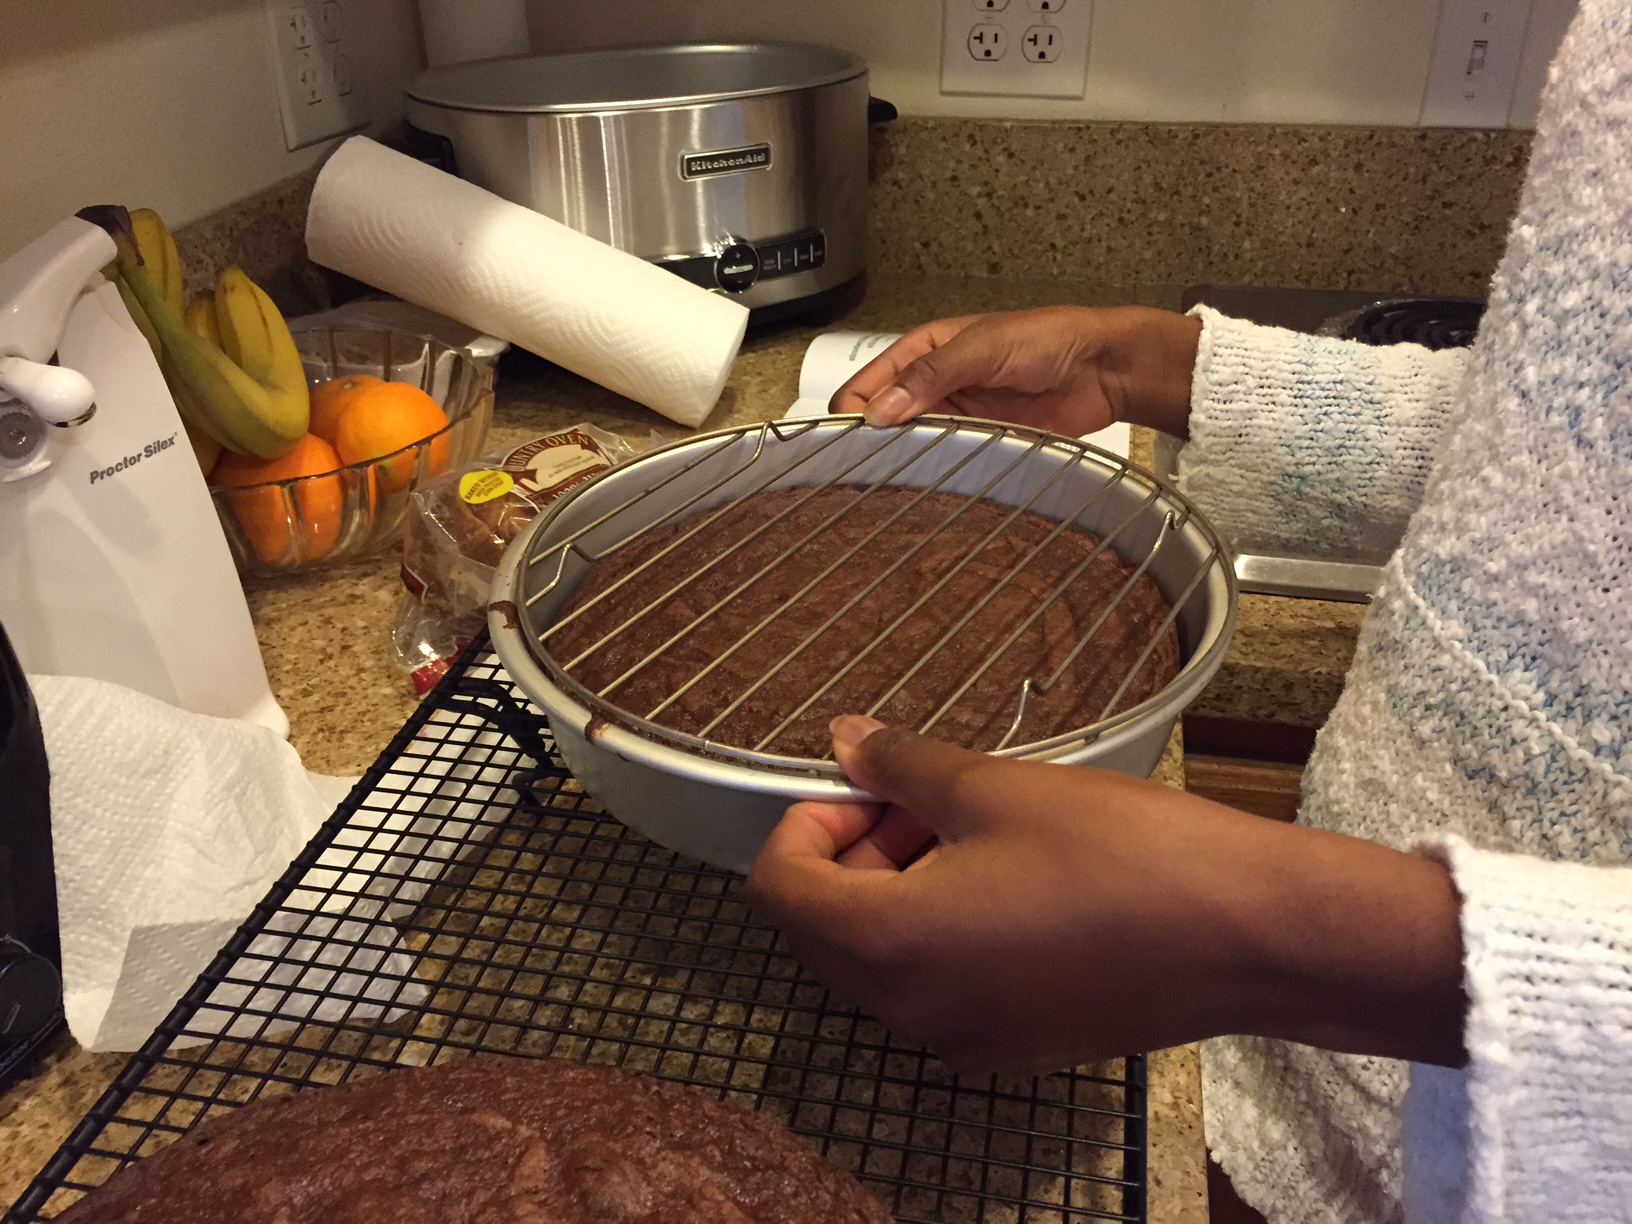
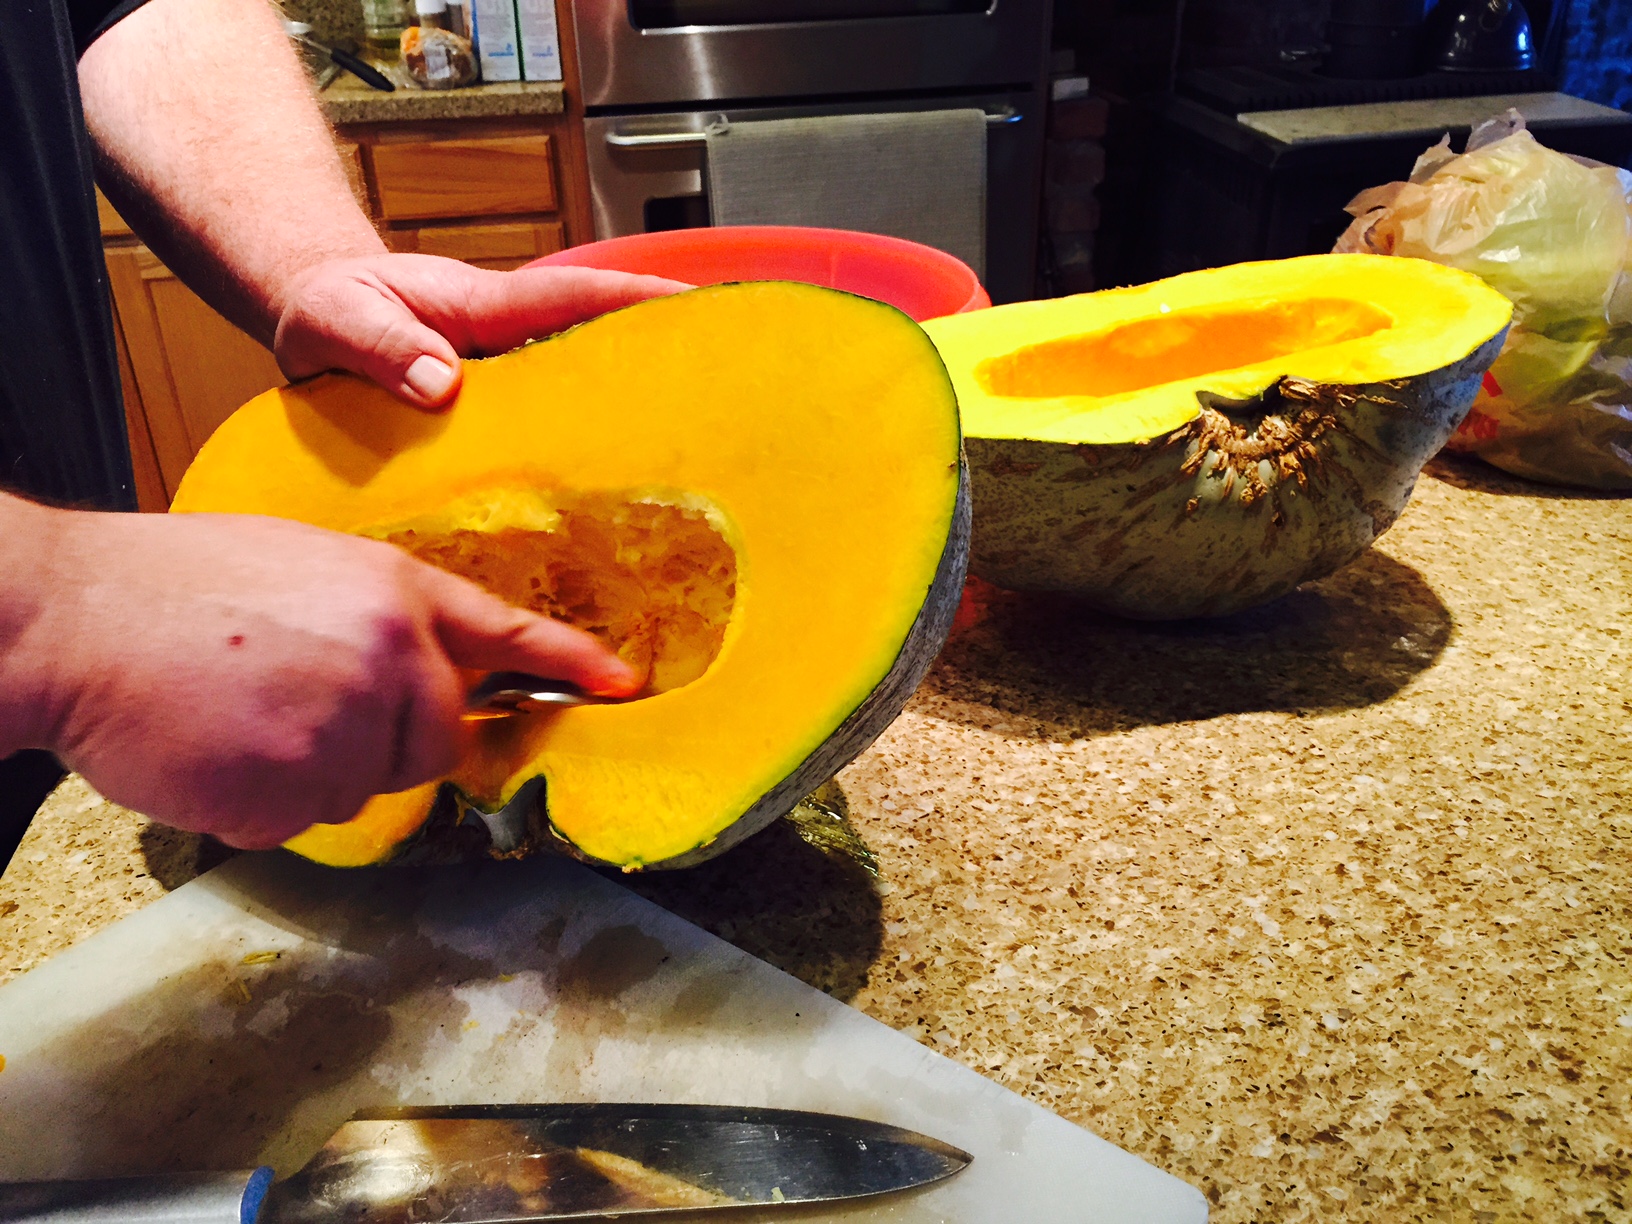
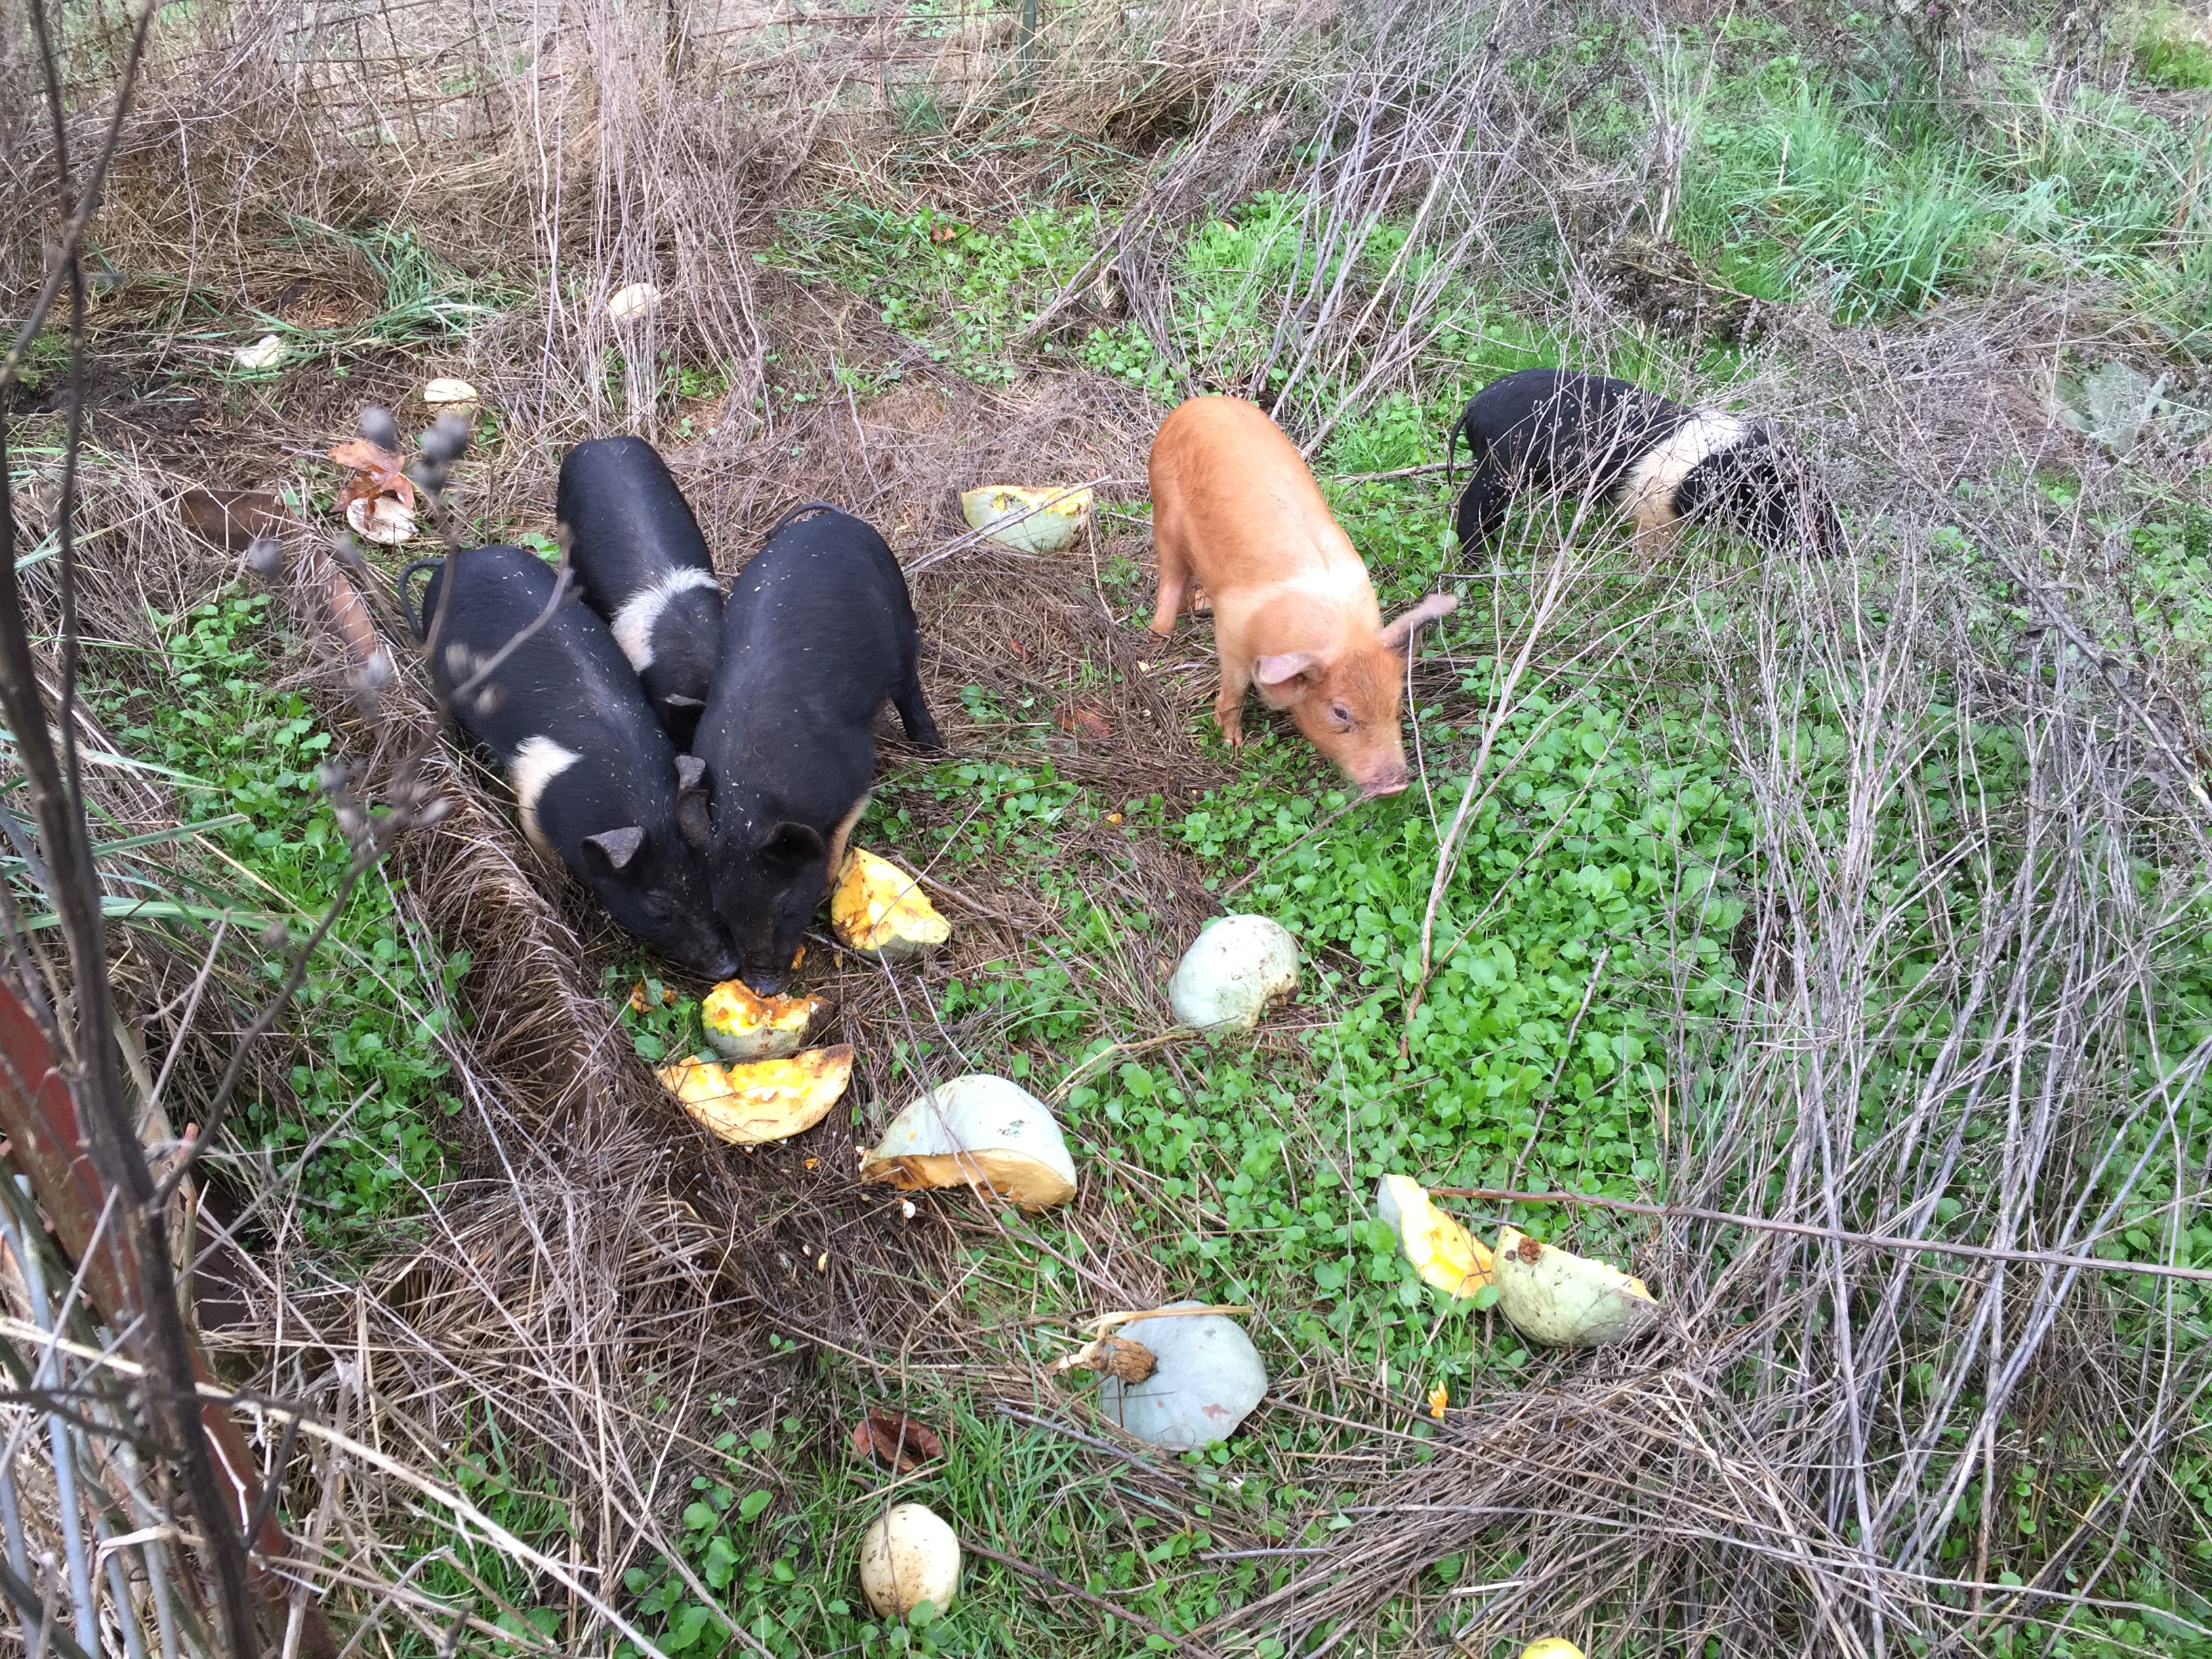
My carrot-coconut bread turned out terrible.  It was dry, crumbly, and fell to pieces before we could eat it.  We ate a bit of it by squishing up a bunch of crumbs between our fingers and stuffing that ball of crumbs into our mouths.  We finally decided that sometimes you win–sometimes you lose–and we gave up and fed it to the pigs.  At least those ingredients went to some good use.

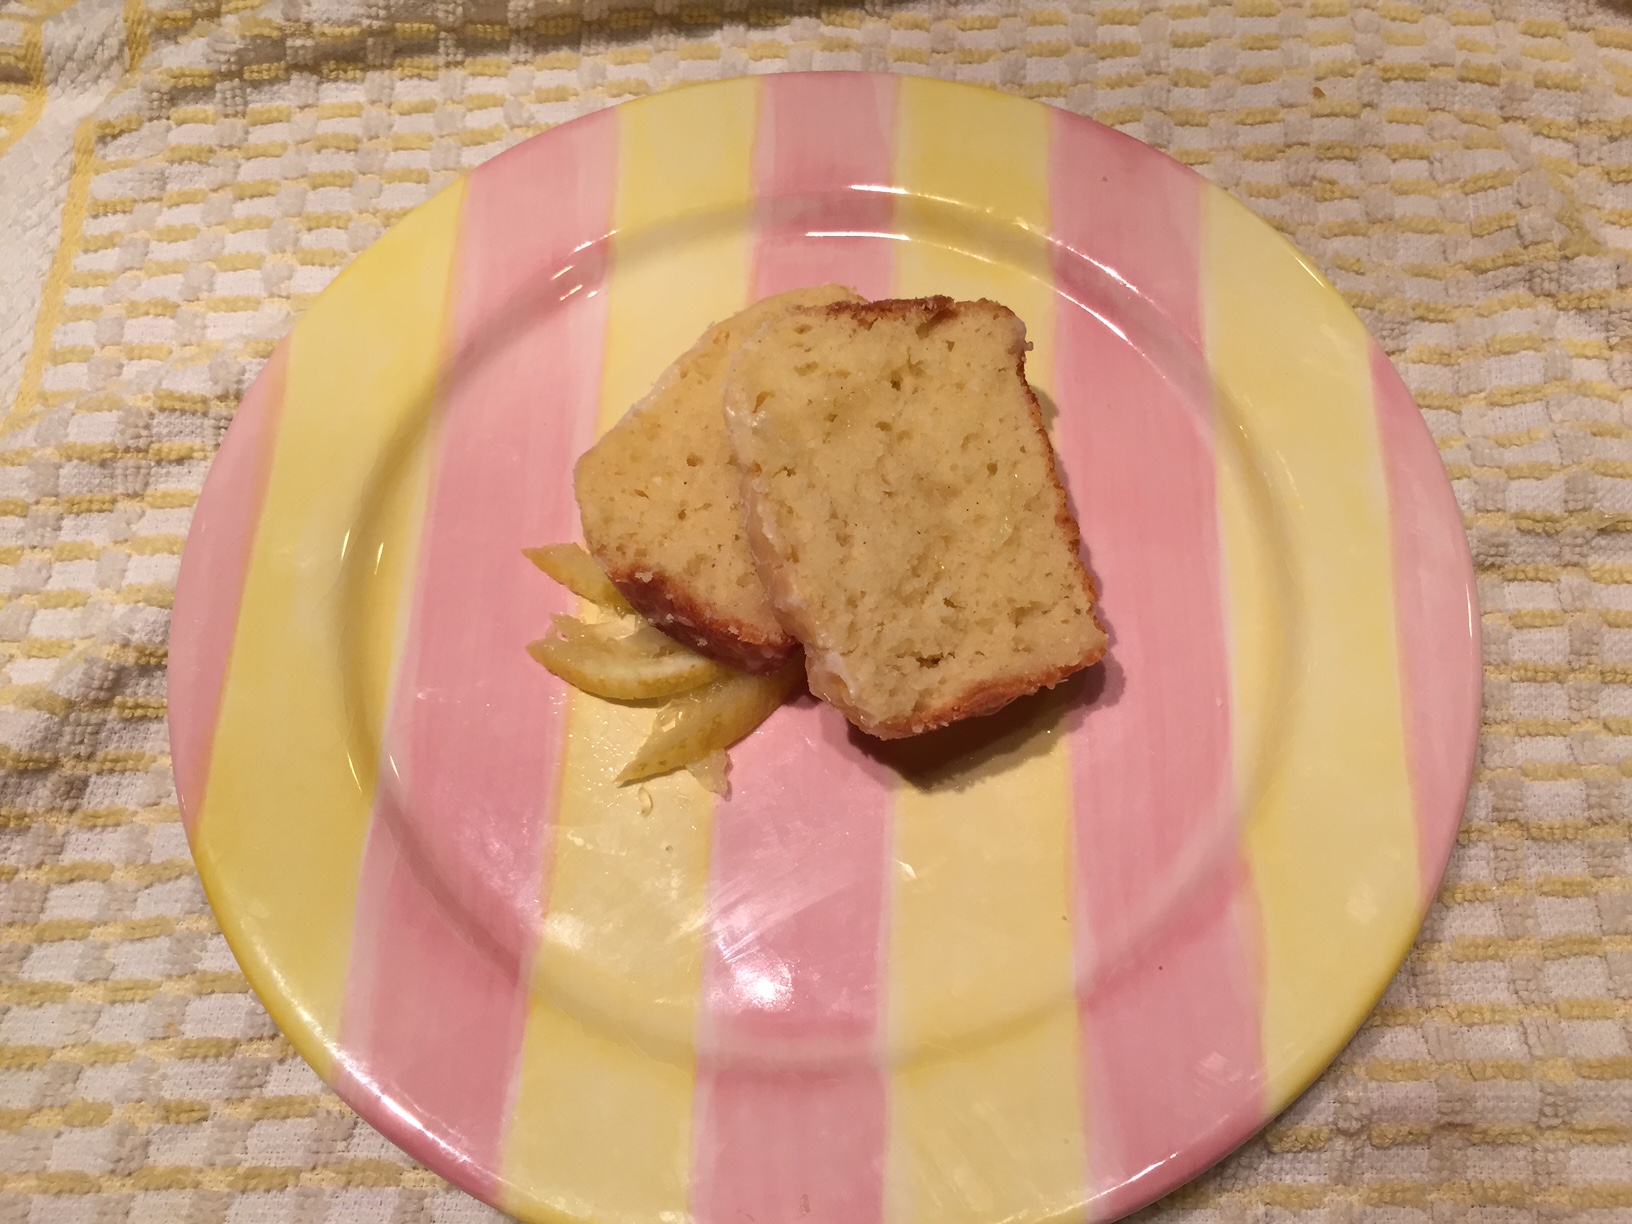
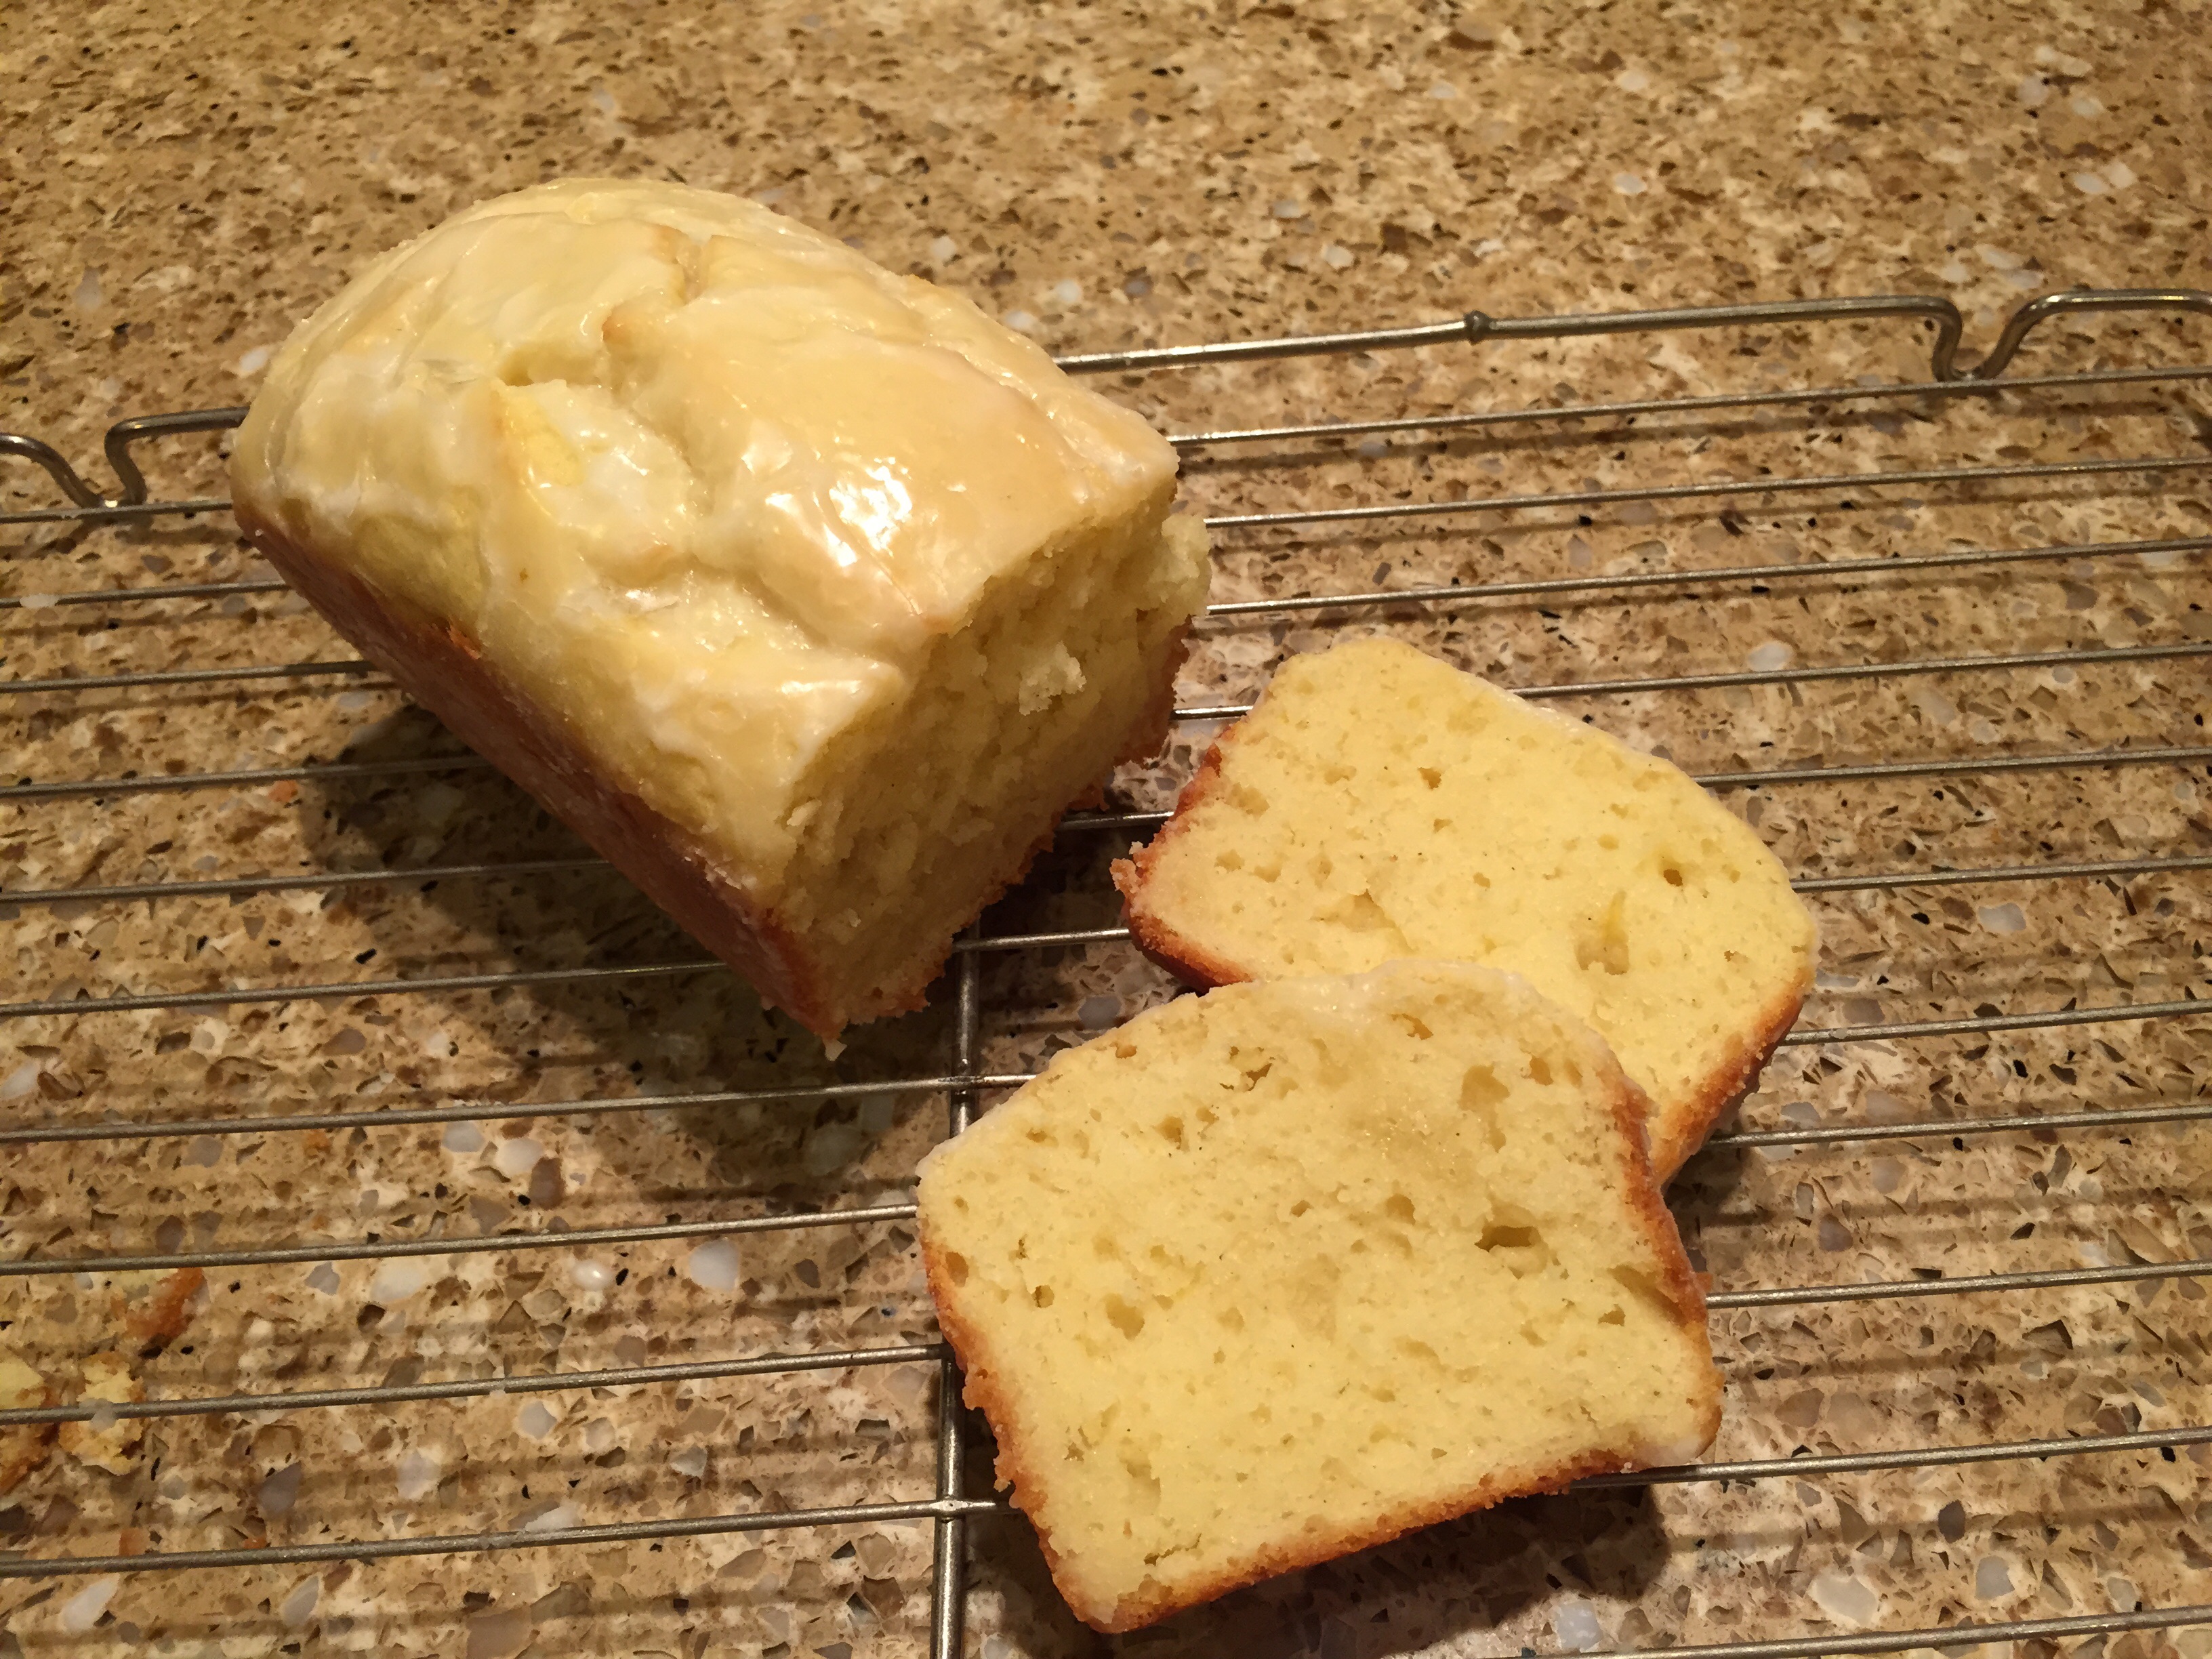
I pulled some lemon bread out of the freezer and served it.

I also got out a bunch of fish, tried out a recipe for some fish nuggets and had the 4H make it.  It was swai fish, which was very inexpensive, and ended up working well for the recipe.  I’m not familiar with this fish, but got the entire 2 lb bag for only $5 a while back, which is a pretty good price for fish.  It also used some corn flake crumbs I crushed up several months ago and have stored in a jar in the pantry.  It included home-made tartar sauce, which used some of the pickles from 2014.  They were a dill pickle, but had a little sugar in them, which we ended up not liking as well as our tried and true recipe, but they worked well in this sauce.

I took some bread and butter pickles from 2012 to a birthday party today, and they were devoured.  Home-canned foods last for much longer than 1 year, but I always use the oldest first, as they are nicer when they are fresher.


Menu Plan for January 10, 2016

IMG_2011

This week has started with a bang! It’s going to be a busy one.  I decided I’d better jump in and get some menus planned right away to make it flow more smoothly.

Today we spent the entire day going to church and at my sister’s house, having a family birthday party with Rob (my husband), Alissa and Jake (niece and nephew).  Rob and Alissa have celebrated together for the last 15 years, without missing a year.  He has been dragged to Chuckie Cheese, an arcade, and many other memorable places by this little girl  he adores.  Even though she just turned 15, it was very touching when she started asking around to make sure she still got her birthday party with Uncle Rob.  One year, my sister got them a Beauty and the Beast cake.  One end had Beauty (for Alissa) and the other end had the Beast (for Rob).

8 years ago, little brother unexpectedly showed up at the group birthday party.  Our niece’s birth mom had given birth to a little baby boy, and he needed a place to live.  So, surprise!  I still remember the looks of surprise and amazement as my sister and her husband came rushing into Chuckie Cheese and plunked Jake in the middle of the table in his carseat they had hastily purchased and introduced him to the family.  So, there were now 3 birthdays to celebrate in January.

Today, we opted to celebrate at their house.  We kept the same menu that we had before we postponed the party from last week, due to icy roads.  It was a very nice day.

Here’s what we plan to eat:IMG_1695

Sunday:  Sub sandwiches, French dip, soups, veggie tray, chips, and cake  I brought gluten-free buns, and a platter of things like lettuce, tomatoes, onions, etc.

Monday:  Roast in crock pot, potatoes, carrots

Tuesday:  Pizza (make double–lots of pepperoni sent home with us today.) green beans, salad

Wednesday:  French dip (with leftover dip from today and leftover meat from Monday), other sandwiches if not enough, cooked cauliflower or broccoli

Thursday:  Leftover pizza from Tuesday after dance class

Friday:  Soup in crock pot

Saturday:  Foster Parents’ Night Out.  They will give Patsy dinner and Rob and I get to go on a date for 3 hours.  Ja’Ana will be gone for the weekend on a retreat, and Lovana can use leftovers.  Rob and I will eat out and have a date.  I can’t wait!

My January Use-It-Up Project

IMG_1992

The first week of January is a good time to reflect on what goals and projects I want to accomplish in the new year.  I didn’t want to decide what I wanted to do for a whole year.  Life around here is always changing, so any plans I make now for months into the future would probably be changed anyway.  A bout of winter weather kept me home for a couple of extra days after the holidays and I was able to decide what I wanted to do as my January project.

I decided that I wanted to use up as many odds and ends as I could, especially from my food storage.  It really bothers me to store foods and then have them go bad because I didn’t use them.  It really, really bothers me to think that foods I’ve preserved might go bad, since it is a lot of work to can, dry and freeze food.

So, I set myself a challenge to use at least 31 food items up that are odd, getting older, unusual, etc., an average of 1 per day. I am especially  looking for things that might go bad if not used promptly.  I don’t anticipate working on this project on days that I work, instead, I’ll double up on my days off.  I expect to actually use far more items than that.

IMG_1995.JPG

I started by going out to the garage, where the bulk of my food storage is.  I grabbed a gluten-free flour mixture Ja’Ana had mixed up for a recipe last summer.  I also grabbed quite a few other gluten-free flours that needed to be used. I grabbed some dried cherries that had been there for a long time.  Patsy and I made sweet cherry biscuits yesterday.  Today,  Ja’Ana decided to make a cake with the remains of her flour mix.  I mixed up some waffles and froze them for easy breakfasts.  I also am trying a carrot bread recipe I found.

So, for January so far, I’ve used:

some dried cherries,  sorghum flour I was given quite a while ago, millet flour, oatmeal, carrots from our garden that have been in the fridge since September, the rest of the flour mix Ja’Ana made months ago, some jam I canned several years ago, emptied 2 mustard containers from the fridge, and a bottle of Diet Coke that has been in the garage for WAY over a year.  That’s already 10 items and it’s only the 5th!  (I only listed things that had been there a long time)

How about you?  Are you putting any of the grocery money you’ve previously spent to good use in January?  I plan to put any extra money I save by doing this project away for future purchases to restock.


Slow Cooker Taco Soup

IMG_1782.JPG

Yesterday, I decided to make taco soup in the slow cooker.  It is heavy on the pinto beans, as my husband got a 50 pound bag last summer for only $22.

I spent quite a bit of time trying to burn a slash pile with the family, and we were all glad for a hot meal at the end of a long afternoon.  Sadly, it did not burn all the way up.  We got some of it burned, but not all.  Bummer.  The soup was still excellent.  This turned out quite thick and some family members chose to fish out the beans and turn it into nachos instead.

Taco Soup

2 quart-sized bags of cooked pinto beans (soaked, cooked and frozen previously)  Probably 4-15 ounce cans would work

1 onion, chopped

2 Anaheim peppers, diced

1 Jalepeno pepper, diced

1 quart home-canned tomatoes (a 32 ounce can would work)

2 cups beef broth (I had frozen I had made, but you could use 1 15-oz. can)

1/2 pound cooked, leftover turkey taco meat, seasoned with taco seasoning

salt and pepper to taste

Extra taco seasoning, or cumin, if desired

Sour cream, cheese, and olives to garnish (optional)

Put all ingredients in crock pot.  Turn on “low” and leave for 6-8 hours. My slow cooker will automatically turn to “keep warm” when the time is up, and I left this on all day long, probably about 10 hours, until we were ready to eat.  Since everything is cooked, except the vegetables, there would be no danger if you needed to eat it sooner.  It also holds a long time  if your dinner time gets pushed off.  Makes 10-12 servings.  (Actually the 5 of us didn’t have much left last night, but we had been outside working hard for several hours and ate more than 1 serving each, I’m pretty sure!)

IMG_1787

This is what it looked like as a nacho.  They did drain out the liquid from the beans before they dumped it on the chips.  We get the mega-bag of chips from Costco, divide into zip-topped bags, and can enjoy corn chips for a reasonable price, without them getting stale, for several weeks.

Gluten-Free Stuffing With Apples and Water Chestnuts

IMG_1751

I wanted to make stuffing for Thanksgiving.  I needed it to be gluten-free, but I didn’t want to pay the price for packages of gluten-free stuffing mix (I would have needed several boxes at around $5/package) and I didn’t want it to be either too dry or gummy.

I decided to take a loaf of gluten-free bread I had in the freezer.  My daughter made multiple loaves during the summer because she was practicing for the fair, and we just froze them all.  It was unsliced, so I sliced and cubed it.  I divided the cubes between 2 cookie trays, drizzled a little butter over them and sprinkled on some seasoning.  I used poultry seasoning on one tray and Bragg’s mixed seasoning on the other.  My plan was to use one batch for croutons if it made more than I needed, but I ended up using it all.  Then, I baked those trays at 350 degrees for 45 minutes, stirring every 15 minutes.

The bread cubes were definitely dried out and crisp, but a little chewy in the middle.  I had 1/2 pan left of the gluten-free cornbread my mom had brought over.  I had some frozen broth from a time when Rob had cooked a chicken with apples and onions, so it was apple-flavored chicken broth.  Regular chicken broth would work well, also.

Thursday morning, I made the stuffing.

2 quarts homemade stuffing cubes

1/2 of a 9″ x 13″ pan of gluten free cornbread, crumbled

2 onions, diced

4 stalks celery, diced

1 can sliced water chestnuts

2 large apples, cubed

2 cups broth

2 Tablespoons poultry seasoning

1/4 cup melted butter

salt and pepper to taste

Salute the celery and onions until soft in a little vegetable oil.  Pour bread cubes, cornbread, the vegetables, apples and water chestnuts into a very large bowl.  Sprinkle with poultry seasoning, salt and pepper.  Mix thoroughly.  Drizzle with the melted butter.  Pour  1/2 of the broth over the mixture and stir.  Check to see how moist it is.  If it is still very dry, add the rest of the broth.  Check again.  Add more broth if needed.  Mine took about 2 cups of broth.  The cornbread I had was quite moist but the cubes were quite dry.  I did not want the cornbread to be gummy so I stopped adding broth when there was still some definition to the cubes–the stuffing was not all stuck together into 1 big ball when I mounded it on a spoon, but it did not just fall apart, either.    The cornbread broke down into little bits that kind of held the cubes together.  I poured it into a flat pan–mine is larger than 9″ x 13″ and baked it for about 1 hour at 350 degrees.  IMG_1755.JPG

It turned out amazing!  It had wonderful flavor from the apples, onions and celery and a nice crunch from the water chestnuts.  It was not gooey or too dry.  It was economical, too, when I used the homemade croutons.  I was very pleased with the results.

Roasted Hazelnuts

IMG_1710

During my childhood, I was raised on a hazelnut farm.  We also had peaches and cherries, but the main crop was nuts.  So, as a result, I got the opportunity to enjoy them many ways.  One of my favorites was to eat roasted filberts, as we called them.  My mom made them during holidays roasted with salt and butter.

Now that I’m grown, I still like roasting them.  My mom still has “connections” and gives me many pounds of the shelled nuts each fall. Hazelnuts are harvested in the fall and then taken to the hazelnut plant.  When they fall from the trees, they are considered “green.”  The nuts I work with have been dried and shelled, but are still considered “raw.”   This morning, I decided to roast a cookie sheet full of them since it’s been a while since we’ve enjoyed the salty, crunchy treat.

First, I preheated the oven to 250 degrees.  I poured raw hazelnuts on a cookie tray, 1 layer deep.  I then lightly sprinkled olive oil and a little salt onto them and stirred them.   I roasted them for 1 hour, stirring them every 15 minutes.   More salt was added, as needed.  When they were done, they were crisp, and turning slightly brown in the center.

We enjoyed munching on them all afternoon with our oldest daughter and her husband.  There are a few left for tomorrow, and then I’ll have make another batch.  Nuts are great for you, and fill my need for a salty, crunch treat without a lot of carbs.  Hazelnuts are another wonderful benefit of living in the Pacific Northwest. I feel blessed to live in an area that has so many unique, delicious foods that are so abundantly growing all around me, ready to be harvested and enjoyed by my family.

IMG_1711

Frugal Accomplishments for this week–Nov. 9, 2015

FullSizeRender

This week, we cooked up 2 of our huge Sweetmeat squash.  There are still a lot left, but I froze 10 bags and we’ve got lots to eat besides.  I also cut up a few Butternut squash into cubes and they have been used throughout the week for quick dinners.

We cooked quite a few things, including cauliflower, Swiss steak, lots of things from the 50 lbs. of potatoes I got for $10 a couple of weeks ago, and used several odds and ends that came out of the garden.  It frosted pretty hard so most things are dead now, so now my menu planning will focus on using all that we preserved.

Today, I cooked pinto beans with a little Anaheim pepper,  spaghetti sauce with 1/2 lb pork burger, stuffed peppers with the other 1/2 lb pork burger, and a huge batch of chili with pinto beans and hamburger.  This will be the basis of our meals for the next few days.

IMG_1665We got baby pigs to raise for meat and to sell.  If all goes well, we will be able to sell the others enough to pay for the cost of ours.  We have pre-sold most of them, so it’s a matter of them growing properly, and staying healthy.  We’ve only had trouble one time, ever, when a pig got tetnus and died, but that was very rare.  Most of the time, it goes as planned.

image1

I enjoyed watching a woodpecker that has decided to take up daily residence in a dead tree near our garage.  He just spends hours each day hammering and pecking on that tree.  It’s fun to watch.

We used the library and returned materials promptly and did not get fines this week.  When we couldn’t make it, we renewed our materials on-line.

We’ve done some extra cleaning and either used up the “surprise” items we found or donated them.

I’ve been sewing on Christmas presents.

Since Rob’s job loss in September, I have deliberately decided to focus on my blessings.  It’s easy to fall into feelings of self-pity, anxiety, fear of the future, anger or despair.  It’s harder to focus on the overabundance that we have been blessed with, the promises of Scripture-assuring me that God will take care of us, and the every-day beauty that surrounds me.  Worry will not change anything.  I might as well enjoy my time right now as much as possible and not ruin this season, this day, this time with worry.  Because in the end, probably at least a year from now, I will be able to look back and say, “Yes, it was hard.  It was unfair, it was awful.  We were blind sighted.  We cried a lot.  We felt betrayed by those we thought were our friends.  People who said they loved us, didn’t.  But, God was faithful, and we made it through!”  I firmly believe this with all my heart.  And, during this Thanksgiving season, I am truly blessed!

Lemon Loaf

663

For the last couple of days, I have been drooling over the Simple Lemon Cake on the blog, Debt Free, Cashed Up and Laughing.  It looks so good.  I wanted to make it.  But, silly me, I did not know what SR flour was.  I am gluten-free, so maybe it was sweet rice flour?  I just didn’t know, but that loaf looked yummy!  After waiting patiently, I got the reply that it was self-rising flour.  That made sense.  Well, sweet rice flour would have fit into my gluten-free diet better, but that loaf still looked really, really good.  I still didn’t know what another ingredient was:  jelly crystals.  I wondered–pectin?  Who knew?  So, I asked again and it was…….Jello.  Sounded interesting, but I didn’t have any lemon jello on hand and I wanted to eat that cake tonight!!

Once that answer was received, Patsy and I set to work changing the recipe entirely to make it fit the ingredients in our pantry, and to make it gluten free.    If you want to make the original recipe, go to her blog.  Or, try this version.  It’s really good, too.  I save money every time I make my own gluten-free baked goods.  To buy one gluten-free muffin can cost a couple of dollars, minimum.   Even though gluten-free flour is expensive, it’s way less to make my own.  I also had a lemon languishing in the refrigerator drawer that needed to be used.

Mini Lemon Loaves

2 Cups 1-to-1 Flour (from Bob’s Red Mill)

3/4 cup sugar

1-1/2 teaspoon baking powder

1/2 teaspoon salt

zest of 1 lemon

1/2 cup melted butter

4 eggs

3 Tablespoons lemon juice

1/2 cup milk

Glaze:  1 cup powdered sugar

2-4 Tablespoons lemon juice (start with the 2 Tablespoons, and add more as needed to make a glaze)

Mix the dry ingredients together in a bowl, including the lemon zest.  Mix the butter, eggs, lemon juice and milk in another bowl.  Pour the wet ingredients into the dry mixture and stir until well blended.  Spray 3 mini loaf pans (4″ x 2″) with non-stick spray.  Divide the batter evenly between the pans.  Bake in a 350 degree oven for 30-35 minutes, or until cooked through and slightly browned on top.     When the loaves are removed from the oven, set them on a cooling rack.  Pour the glaze onto the hot loaves, still in their pans.  Let set for 10 minutes.  Remove the loaves from the pans, and finish cooling on a wire rack.  The glaze will be cooled enough to stay on the loaves.  Makes 3 mini loaves.  Keep leftovers in freezer.

image

Slow Cooker Swiss Steak

FullSizeRenderWhen I need dinner in a hurry, I turn to my slow cooker.  This happens several times a week, because I am always in a hurry!

Recently, someone gave us some round steak.  So, I decided to make Swiss Steak.  I cut the steak into cutlets and laid them in the bottom of the crock pot.  I seasoned it with salt and pepper.  I chopped one small onion and 2 tomatoes onto the top.  I still have a few tomatoes left from the garden, so I used those.  When I don’t have any from the garden, I use canned.  I put a carton of cream of mushroom soup on top and turned it on to low for 8 hours.  My sister had ordered a case from Amazon, and shared several cartons with me.  I can’t tolerate any gluten, so the Pacific Foods brand is the one I use.

That evening, we had the Swiss Steak with cauliflower from the huge box a friend gave me a couple of weeks ago.   Tonight, I thickened the juices with sweet rice flour to make gravy and we had the rest of it with mashed potatoes and home-canned green beans.  I’m looking for ways to use the 50 pounds of red potatoes I bought for $10 a week ago.  I was delighted to get 2 dinners for almost free and they were really tasty, too.IMG_1651

Freezing Squash

FullSizeRender

Today, we decided to cut up 2 of the large sweetmeat squash and process them for the freezer.  We have been blessed with so many this year and I want to get started using them.  It takes quite a bit of time to cook, mash and freeze these large squash, to I like to put some into the freezer.  Early this morning, Rob cut them up and scooped out the seeds.  I baked them on cookie sheets lined with foil.

FullSizeRender

I baked them until they were soft at 350 degrees.    It took between 1-1/2 hours and 2 hours to get them to a place where a fork would easily slide into them.  I got 4 large cookie sheets full from the 2 squash and was able to fit them all into my double ovens.  When we remodeled this house a few years back, I put in the double oven because we run a large 4H club and it makes the cooking classes go better.  I’ve found so many ways to use both ovens during days like this, and also at holidays, that I’ve always been glad I made that choice.

I set them out on the counter to cool down while I took Patsy to an appointment.  I intended to put the squash through the food mill when I returned, but Ja’Ana surprised me by getting quite a bit of it done before I came back.  Her arm was tired by then, so Patsy took over.  Grinding the food mill is pretty fun, but I was very happy to have the help with that part of the job on such a busy day.

The end result was about 10 quart-sized zip-top bags and a sizable bowl for using fresh.  Some of the bags are stuffed as full as they could get for evenings when we want to use it as a vegetable for dinner and some have less in them for when I want to use it for cooking.  For meals, my kids like it warmed up with a little brown sugar and cinnamon sprinkled on top.  For cooking, I use it as pumpkin.  It is less watery and stringy as many pumpkins I have grown and we love using it in pie, muffins, pumpkin custard, etc.  I love having the frozen squash in my freezer to make my life easier on busy days!